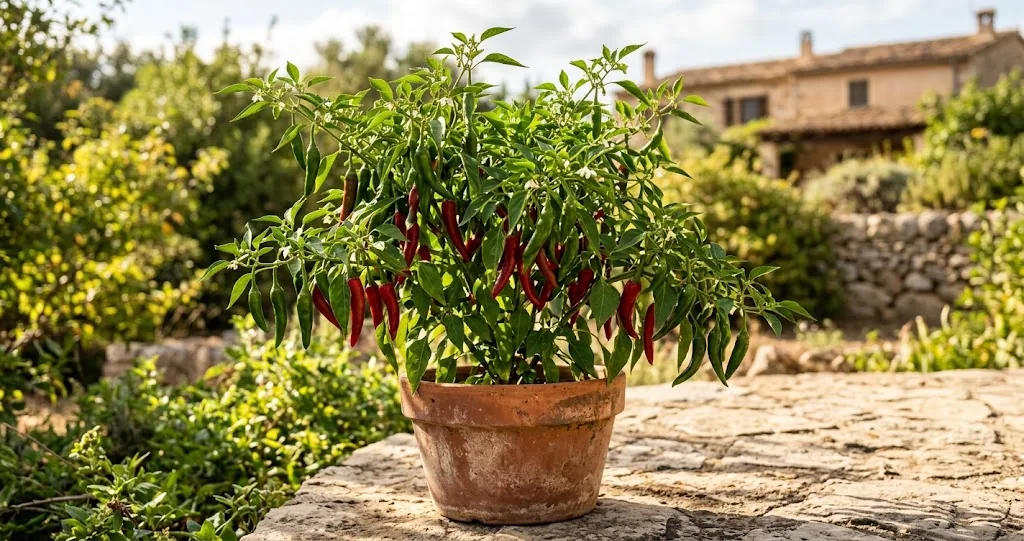
Growing chili peppers in pots lets you raise pepper plants where garden space is limited. Whether you cultivate compact ornamental varieties on a bright windowsill or grow vigorous hot pepper cultivars on an open patio, containers offer distinct horticultural advantages over in-ground garden beds. Potted chili plants warm up earlier in the spring, allow precise moisture management, and let you relocate heat-loving nightshades to catch maximum sunshine throughout the growing season.
To succeed with growing chili peppers in pots, you must match the container dimensions to the root habit of your specific pepper plant, provide open bottom drainage, and assemble a lightweight, aerated potting soil. If a potted pepper struggles, check its container size, drainage, watering and sun exposure first. For a full foundational overview of starting peppers from seed to maturity, explore our comprehensive guide on how to grow chili peppers across different garden settings.
Why Growing Chili Peppers in Pots Works So Well
All chili pepper species (belonging to the genus Capsicum) originated in tropical and subtropical regions of the Americas. As heat-loving perennials grown as tender annuals in temperate zones, chili plants depend heavily on warm soil to develop fibrous feeder roots, absorb soil nutrients, and set blossoms. In garden beds, cold spring earth often stuns young seedlings for weeks after the last frost date. Containers, by contrast, capture ambient air warmth and solar radiation across their exterior walls, warming the root zone far faster and prompting rapid vegetative growth.
Pots also grant portable flexibility. When late-spring hail or sudden cold snaps threaten tender foliage, you can easily move the pots indoors or beneath a covered porch. Later in summer, as tree canopies cast shifting shade, a gardener can shift potted peppers to maintain eight full hours of direct sunlight per day. Fresh container mix can reduce exposure to pathogens left in garden soil, but clean mix and a pot do not make a plant disease-proof.
Choosing the Right Container Size for Each Chili Variety
Container volume directly governs plant stature, root architecture, and ultimate fruit yield. Pepper plants possess a wide-spreading fibrous root network accompanied by a deep central taproot. If the root system hits container walls prematurely, the plant becomes root-bound, triggering early flowering, stunted branches, and bud drop. To harvest crisp, full-sized pods packed with capsaicin and bold flavor, always size your final pot according to the mature growth habit of the cultivar.
Use these pot sizes as starting points, then check the mature size listed for your cultivar:
- Compact and Dwarf Varieties (2 to 3 Gallons / 7.5 to 11 Liters): Dwarf ornamental chilis and small patio types, such as Prairie Fire, Apache, and Bolivian Rainbow, thrive in pots measuring 8 to 10 inches in diameter. These compact chilis rarely exceed 12 to 18 inches in height and produce dozens of petite pods without outgrowing modest potting volume.
- Standard Bush Cultivars (4 to 5 Gallons / 15 to 19 Liters): Common culinary favorites like jalapenos, serranos, shishito, padron, and cayenne peppers reach 24 to 36 inches in height. A 5-gallon container (approximately 12 inches deep and 12 inches across) provides the ideal volume for robust root development and sustained fruit production through autumn.
- Large and Long-Season Varieties (5 to 7+ Gallons / 19 to 26+ Liters): Vigorous cultivars, including poblano (ancho), bell pepper, rocoto, and super hot cultivars like ghost peppers, habanero, and Carolina Reaper, form broad canopy structures up to 48 inches tall. These heat-demanding plants require larger pots of at least 7 gallons (14 inches diameter) to anchor top-heavy branches and support heavy fruit loads.
Plan on one plant in each pot of the sizes below. Planting multiple chili seedlings into a single container causes intense underground root competition for water, oxygen, and nutrients, reducing overall yield. If your outdoor growing space is restricted to a small balcony, browse our curated selections of the best chili varieties for pots to select naturally compact, heavy-bearing types.
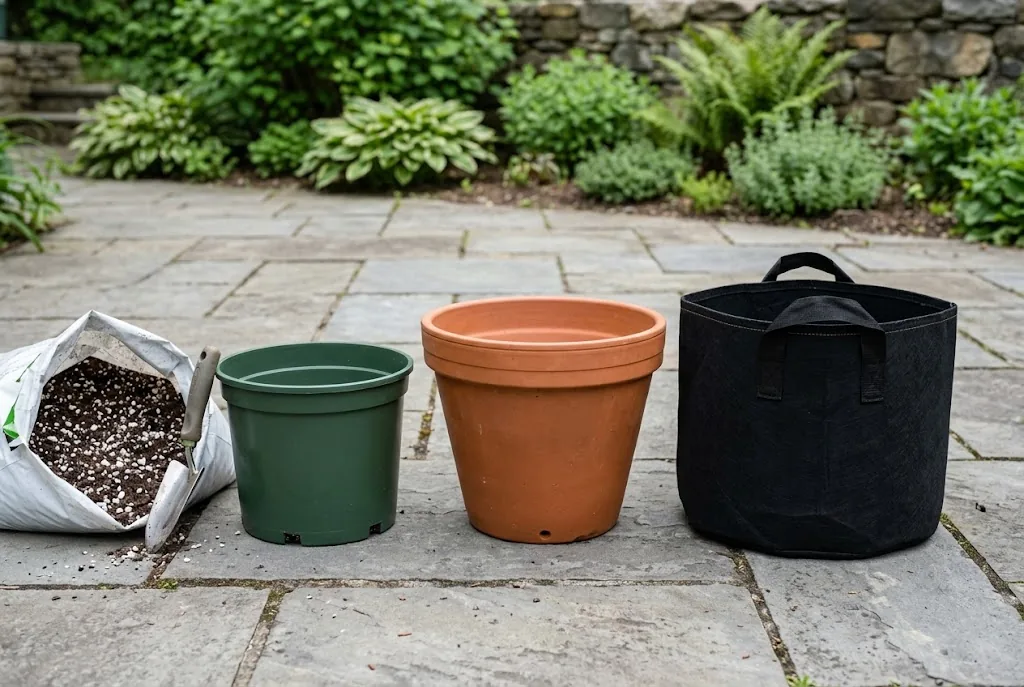
Selecting Container Materials: Terracotta, Plastic, and Fabric Grow Bags
The physical composition of your container determines root zone aeration, soil temperature stability, and how rapidly the potting mix dries out between waterings. Each common container material presents specific horticultural tradeoffs for growing peppers in pots:
Terracotta and Unglazed Clay: Traditional unglazed terracotta is porous, allowing moisture and air to pass freely through the pot walls. This natural breathability cools the root zone in blazing midsummer heat and protects against root rot by releasing excess moisture through evaporation. However, porous clay pots dry out rapidly in windy or dry climates, requiring frequent waterings. They are also heavy and brittle, making them best suited for sheltered patios where weight helps anchor tall, top-heavy plants against summer gusts.
Plastic and Glazed Ceramic: High-density polyethylene plastic containers and glazed ceramic pots are non-porous and lightweight. They retain moisture significantly longer than clay, reducing watering frequency during peak summer heat. On south-facing concrete patios, however, dark-colored plastic pots absorb intense solar heat, which can elevate root zone temperatures past 90 degrees Fahrenheit (32 degrees Celsius) and damage delicate root hairs. Use light-colored or white plastic pots in intense summer zones to reflect harsh sunlight.
Fabric Grow Bags: Breathable fabric containers made from geotextile fibers provide superior aeration. When pepper roots reach the breathable fabric edge, they are exposed to air, naturally halting apical root extension and stimulating dense fibrous branching. This phenomenon, known as air-pruning, prevents root circling and creates a remarkably efficient root system. Fabric bags dry more quickly than nonporous pots, so check moisture often and make sure the bag does not stand in water.

Drainage Requirements: Holes, Pot Feet, and Common Setup Mistakes
Unrestricted drainage is the single most critical technical factor in container chili cultivation. Chili plants cannot tolerate saturated soil or stagnant moisture around their crown. When soil pores remain full of water, root cells suffocate from lack of dissolved oxygen, allowing opportunistic fungal pathogens such as Phytophthora capsici and Pythium to rot the root system.
Every pot must feature functional drainage holes at the bottom of the pot. A five-gallon container needs several open drainage holes rather than a single blocked opening. If your decorative container lacks holes, use a masonry or step-drill bit to add adequate drainage before adding growing medium.
A persistent gardening myth suggests placing a layer of gravel, broken potsherds, or pebbles in the bottom of the pot before filling it with soil. Soil physics demonstrates that water does not move easily from fine-textured potting mix into coarse gravel until the upper soil is completely saturated. This creates a perched water table, raising the saturation zone higher up into the container right where root tips gather. Discard this practice entirely: fill the container from bottom to top with uniform, well-draining container mix.
To ensure drainage holes function properly, elevate outdoor pots using ceramic pot feet, bricks, or cedar cleats. Placing containers flat on smooth stone flagstones or solid balcony flooring can seal the drainage holes, trapping standing water under the pot base and preventing runoff.
Potting Mix and Aeration: Building the Ideal Container Substrate
Never fill garden containers with heavy topsoil or backyard garden soil. Dense field soil contains high proportions of silt and clay that compact tightly inside container walls, collapsing air pockets and baking into an impermeable brick when dry. Container peppers require a loose, soilless substrate engineered for rapid drainage and capillary water retention.
A proven, high-performance container soil mix combines:
- Base Moisture Retention (40%): Sphagnum peat moss or washed coconut coir holds moisture while helping the mix stay light. Check the finished mix label for added nutrients or lime.
- Aeration and Porosity (30%): Coarse horticultural perlite, pumice, or expanded shale maintains permanent microscopic air pockets throughout the profile, allowing roots to breathe freely even after heavy soaking.
- Organic Fertility and Biology (30%): Well-aged compost, leaf mold, or earthworm castings supplies slow-release micronutrients, humic compounds, and beneficial microorganisms that assist nutrient uptake throughout the season.
Peppers generally grow well at a soil pH of 6.0 to 7.0. Most commercial potting mixes need no pH amendment. If a test shows that a homemade mix is too acidic, follow the test recommendation before adding lime. Keep watering even: erratic moisture can limit calcium delivery to developing fruit and contribute to blossom end rot. See Oregon State Extension and Maryland Extension for guidance.
Sunlight, Warmth, and Balcony Placement
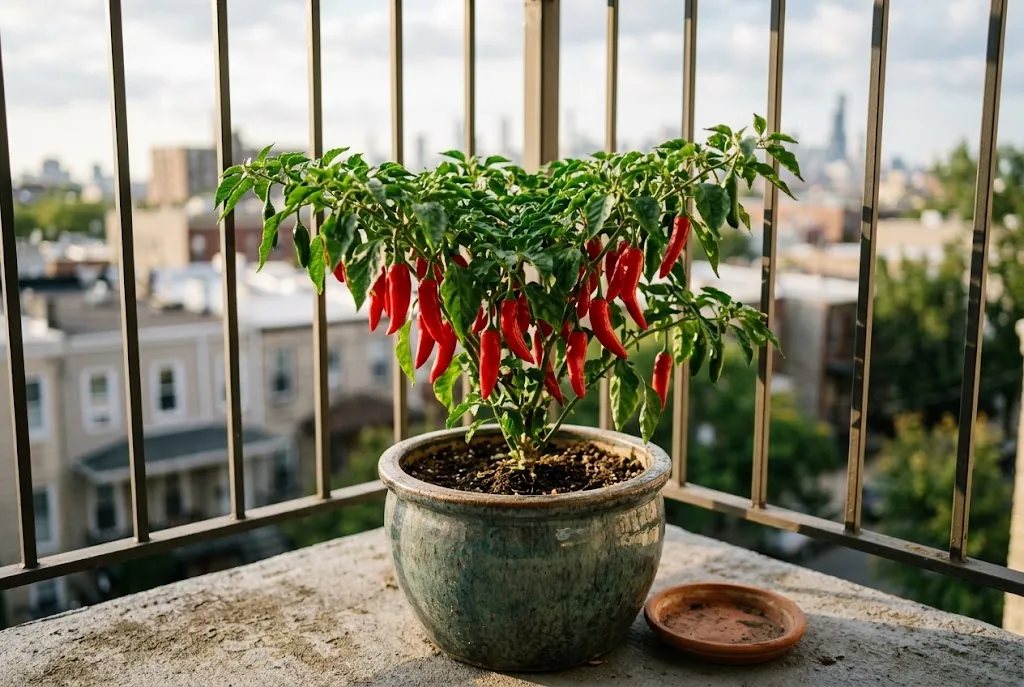
Give potted peppers at least six hours of direct sun each day. In very hot conditions, watch for leaf or fruit scorch and adjust placement if needed. Place containers along south-facing or west-facing walls, where exterior brick, stone, or stucco absorbs solar warmth during the afternoon and radiates it back into the foliage overnight.
Balcony and rooftop gardeners must account for microclimate factors, especially drying wind. Elevated balconies often experience strong wind gusts that can snap brittle pepper branches laden with fruit or desiccate foliage. Position containers in corners shielded by solid railings, or install a simple bamboo lattice windbreak. If you grow chilies indoors by a window, supplement natural daylight with an adjustable LED grow light to prevent seedlings from stretching into spindly, weak stems.
Watering Rhythm and Feeding in Containers
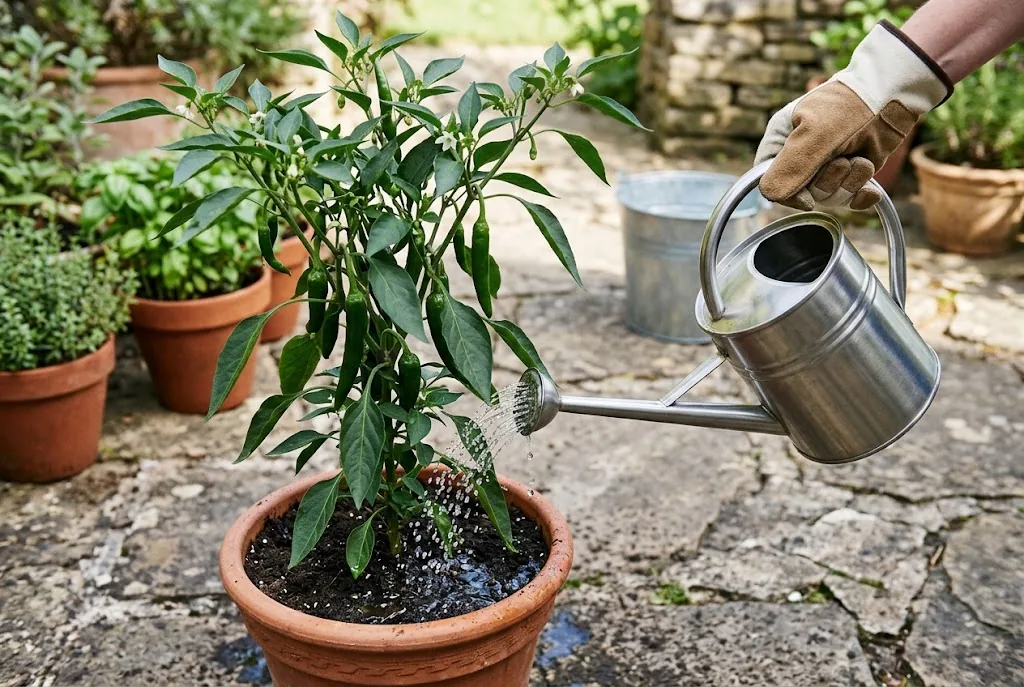
Managing moisture in containers requires a consistent dry-down cycle rather than a rigid calendar schedule. Because container volume is finite, container medium dries out significantly faster than open garden earth, particularly during windy, sunny summer afternoons. However, frequent shallow watering leads to weak surface roots and fungal problems.
Always check soil moisture by inserting a finger two inches into the potting substrate. If the soil feels cool and moist at that depth, delay watering. When the top two inches feel dry to the touch, water deeply around the root zone until clear moisture flows freely from the bottom drainage holes. To master moisture indicators, seasonal adjustments, and signs of overwatering, read our detailed guide on how often to water chili plants.
First check whether the potting mix already contains fertilizer. If it does not, use a vegetable fertilizer at the label rate. Feed again when flowering begins if the product directions call for it. Avoid excessive nitrogen, which can favor leaves over fruit. Oregon State Extension recommends using the mix label and fertilizer directions to guide container feeding.
Step-by-Step Planting and Setup Routine
Follow this reliable planting protocol when transferring indoor pepper seedlings into their permanent outdoor container:
- Harden Off Young Plants: Over seven to ten days, gradually expose greenhouse or windowsill seedlings to outdoor breeze and direct sun, starting with two hours in dappled shade and increasing daily.
- Sanitize and Prep the Pot: Wash previously used containers to remove soil and debris. To disinfect them, use one part household bleach to nine parts water, following Minnesota Extension guidance. Rinse and dry before planting. Never mix bleach with vinegar or other cleaners. Confirm all bottom drainage holes are completely open and clear of debris.
- Fill and Moisten: Fill the container with your potting mix up to two inches below the rim. Moisten the substrate thoroughly with warm water, blending by hand until it has the dampness of a wrung-out sponge.
- Transplant Carefully: Excavate a small planting hole in the center. Gently remove the pepper seedling from its nursery cell, handling it by the root ball rather than the tender stem. Set the root ball at the same depth it grew in its nursery cell. Keep the stem above the original soil line, as Oregon State Extension advises.
- Firm and Settle: Firm the surrounding mix gently with your fingers to eliminate large air pockets. Water thoroughly with diluted seaweed extract to soothe transplant shock and settle the root system.
- Mulch and Elevate: Spread a thin 1-inch layer of clean straw, pine bark, or coarse perlite over the soil surface to conserve moisture and suppress surface weeds. Set the container on pot feet in a sunny, sheltered spot.
With proper container dimensions, free-flowing bottom drainage, and a fertile growing medium that lets pods ripen to their peak color and heat, growing chili peppers in pots will reward you with vibrant, healthy plants and a bountiful harvest of pungent, flavorful peppers from midsummer through the first autumn frost.
