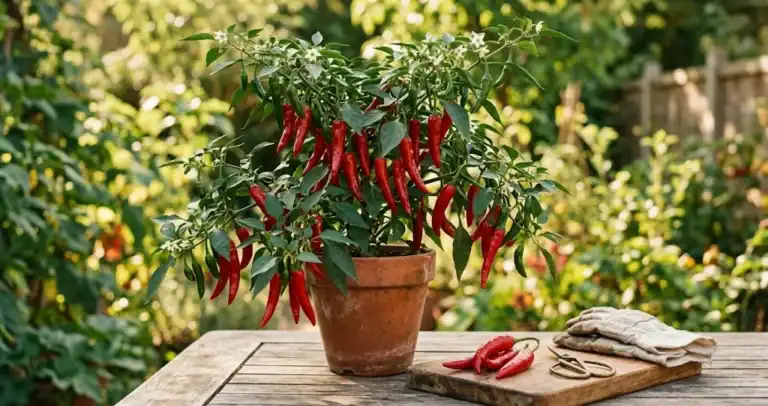
Chili peppers are one of the most rewarding crops for a home garden. A single healthy plant can produce dozens of pods, and the flavor of a sun-warmed fresh chili pepper you grew yourself is brighter and more complex than anything from a store shelf. If you give them warmth, light, and a bit of patience, chili pepper plants will repay the effort from a single pot on a sunny patio or from a row tucked into a vegetable bed.
Most chili varieties are tender perennials from the Capsicum genus, grown as annuals in temperate climates. They ask for a long, warm season of growth, so a head start indoors is the single biggest advantage in cooler regions. This guide walks through the choices and steps that make the difference between a struggling plant and a generous one: picking varieties, starting seeds, transplanting, feeding, and picking fruit at peak ripeness.
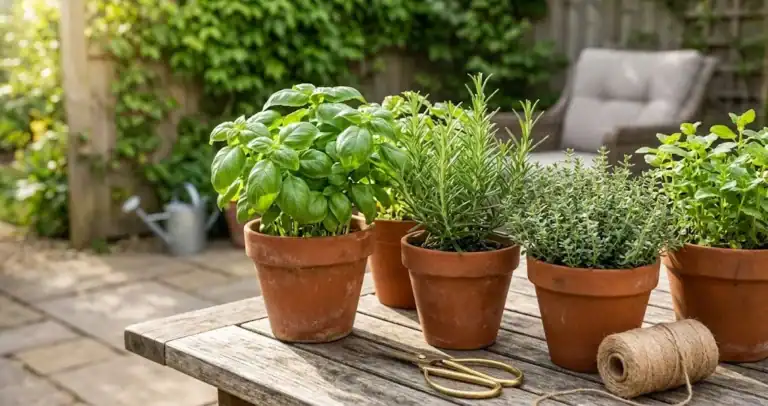
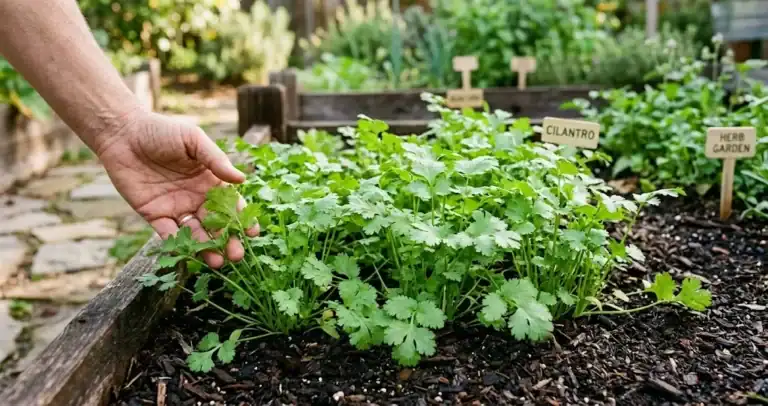
Whether you have a single south-facing windowsill or a full backyard, the same fundamentals apply. If you are just setting up a small kitchen garden or a few patio containers, the broader plan in our beginner’s guide to growing an herb garden is a useful complement to the chili-specific advice that follows.
Choosing chili varieties that match your climate and your heat tolerance
The first decision is variety, and the right pick depends on how long and how warm your growing season is. Hotter peppers tend to need more days to ripen, so gardeners in short-season climates do better with early cayenne, jalapeño, or compact ornamentals. In a long, hot summer, you can ripen thicker-walled bells, poblanos, habaneros, or ghost peppers.
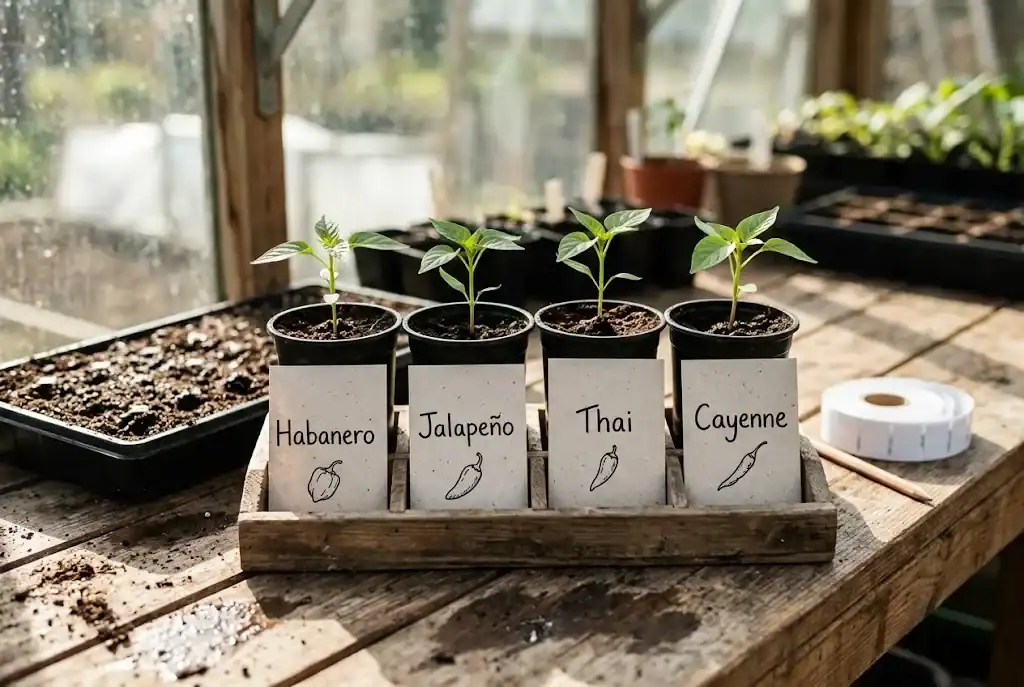
Start with one or two proven performers rather than a half dozen novelties. A common beginner mistake is choosing a tiny, superhot variety on a whim and then losing the whole season to slow germination and slow ripening. For a first chili crop, jalapeno, serrano, cayenne peppers, and Anaheim are forgiving choices that ripen in roughly 70 to 80 days from transplant. Mild and spicy peppers alike benefit from the same start, and a small mix lets you taste a range of heat levels without overcommitting to one variety.
If you mostly cook with chili and want fresh flavor for salsas and stir-fries, a thick-walled mild or medium variety is the right starting point. If you want to dry and store chili for winter use, thin-walled cayenne and similar types dry quickly on the plant and grind well into chili powder. A hot pepper variety like ghost or habanero can be fun for a small dedicated pot, but it asks for a long, patient stretch of warm weather. Always check the days-to-maturity figure against your average last spring cold date and first fall cold so the variety has time to set and ripen fruit in your garden.
Starting chili pepper seeds indoors
Chili seeds are slow starters compared with most vegetable seeds, and they like bottom heat. Sow them indoors 8 to 10 weeks before your last expected cold snap, in cell trays or small pots filled with a fine seed-starting mix. Plant each seed about a quarter inch deep, water gently, and cover the tray with a clear dome to hold humidity. Soaking pepper seeds in lukewarm water for a few hours before sowing can shave a day or two off germination, though it is not essential.
Aim for a steady soil temperature of 80 to 85°F during germination. A heat mat placed under the tray makes a real difference and shortens germination from three weeks to roughly 7 to 10 days for most varieties. The moment seedlings emerge, remove the dome and move the tray under bright light, either a sunny south window or a basic grow light running 14 to 16 hours a day.
Thin to one strong seedling per cell once the seedlings have two sets of true leaves. Each seedling grows slowly at first, so resist the urge to overwater. The mix should dry slightly between waterings, and the pot should feel light when you pick it up. Overwet roots at this stage are the most common cause of damping off, the sudden collapse that takes a whole tray down overnight.
Potting up and choosing the right container
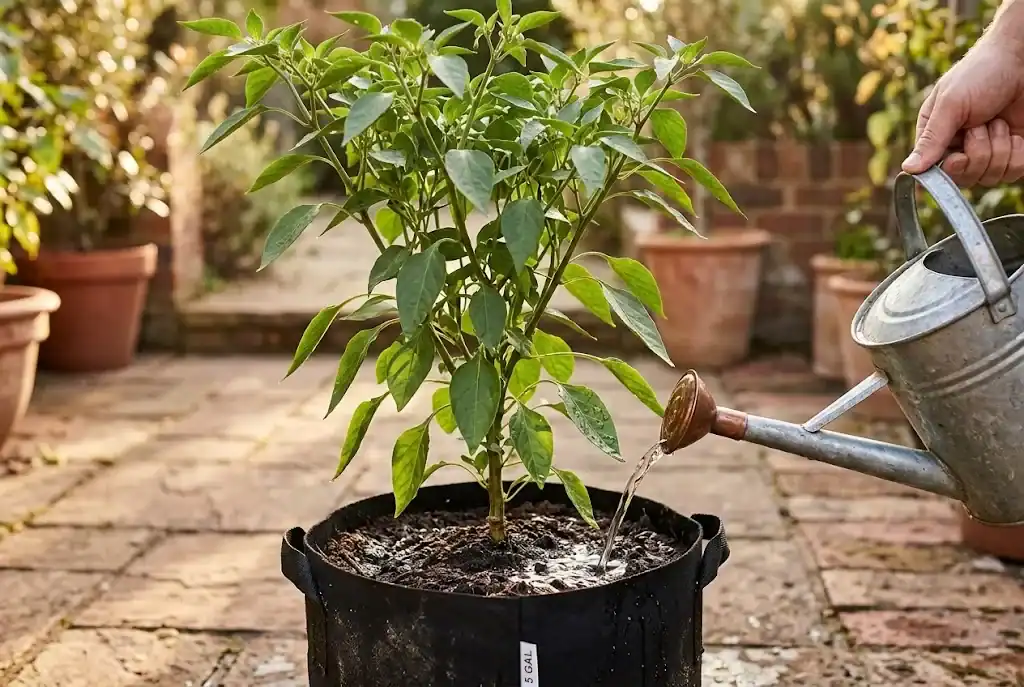
Chili plants have modest root systems but they hate drying out completely, so a generous container pays off. A 3 to 5 gallon pot is the sweet spot for a single full-sized plant, with drainage holes at the bottom and a saucer to catch the runoff. Fabric grow bags work especially well because they air-prune the roots and prevent the plant from becoming pot-bound.
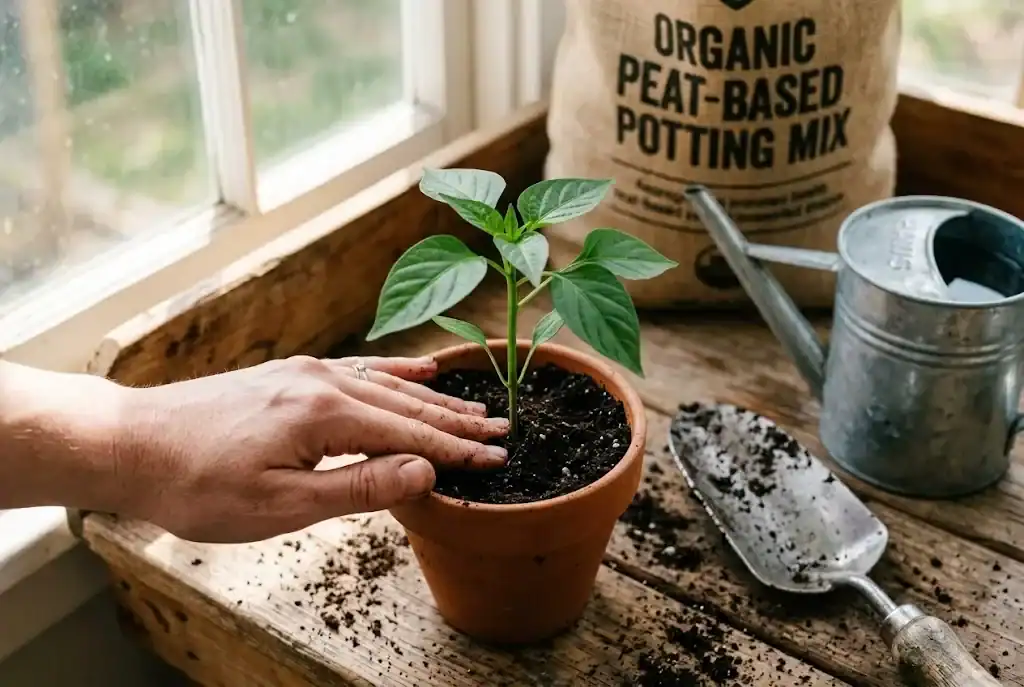
Use a rich, well-draining potting mix rather than garden soil, which compacts in containers and holds too much water around the roots. A standard peat or coir-based mix amended with a few handfuls of fresh compost and a scoop of perlite gives chili plants the loose, moisture-retentive but airy substrate they prefer. Refresh the top inch of compost monthly through the season to keep nutrients available without a full repot, and watch a young pepper plant settle in before you push it to flower.
If you are planting in a garden bed rather than a pot, wait until the soil has warmed to at least 65°F and all danger of cold has passed. Space plants 18 to 24 inches apart in full sun, and work a couple of inches of compost into the top few inches of soil before transplanting. Chili plants grow best in slightly acidic to neutral soil with steady moisture and good drainage, and a sunny south-facing bed is ideal.
Light, temperature, and water for chili pepper plants
Chili plants need sun. A minimum of six hours of direct light is the floor for any meaningful crop, and eight or more hours produces noticeably heavier yields. In containers, the south or west side of a house or an open patio is ideal. If you only have a shadier spot, choose a smaller-fruited variety and pinch the first flowers to keep the plant vegetative longer.
Temperature is just as important as light. Chili plants stop growing below about 55°F and drop their flowers when daytime temperatures climb past 95°F. In hot summer regions, a 30 to 40 percent shade cloth over the plants during the worst afternoon hours keeps blossoms on the plant and prevents sun-scald on the ripening fruit.
Water deeply but less often, rather than a light sprinkle every day. Let the top inch of soil or potting mix dry between waterings, then soak the pot or bed until water runs from the drainage holes or until the surrounding soil is moist to a six-inch depth. Mulching the surface of a bed with straw or chopped leaves cuts evaporation in half and keeps soil temperatures even, which is exactly the steadiness that chili plants reward.
Plant care, feeding, and supporting bushy chili plants
Chili plants are moderate feeders. A weekly feed with a balanced liquid fertilizer at half strength during the first month of vegetative growth builds a sturdy plant. Once flowering begins, switch to a feed that is lower in nitrogen and higher in potassium and phosphorus, which supports fruit set and flavor development rather than leafy growth.
Pinching the growing tip of a young chili plant when it reaches about 8 inches tall encourages branching and produces a stockier, more productive plant. Young pepper plants respond well to a weekly feed of half-strength balanced liquid fertilizer during this stretch, so each side shoot can develop into a fruit-bearing branch rather than soft new leaves. Remove the first few flowers that appear so the plant directs its early energy into building a frame strong enough to carry a heavy crop. This feels counterintuitive, but a strong first flush of fruit often comes at the cost of a long picking season later.
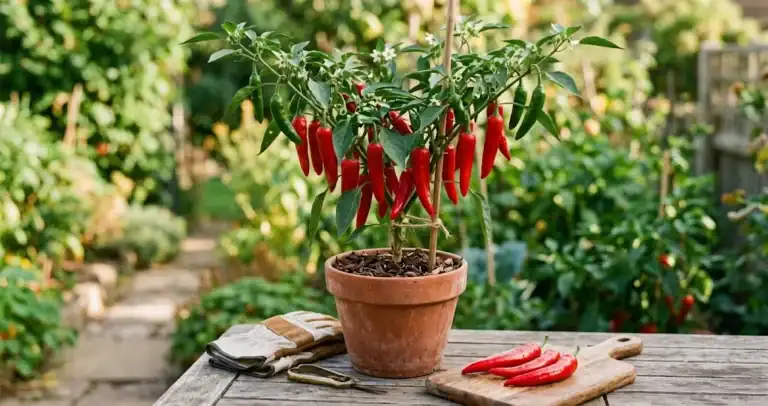
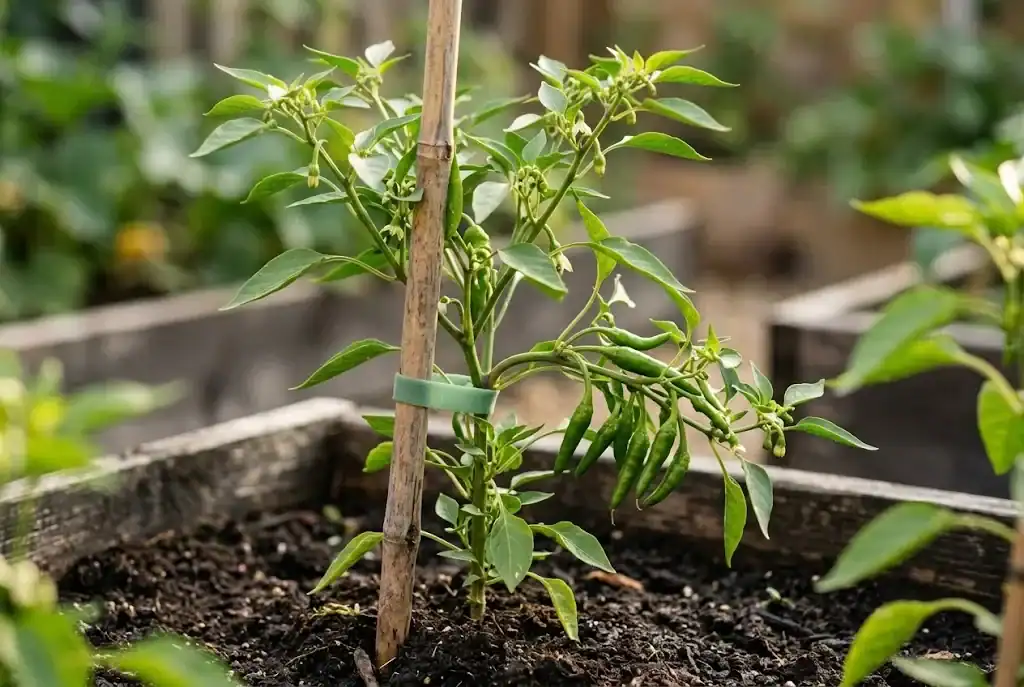
Stake or cage taller varieties before the branches start to bow under the weight of fruit. A simple bamboo cane and a couple of soft ties are enough for most plants. Bell peppers and the larger poblano or Anaheim types particularly benefit from support, because a single heavy fruit can snap a thin branch on a windy day. If you grow hot peppers in an exposed bed, a low windbreak or a cluster planting with taller neighbors cuts the risk dramatically.
Common problems: pests, diseases, and how to keep plants healthy
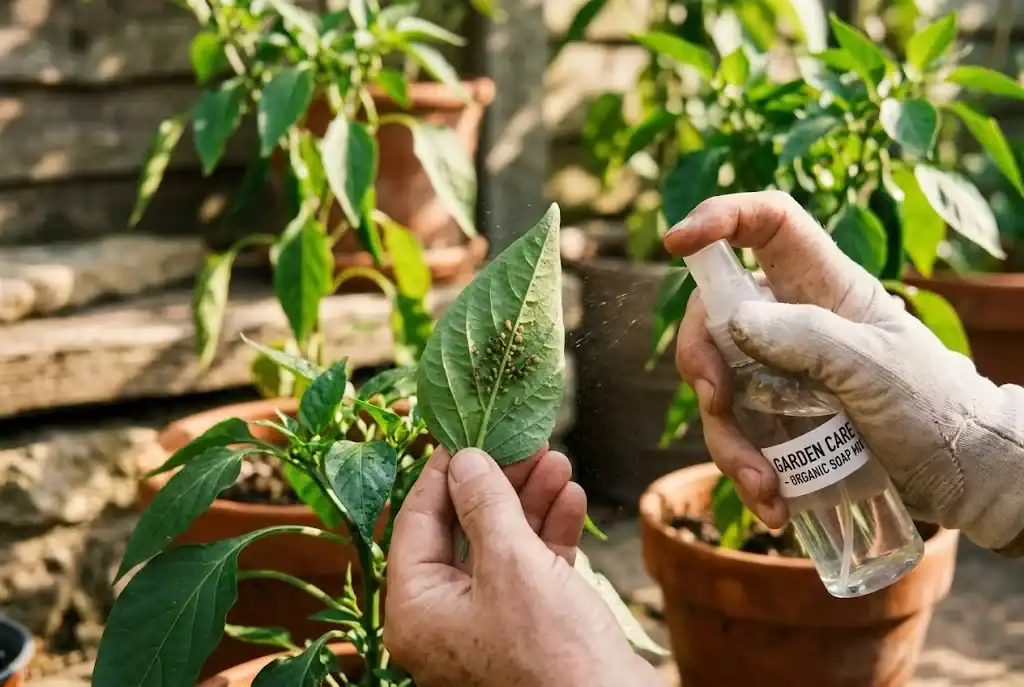
Healthy chili plants resist most problems on their own. The two issues that show up most often are aphids on the soft new growth and spider mites in hot, dry indoor conditions. A sharp spray of water knocks aphids off the leaves, and insecticidal soap or neem oil handles heavier infestations without leaving residue on the fruit.
Yellowing leaves usually point to a watering issue rather than a disease. Overwatering drowns the roots and produces the same yellow, drooping look that underwatering does, so check the soil moisture before reaching for fertilizer. If the soil smells sour or the stem base feels soft, scale back water and improve drainage.
Blossom end rot shows up as a sunken, leathery patch on the bottom of the fruit. It is a calcium uptake problem caused by uneven watering, not a calcium deficiency in the soil. Steady moisture and a thick mulch layer are the cure. Peppers that ripen with small brown cracks along the shoulder, called corking, are a harmless surface trait linked to variety and growing conditions rather than evidence of plant health, and they are perfectly fine to eat. Steady moisture and a thick mulch layer during fruit swell are what actually protect the crop from blossom end rot and other stress-related disorders.
Picking chili peppers at peak flavor
Chili peppers can be picked at any stage, but the flavor changes dramatically as the fruit ripens. A green jalapeno is grassy and bright; the same fruit left on the plant another three weeks turns red, sweeter, and hotter. Most varieties reach their full heat and sweetness when they have developed their final color, whether that is red, yellow, orange, or chocolate brown. Knowing when to harvest peppers is a learned skill: pick a few early to encourage more fruit, then let the rest ripen to full color for the deepest flavor.
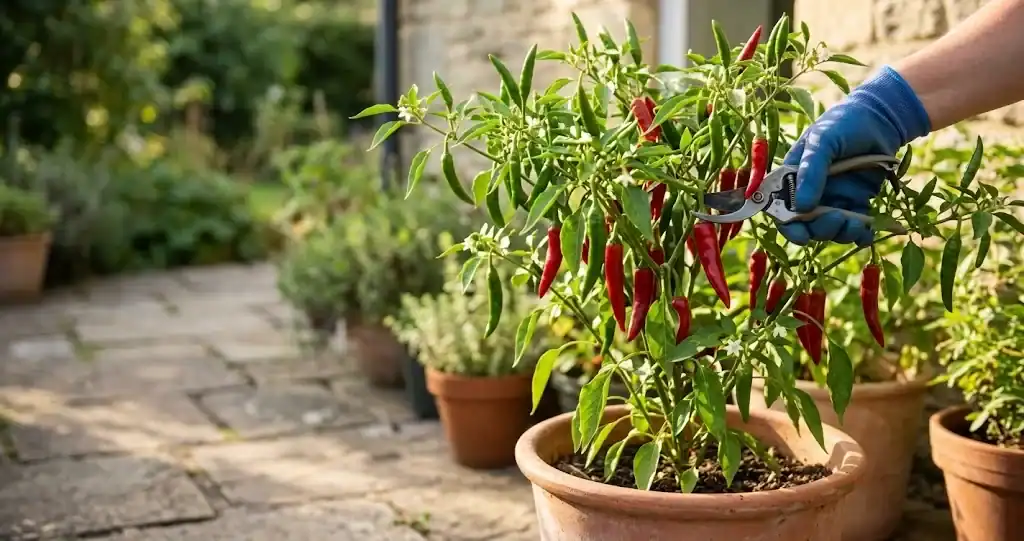
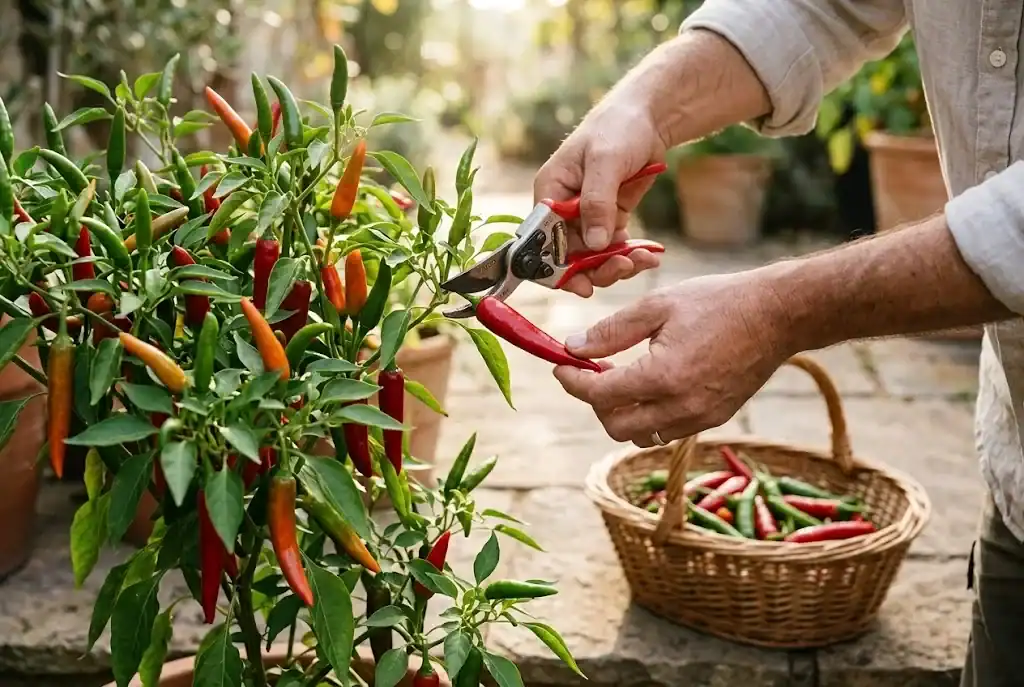
Cut peppers from the plant with a sharp pruner or scissors rather than pulling them, which can snap a branch. Leave a short stub of stem on the fruit to keep it fresh longer in the refrigerator. A ripe chili is firm, fully colored, and slightly waxy to the touch. The plant will keep producing new flowers and fruit as long as you keep picking, so the more peppers you harvest, the more the plant sets. Save seeds only from fully ripe, open-pollinated peppers you trust, since hybrid peppers will not grow true to the parent plant.
If a fall cold snap is approaching and the plant still carries a lot of green fruit, pull the whole plant and hang it upside down in a cool, dry place. Many green peppers will continue to ripen on the vine this way, and a final late harvest can be the spiciest of the season. For a long-term supply, learn how to store chili after harvest so none of your crop goes to waste.
From the garden to the kitchen: using what you grew
Fresh chili peppers lift nearly any savory dish. Slice a jalapeño into a stir-fry in the last minute of cooking, scatter fresh red chili over pizza after it comes out of the oven, or blend a few hot peppers into a salsa with ripe tomatoes, onion, lime, and salt. For longer storage, dry thin-walled varieties on a screen in a sunny window, or freeze whole pods in a zip bag and pull them out by the handful through the winter.
Once you have a steady supply of fresh chili on hand, the cooking possibilities open up. A quick chili oil, a fresh green salsa, a spicy pickle, or a slow-simmered chili paste are all within reach with a handful of ripe pods. If you want to take it further, our guide to cooking with chili walks through the techniques that turn a small crop into a year-round flavor.
Frequently asked questions about growing chili peppers
How long do chili peppers take to grow from seed?
From sowing to first ripe fruit, plan on 4 to 6 months for most varieties. Peppers started indoors 8 to 10 weeks before the last frost usually begin ripening in mid to late summer and continue until the first hard frost of fall.
Can I grow chili peppers in containers?
Yes, and many growers prefer pots because the soil warms up earlier in spring and the plants can be moved to follow the sun. A 3 to 5 gallon pot with drainage holes is enough for a full-sized plant, and a fabric grow bag works especially well for healthy root growth.
Do chili plants need full sun?
They do best with 6 to 8 hours of direct sun. In hot climates, light afternoon shade prevents flower drop and fruit sunburn. Indoors, a south-facing window plus a grow light on a 14 to 16 hour timer keeps plants sturdy and productive through the cooler months.
Why are my pepper flowers dropping without setting fruit?
Blossom drop usually means the plant is under stress. The most common causes are temperatures above 95°F, temperatures below 55°F, inconsistent watering, or a heavy fruit load on a young plant. Steady moisture, afternoon shade in heat waves, and pinching the earliest flowers all help the plant hold onto the next round of blossoms.