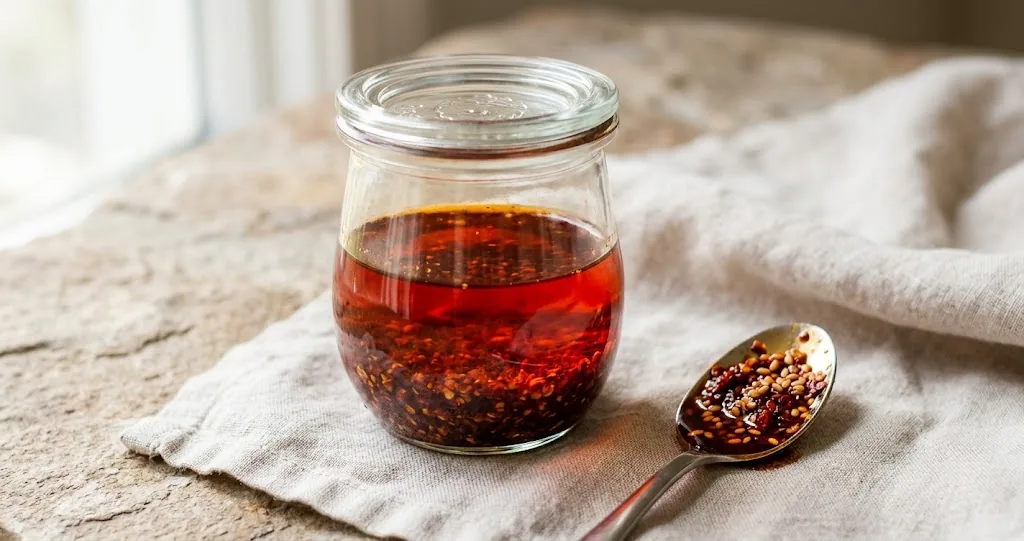
A good chili oil recipe starts with three simple choices: a neutral oil with a high smoke point, a dried chili that brings both heat and color, and a short list of aromatic spices that turn a pour-over infusion into something you would eat by the spoonful. Make it once and a 10-minute weeknight drizzle replaces anything in a jar with a barcode.
What makes good chili oil
The best version balances four things: hot oil, aromatic spices, the right dried chili, and time. Too cool and the flakes turn dusty. Too hot and they scorch. The Sichuan tradition slowly infuses the spices first, then pours the seasoned oil over the flakes so the sizzle does the final cooking. For a wider look at how chilies fit into a working kitchen, our guide to cooking with chili covers the broader framework.
Sichuan-style chili oil: the slow method
The traditional Chinese approach builds the infused oil in two stages so the spices flavor the oil without burning the flakes. Plan on about 30 minutes of hands-on time plus a rest. This version uses fresh aromatics, so the finished oil goes in the refrigerator (see the storage section).
- 1 cup neutral oil, 240 ml (grapeseed, peanut, or rice bran all work; avoid extra-virgin olive oil for its low smoke point and strong flavor).
- 3 tablespoons Sichuan chili flakes, coarse grind if you can find them.
- 1 tablespoon crushed red pepper flakes for color and a rounder heat.
- 1 star anise.
- 1 small cinnamon stick.
- 2 bay leaves.
- 1 teaspoon Sichuan peppercorns.
- 1 small shallot, sliced thin.
- 4 garlic cloves, smashed.
- 1 teaspoon kosher salt.
- 1 tablespoon toasted sesame seeds, to finish.
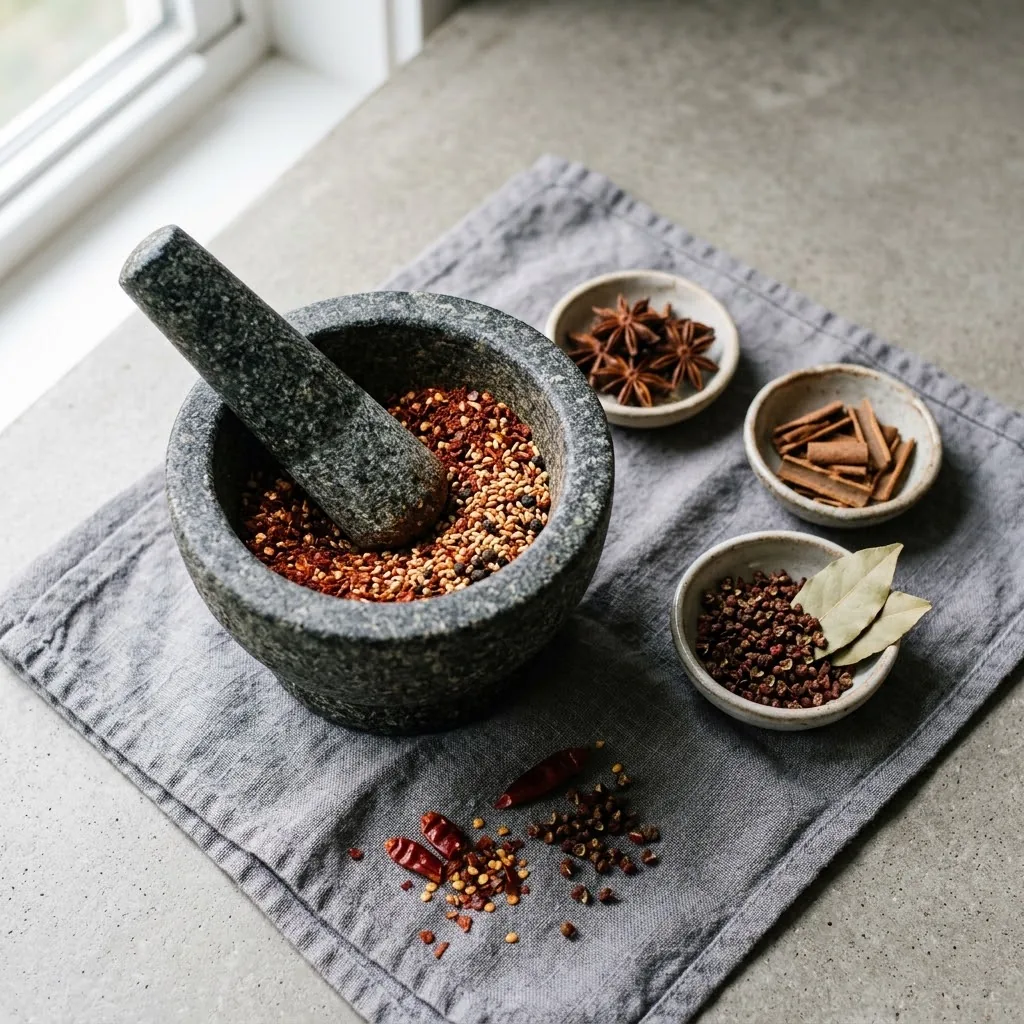
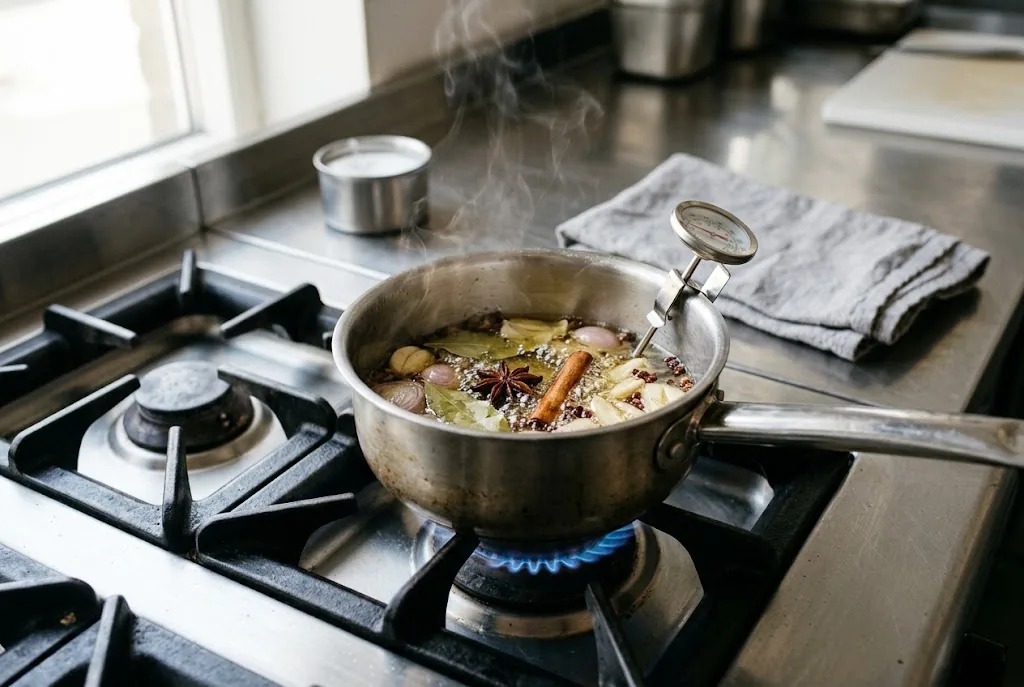
Combine the oil, star anise, cinnamon stick, bay leaves, peppercorns, shallot and garlic in a small saucepan. Set over medium heat and warm slowly until the oil reaches about 150 degrees C (300 degrees F) on a thermometer, about 5 minutes. Hold it at that temperature for 10 minutes so the spices infuse the oil, then reduce the heat to low and let the oil cool to about 107 degrees C (225 degrees F).
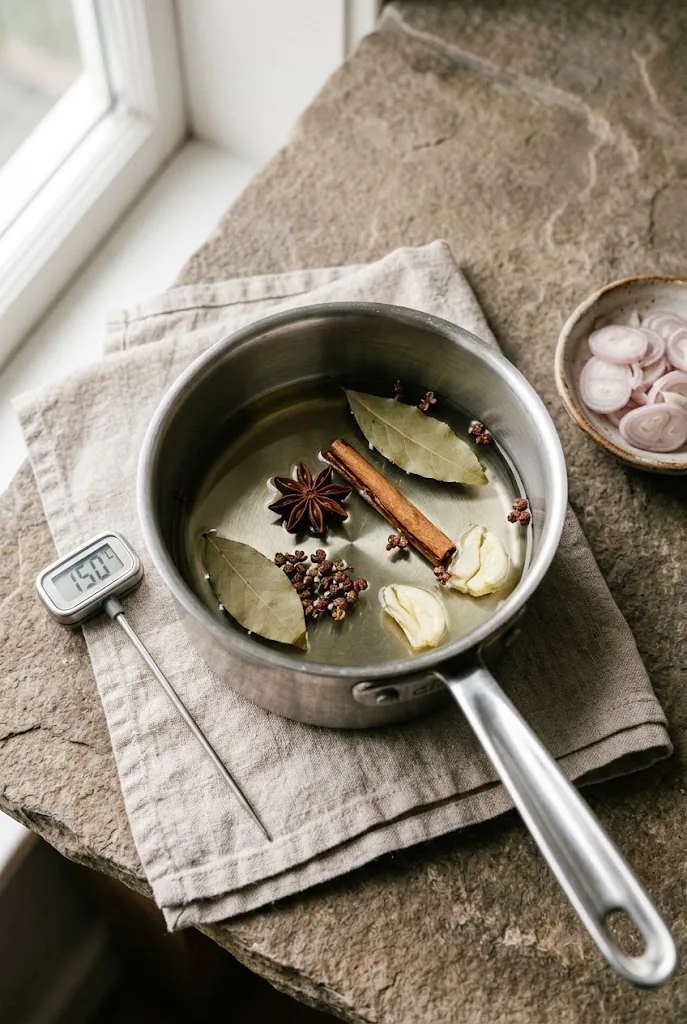
Meanwhile, put the chili flakes, crushed red pepper flakes and kosher salt into a heatproof bowl. When the oil reaches the right temperature, carefully pour it through a strainer set over the bowl, holding the spices back. The pour is the heart of this recipe: the sizzle and the immediate color change in the flakes tells you the oil is hot enough to cook the spices without burning them. Let the oil settle for 30 seconds to 1 minute, then stir in the toasted sesame seeds. The result is a fragrant oil with a deep red color and a slightly numbing finish.
The simple 10-minute version
If the slow Sichuan method feels like too much for a weeknight, a fast version still makes a good oil. Skip the spices and the two-stage infusion, and focus on the pour.
- 1 cup neutral oil (grapeseed, peanut, or rapeseed all work).
- 3 tablespoons chili flakes, your choice of coarseness.
- 1 teaspoon gochugaru if you want a brighter red and a fruitier heat.
- 1 teaspoon kosher salt.
- 1 teaspoon toasted sesame seeds.
Heat the oil in a small saucepan over medium heat until it reaches about 180 degrees C (350 degrees F), roughly 4 to 5 minutes. Combine the flakes, gochugaru and salt in a heatproof bowl. Carefully pour the hot oil over the flakes and let the oil bubble and the spices darken. Stir in the toasted sesame seeds, let the oil cool, then bottle. Both versions make about 1 cup of finished infused oil. The simple version keeps for months, while the Sichuan version with fresh aromatics is best used within 4 days, so it suits a small batch.
Choosing your oil
Use a neutral oil with a high smoke point. Grapeseed, peanut, rice bran, and refined avocado all hold up to the 150 to 180 degrees C range without breaking down. Avoid extra-virgin olive oil, unrefined sesame oil, and walnut oil, which burn easily and add flavors that fight the chili.
Sesame oil has its place too, but as a finishing drizzle rather than the base. A teaspoon of toasted sesame oil stirred in at the end adds nutty depth without burning. For most weeknight cooking, a bottle of plain grapeseed is all you need to make a batch.
Choosing your dried chili
Sichuan flakes are the classic base: medium heat, big color, and a faint fruitiness. Coarse Sichuan flakes give you a chunkier oil with visible flecks; fine flakes produce a smoother, more pourable result. Crushed red pepper flakes from the grocery aisle work in a pinch and add a slightly sharper heat. Korean gochugaru brings a sweeter, smokier note and a brilliant red, useful when you want a milder oil with strong color.
For dried whole chilies, see our guide to types of dried chilies for the ancho, guajillo, pasilla, and other dried options that can stand in for Sichuan flakes. Each brings a different flavor, and a small experiment with one or two of them will teach you what your kitchen prefers.
Aromatics and how to use them
The aromatics are where the Sichuan-style version earns its reputation. Star anise adds a warm, almost licorice background note. Sichuan peppercorns give the oil its signature tingle, the mala sensation. Cinnamon stick and bay leaves deepen the base flavor. Shallot and garlic bring a softer, sweeter allium note that mellows during the slow infusion.
The trick is to keep the aromatics in the oil long enough to flavor it without burning. Pull them out before the oil reaches the flakes, then pour the seasoned oil over. The strainer catches the spent spices so the finished oil stays clear and clean. Removing the aromatics before bottling also makes the oil easier to pour and keeps the flavor profile steady for the full shelf life of the jar.
How hot should the oil be
Oil temperature matters more than almost any other variable in this method. Too cool and the flakes stay raw and bitter. Too hot and they scorch and turn acrid.
For Sichuan-style oil, the seasoned oil should land on the flakes at about 107 degrees C (225 degrees F), the range one well-known Chinese recipe uses. That is hot enough to cook them and bring out the color, but cool enough to keep them from burning. For a quick version, you can pour hotter oil (about 180 degrees C, 350 degrees F) directly over the flakes. The flakes darken fast at that heat, so use coarse flakes and pour straight away.
A simple instant-read thermometer removes the guesswork. If you do not have one, watch the oil: it should shimmer but not smoke. High heat is for searing; chili oil wants a patient, even approach.
Storing your jar
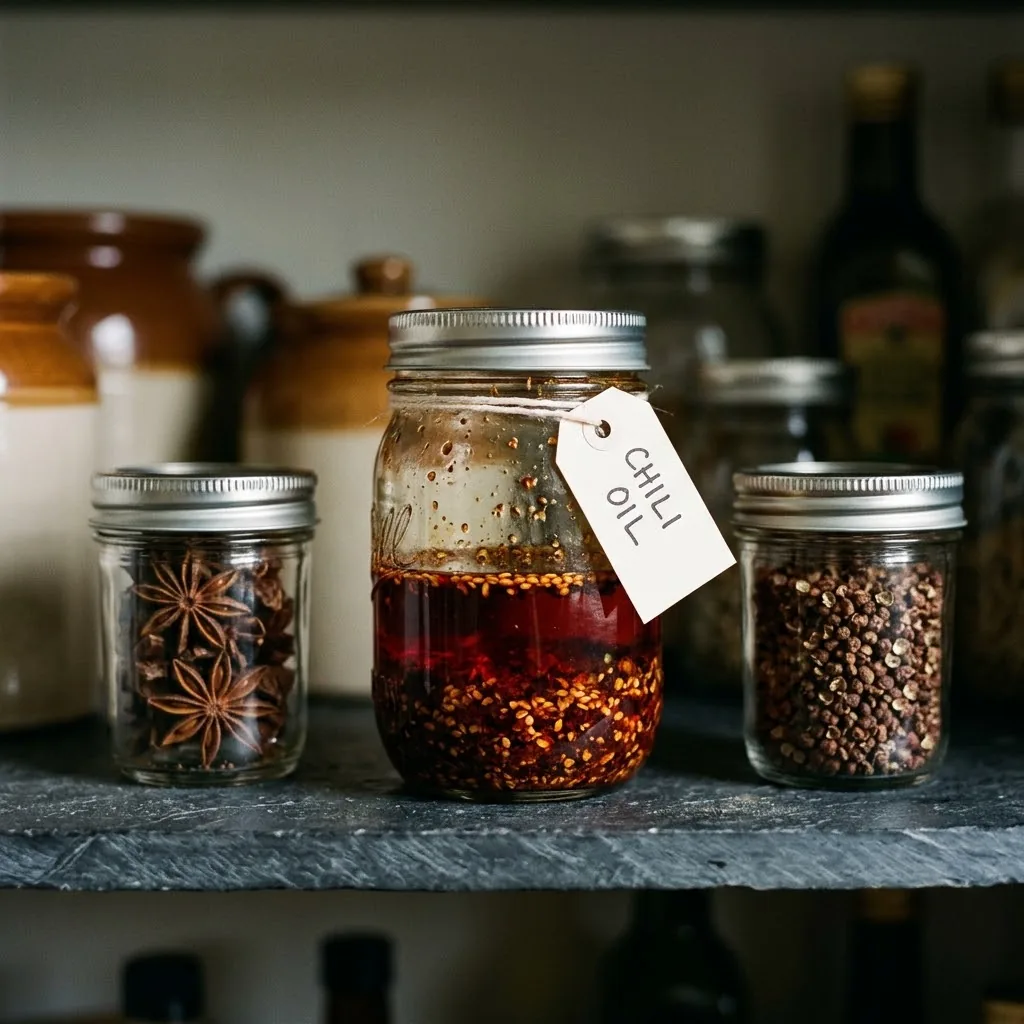
Pour the cooled oil into a clean glass jar with a tight-fitting lid. An airtight container keeps the oil from picking up fridge odors and slows oxidation. Keep the jar in the refrigerator either way.
How long it keeps depends on what went into it. Oil made with fresh garlic or shallot, like the Sichuan slow method above and the garlic-forward variation, carries a botulism risk because low-acid ingredients sit in an oxygen-free layer of oil. Oregon State University Extension advises refrigerating home-made garlic and herb oils and using them within 4 days, or freezing them for longer storage. Straining the solids out does not change that. Oil made only with dry ingredients, like the simple 10-minute version, keeps up to about 6 months in the refrigerator.
What to use it on
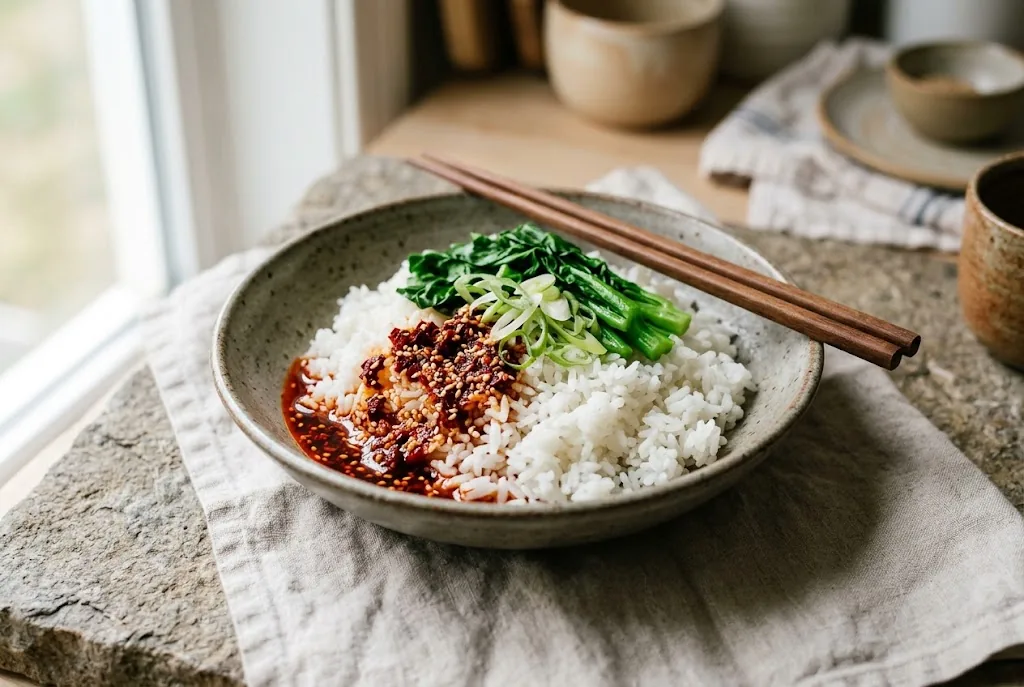
Chili oil is a finishing condiment rather than a cooking one. Drizzle it at the table over noodles, dumplings, rice bowls, blanched greens, mapo tofu, or a simple plate of cucumber with a splash of black vinegar. A spoonful stirred into a dipping sauce turns plain soy sauce into something with a deeper, oily backbone.
For a quick weeknight noodle bowl: cook the noodles, drain, and toss with soy sauce, a little sugar, a splash of black vinegar, and a generous spoon of the oil. Top with sliced scallion and a few drops of toasted sesame oil. The whole dish takes 10 minutes and tastes like you cooked for an hour.
Variations worth trying
Once the basic Sichuan-style version feels familiar, try a few small variations to find the flavor you prefer:
- Black vinegar drizzle: a teaspoon of Chinkiang black vinegar stirred into a small dish of the oil turns it into a dumpling dip.
- Toasted sesame upgrade: double the sesame seeds and add a teaspoon of toasted sesame oil at the end for a nuttier profile.
- Mala heat: increase the Sichuan peppercorns to 2 teaspoons and use a coarse Sichuan chili flake for a stronger numbing sensation.
- Garlic-forward: skip the shallot and use 6 smashed garlic cloves in the infusion. Strain out the garlic, then refrigerate the oil and use it within 4 days.
- Gochugaru version: replace the Sichuan flakes entirely with gochugaru for a sweeter, fruitier, more brightly red oil that pairs especially well with cold noodle dishes.
If you want a chunkier oil with visible bits of crisp chili and shallot rather than a clear pour, our guide to how to make chili crisp at home walks through the same Sichuan flavor profile with a different texture.
Frequently asked questions
How long does it last? It depends on the ingredients. Oil made with fresh garlic or shallot, even strained, should be refrigerated and used within 4 days, or frozen. A jar made only with dry ingredients (flakes, salt, sesame seeds, dry spices) keeps up to about 6 months in the refrigerator in an airtight container.
Can I use olive oil? Not for the base. Extra-virgin olive oil has a low smoke point and a flavor that fights the chili. A neutral oil like grapeseed, peanut, or rice bran works far better. You can finish with a small drizzle of good olive oil if you like, but it should never be the cooking medium.
Is chili oil the same as chili crisp? They are close cousins but not the same condiment. Chili oil is pourable, mostly oil with flakes and aromatics. Chili crisp is chunkier, with visible bits of crispy chili, garlic and shallot suspended in the oil. Both use the same Sichuan flavor logic; the difference is texture and how the chili is cooked.
My oil turned cloudy in the fridge. Is it still good? Yes. Solidified or cloudy oil is normal for any oil with sediment or waxes. Warm the jar in a bowl of warm water for a few minutes and the oil clears.
When to toss the jar
A good homemade oil smells clean, looks bright red, and tastes fresh. If it smells rancid, sour, or like wet cardboard, if the color has gone from red to brown, or if you see fuzzy growth on the surface, throw it out. Most of this comes back to the storage rules above: keep equipment clean and dry, seal the jar, and refrigerate any oil made with fresh garlic or shallot.
