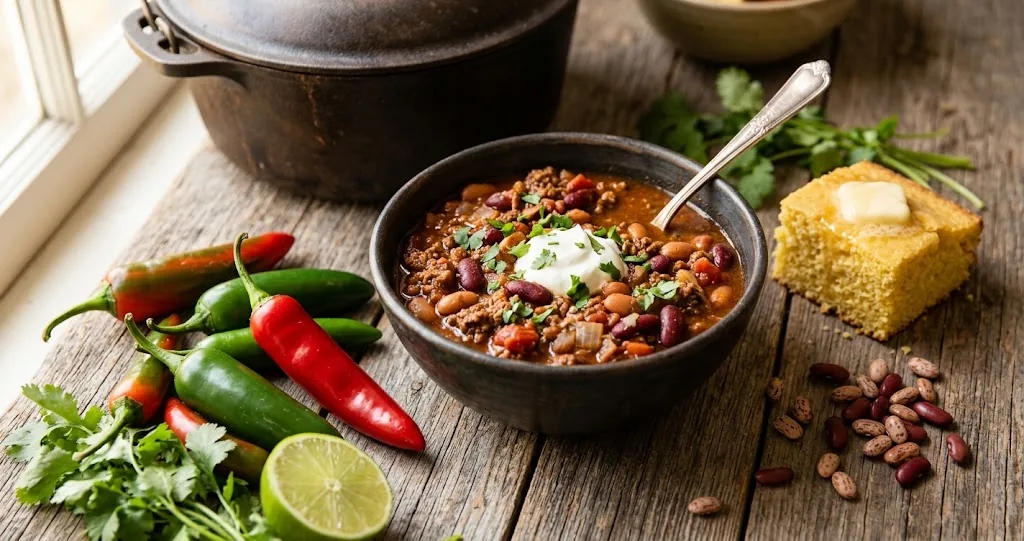
A pot of chili is one of the easiest ways to turn a handful of pantry ingredients into a meal that fills the kitchen with a warm, savory smell and feeds a crowd for very little money. It also bends. You can keep it classic with ground beef and beans, lighten it with ground turkey, leave the meat out for a meatless pot, or change the entire personality of the dish by swapping chili powder for a paste of dried chiles. A good pot of chili starts with a few staple ingredients and the patience to let them simmer together.
This overview covers what chili actually is, the ingredients that give it depth, the techniques that turn a pot of seared beef and onions into something richer, the variations worth knowing, the mistakes that catch home cooks, and how to serve, store, and reheat what you make.
If you want a collection of finished chili recipe ideas rather than a technique guide, head over there once you have read this. The overview works as a foundation, and the recipe collection sits beside it as the practical follow-up.
What chili is, and what it is not
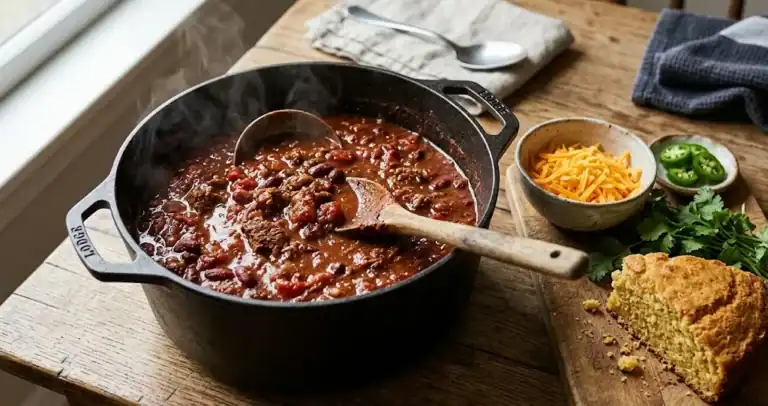
Chili, in its most familiar American form, is a thick, long-cooked stew built on meat, beans, tomatoes, and a deep, layered spice mix. When the pot contains meat, it is often called chili con carne, which means “chili with meat” in Spanish; that name applies to the meat-based version of chili rather than to chili as a whole. The bean and tomato traditions grew up around the dish in different regions, and a Texas-style bowl famously contains no beans at all.
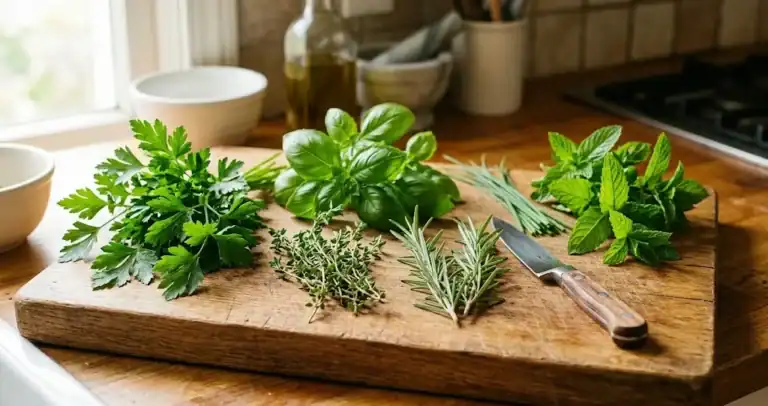
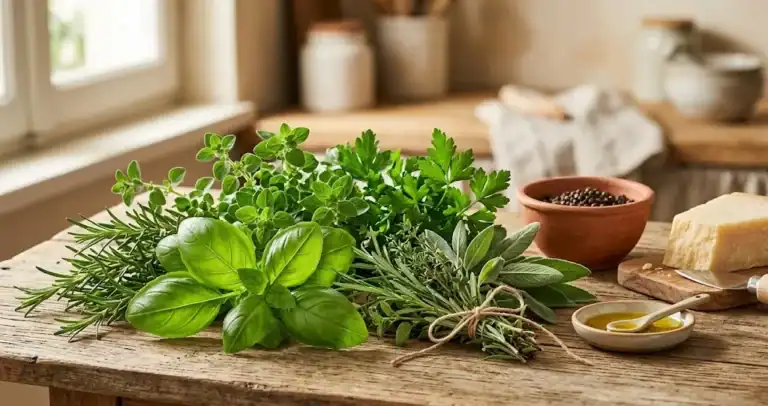
For a broader look at herbs and other ingredients worth cooking with, this overview of herbs worth cooking with puts chili in context alongside dried oregano, cumin, and the rest of the pantry that flavors it.
Three things separate a pot of chili from any other ground beef stew:
- A cooked chile base. Ancho, chipotle, pasilla, cayenne, or chili powder builds the flavor. The same pot with only paprika and pepper tastes thin.
- A long simmer. Most pots need at least 45 minutes to simmer, and the pot is even better after two hours. Slow heat lets the dried spices soften and the meat absorb the sauce.
- A thick, almost spoonable texture. Chili is not soup. It should mound on a spoon and hold its shape in a bowl.
Everything else is a choice, and most home cooks treat it that way. White chicken chili swaps the beef for chicken and the tomato for green chiles. Turkey chili uses ground turkey and often kidney beans. A meatless version leans on mushrooms, lentils, or extra beans for body. The spice blend and the long cook stay the same.
The ingredients that matter
A good chili needs a small number of ingredients done well. If the basics are sound, the variations take care of themselves.
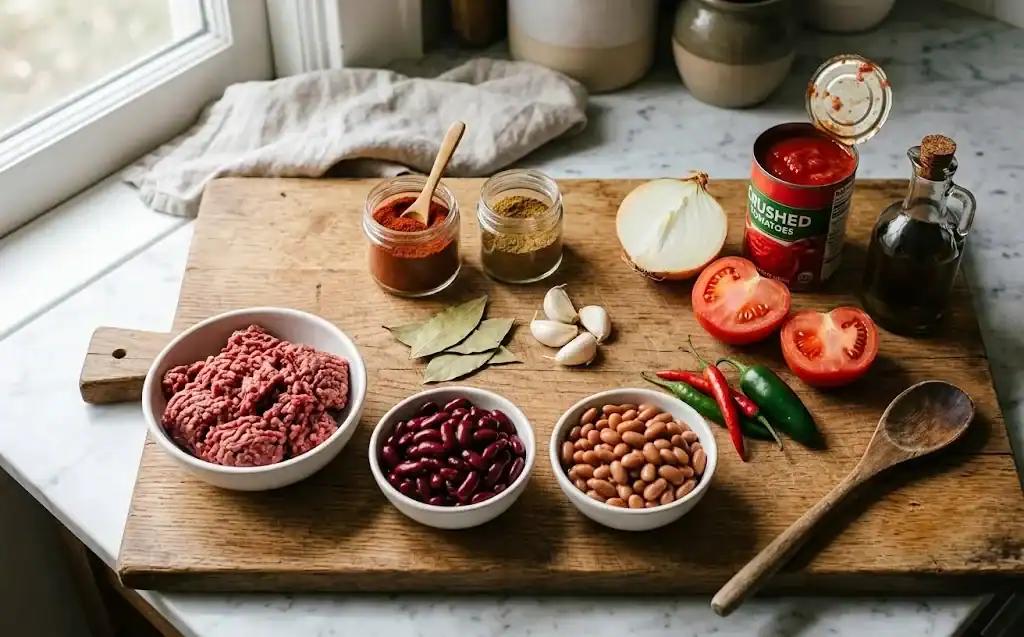
The protein
Ground beef is the classic choice. An 80/20 grind gives enough fat to carry flavor without leaving the pot greasy. Leaner beef works if you add a tablespoon of oil at the start. Ground turkey and ground chicken are good substitutes and pair especially well with white beans and green chiles. For a meatless pot, sear a pound of chopped mushrooms or use a cup of dried lentils, rinsed, in place of the meat.
The beans
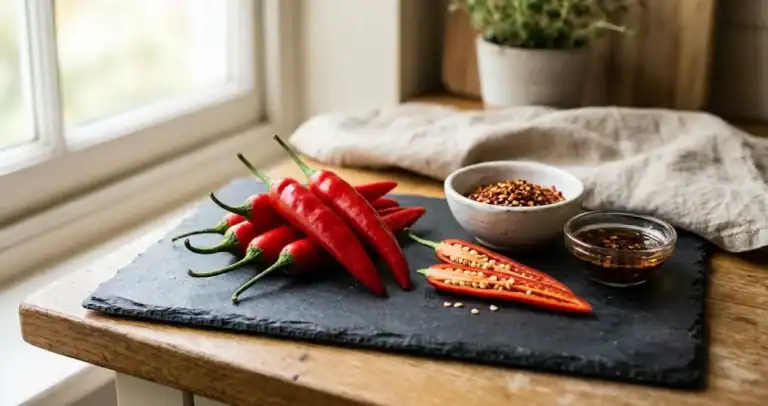
Kidney beans and pinto beans are the two most common choices, and a single 15-ounce can of each is plenty for a pot that serves six. Drain and rinse them so the canning liquid does not muddy the broth. If you prefer a beanless chili, leave them out and serve the pot over rice or with a slice of bread, which keeps the bowl hearty. Fresh chilis can go in at this stage too, chopped small, for a brighter heat that the dried spices alone cannot deliver.
The aromatics
Onion and garlic are the base. Dice a medium onion small so it melts into the sauce by the end of the cook. Mince three or four garlic cloves and add them with the spices so they cook gently rather than burning.
The chile base
This is where most pots live or die. A solid spice mix for a six-serving pot looks like this:
- 2 tablespoons chili powder
- 1 tbsp ground cumin
- 1 tsp dried Mexican oregano
- 1 tsp ground coriander (optional, but worth it)
- 1/2 tsp smoked chile powder or 1 minced smoked jalapeño in adobo, for smoke and gentle heat
- 1/4 to 1/2 tsp cayenne, adjusted to taste
- Salt and freshly ground black pepper
For a deeper, less powdered flavor, toast one or two dried pasilla chiles in a dry skillet, soak them in hot water for 15 minutes, and blend them into a paste with a little of the soaking liquid. Stir the paste in with the spices. Either approach works. The paste route takes longer but tastes more like a real chile.
The liquid and acid
A 28-ounce can of crushed or diced tomatoes is the standard base. Beef broth or chicken broth thins the pot to the right texture. A small can of tomato paste, cooked with the spices, deepens the color and the flavor. A teaspoon of muscovado rounds out the acidity, and a splash of vinegar or a squeeze of lime at the end brightens the finished pot.
How to make a pot of classic chili
This is the method behind most traditional chili recipes, and once you know it, you can adjust the seasoning without a recipe in front of you. The shape scales cleanly from four servings to ten. Adjust the spices by taste rather than by exact measure, since chili powders vary widely in heat and salt. The aim is the best chili you can make today, not a competition pot. Beef chili is the default most cooks reach for, but the same steps work for turkey or chicken once you adjust the lean protein.
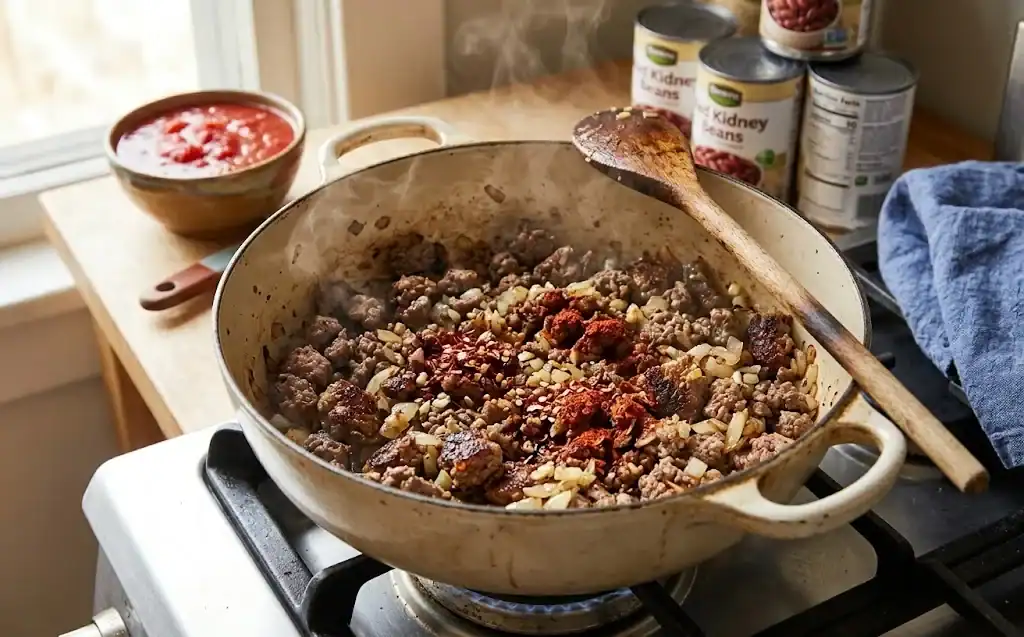
- Heat a tablespoon of oil in a heavy pot or Dutch oven over medium-high heat. Add a chopped onion and cook until soft and lightly caramelized, about 6 minutes.
- Add a pound and a half of ground beef. Sear it well, breaking up clumps with a wooden spoon. Leave the meat undisturbed for a minute at a time so it picks up some color. A dark crust on the meat is the source of much of the pot’s flavor.
- Stir in 3 minced garlic cloves, the chili powder, cumin, dried herb, coriander, smoked chile, cayenne, and a teaspoon of salt. Cook for 60 seconds, stirring, so the spices bloom in the fat.
- Add 2 tbsp of tomato paste and stir until everything is coated and the paste darkens, about 2 minutes.
- Pour in a 28-ounce can of crushed tomatoes and 1 cup of beef broth. Add a drained and rinsed 15-ounce can of kidney beans and a drained and rinsed 15-ounce can of pinto beans.
- Bring the pot to a boil, reduce the heat to low, and cover partially. Let it simmer for at least 45 minutes, stirring every so often. A longer cook, up to 2 hours, gives a deeper, richer pot. Total cooking time is the single biggest variable, so trust the pot rather than the clock.
- Taste and adjust the salt, the heat, and the acid. Stir in a tsp of muscovado to balance acidity, or a splash of vinegar at the end to lift the flavor.
- Serve hot, with the toppings set out in bowls.
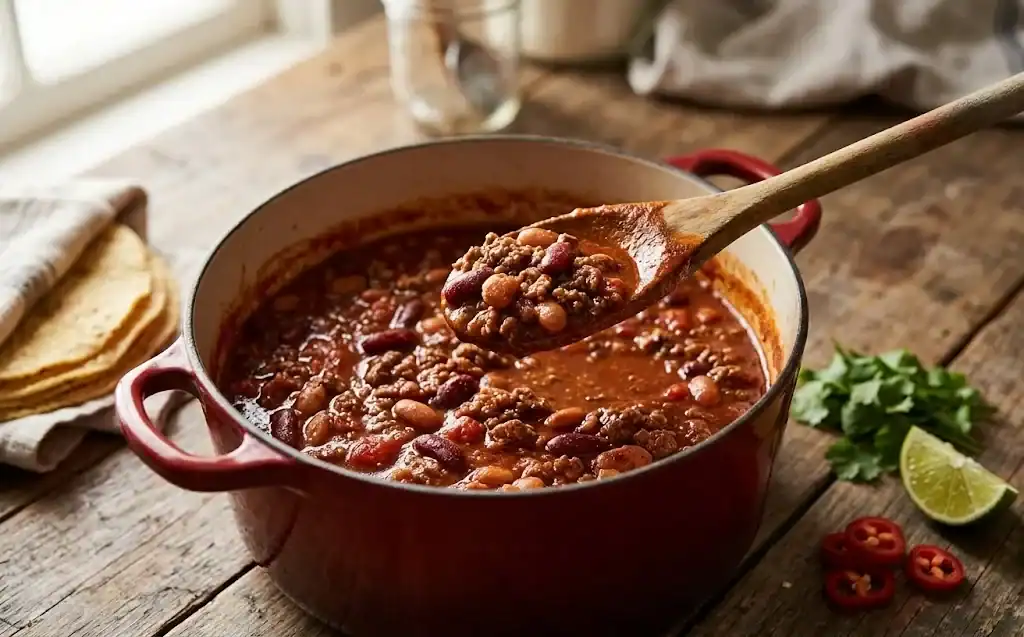
Cooking methods: stovetop, slow cooker, oven
The stovetop is the fastest path. A heavy Dutch oven on a low burner, partially covered, gives you the best control over the heat and lets you adjust as the pot reduces.
A slow cooker is convenient for busy days. Sear the meat and bloom the spices in a skillet first, then transfer everything to the slow cooker. Cook on low for 6 to 8 hours, or on high for 3 to 4. The texture comes out a little looser than the stovetop version, so leave the lid off for the last 30 minutes if the pot looks thin.
The oven is the most hands-off method. After searing the meat and aromatics on the stovetop, transfer the pot to a 325°F oven with the lid on. Cook for 2 hours, stirring once at the halfway mark. The even heat of the oven develops a rounded flavor without the risk of scorching on the burner.
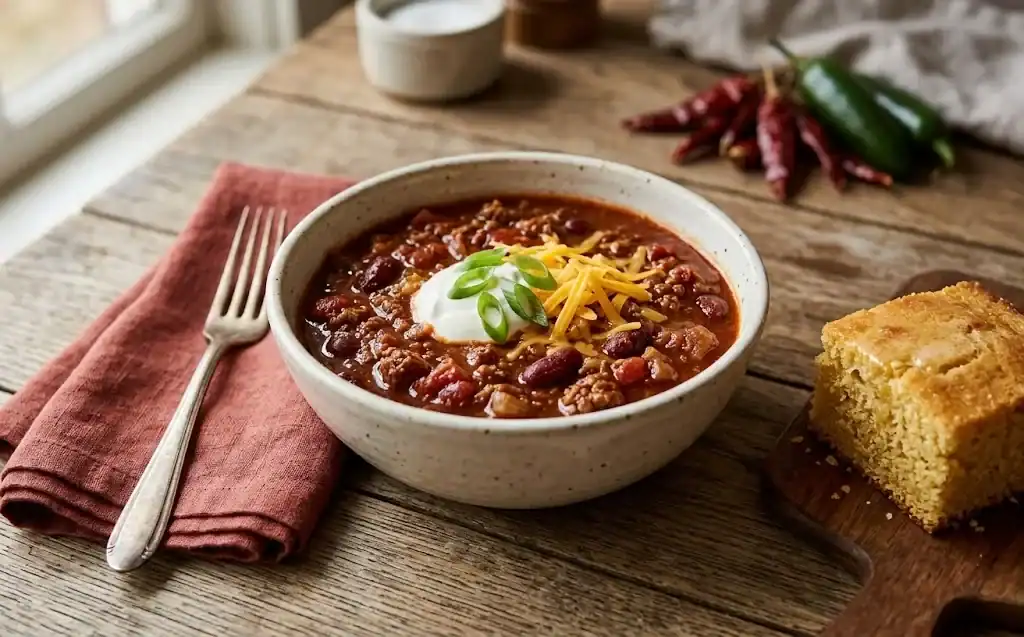
Other ways to make chili: white, turkey, meatless, spicy
Once the basic method is comfortable, the variations open up. Each one keeps the same long-cook discipline but swaps a protein, a bean, or a flavor base. White chicken chili and turkey chili are the two most common turns away from the classic beef pot, and a meatless version is easier than most cooks expect. Spicy chili is a third direction, and the same pot can be tuned across all four with small changes.
White chicken chili
Replace the beef with a pound and a half of boneless chicken thighs, cut into bite-sized pieces. Skip the tomato entirely. Use a 15-ounce can of white beans, a 4-ounce can of diced green chiles, and chicken broth as the base. Build the spice mix around cumin, dried herb, and a small amount of cayenne. Finish with a squeeze of lime and a handful of chopped cilantro.
Turkey chili
Ground turkey is leaner than beef, so start with a tablespoon of oil in the pot and sear the turkey well. Use the same bean, tomato, and spice mix as the classic beef version. Many cooks add a tablespoon of muscovado to a turkey pot to balance the leaner meat.
Meatless chili
Skip the meat and use a pound of chopped cremini mushrooms, or a cup of rinsed green lentils added with the broth. Two cans of beans, plus the tomato base, give the pot enough body to satisfy. A square of dark chocolate, stirred in at the end, adds a quiet depth that works in any vegetarian chili.
Spicy chili
For more heat without altering the structure, add a minced jalapeño or serrano to the aromatics, increase the smoked chile, and finish with a few dashes of your favorite hot sauce. Pickled jalapeños on the table let each person dial their own heat.
Thickening chili and fixing common mistakes
Most chili problems have a simple cause.
- The pot tastes flat. The most likely culprit is underseasoning. Salt brings out the spice, and chili often needs more salt than other stews. Add a pinch at a time and taste between additions.
- The chili is bitter. The spices cooked too long over too much heat, or the chili powder itself is stale. Next time, add the spices with the garlic and bloom them for under a minute before adding the liquid.
- The pot is too thin. Either the cook was too short or the broth was too generous. Leave the lid off and simmer another 15 to 30 minutes, or stir in a tablespoon of tomato paste to thicken the chili.
- The chili is too thick. Stir in more broth, a quarter cup at a time, until the pot loosens to the texture you want.
- The meat is tough. Either the cook was too short or the heat was too high. Lower the flame, cover the pot, and give it another 30 minutes. Tough meat usually softens with time.
- The flavor is one-note. Add acid at the end. A splash of red wine vinegar, a squeeze of lime, or even a tsp of muscovado can lift a flat pot. Pickled jalapeños or a spoonful of pickled jalapeño brine on the way to the table does the same job.
Serving chili: toppings, sides, and what to put it on
Chili likes a small, considered set of toppings rather than a long buffet. Set out small bowls of diced red onion, chopped cilantro, sour cream, shredded cheddar cheese, sliced jalapeños, and a bottle of hot sauce. Let people build their own bowl.
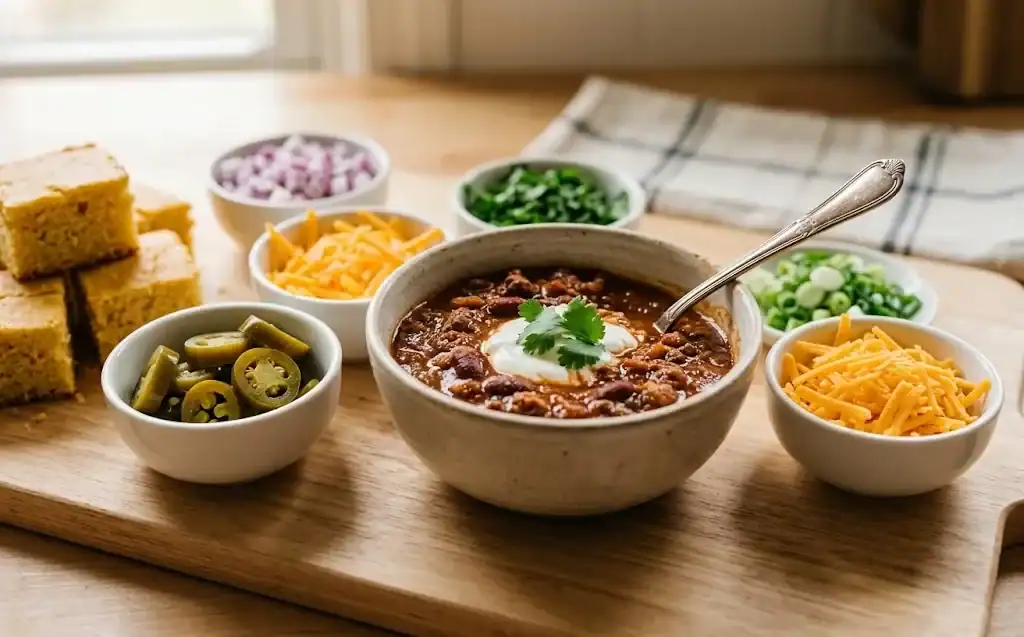
On the side, cornbread is the classic partner, and a square of buttered cornbread beside a bowl of chili is a complete meal. Other good companions:
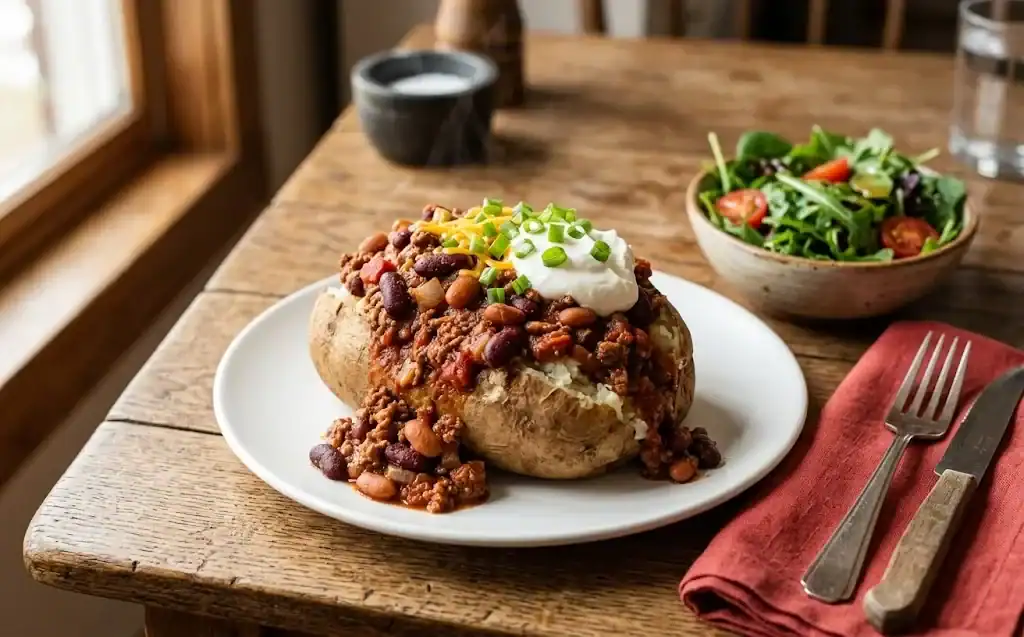
- A baked potato, split and topped with chili, sour cream, and cheese
- White rice, for stretching a smaller pot to feed more people
- Tortilla chips, for scooping rather than a fork
- A simple green salad with a sharp vinaigrette to balance the richness
- Warm flour tortillas, for wrapping a smaller portion into a portable meal
For a casual gathering, set the pot on a warmer with the toppings and sides nearby. A pot of chili, a stack of bowls, and a basket of bread covers most appetites without much fuss.
Storing, freezing, and reheating
Chili is a kind cook’s best friend. It improves overnight as the spices continue to meld, and a pot made on Sunday will taste noticeably better on Monday. To store leftovers safely, divide the chili into shallow containers so it cools quickly, and refrigerate within 2 hours of cooking, or within 1 hour if the kitchen is warmer than 90°F. Refrigerated, it keeps for 3 to 4 days. To freeze, ladle portions into freezer bags or containers, leaving a small headspace for expansion. Frozen chili keeps well for up to 3 months. Thaw overnight in the refrigerator before reheating. The USDA Food Safety and Inspection Service has a clear, practical overview of leftovers and food safety worth a bookmark for any cook who keeps a pot around for a second meal.
To reheat, warm the chili in a covered pot over low heat, stirring occasionally. Add a splash of broth or water if the pot has thickened in the fridge. A microwave works for single portions: cover loosely, heat in 1-minute bursts, and stir between bursts until the chili is hot all the way through. A second slow simmer on the stove is the closest thing to making a fresh pot, and it costs very little effort.
If you grow your own hot peppers and end up with a larger harvest than you can use fresh, the same storing principles apply. Dried peppers keep for many months in airtight jars in a cool, dark cupboard. For longer storage of fresh peppers, see this guide on how to store chili once the harvest comes in.
A short checklist before you start
- Pick a style: classic beef, white chicken, turkey, or meatless
- Have your spices measured and ready before you turn on the heat
- Sear the meat well; do not rush this step
- Bloom the spices in the fat for under a minute, then add the liquid
- Cook low and slow, tasting as you go
- Adjust salt, heat, and acid at the end, not the middle
A pot of chili is one of the most rewarding things to learn in a home kitchen. The method is forgiving, the ingredients are inexpensive, and a single pot feeds a family for a couple of nights. Once the technique is comfortable, the variations become second nature, and a pot of chili stops being a recipe you follow and becomes a dish you cook by feel.