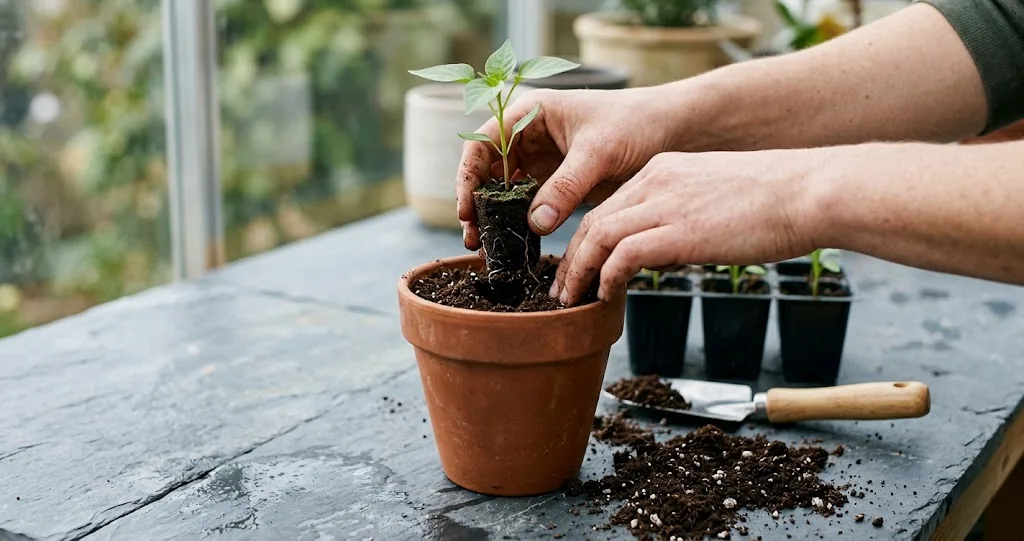
Starting chili peppers from seed rewards patience. Unlike fast-sprouting radishes or leafy greens, Capsicum seeds often take weeks to emerge. Dependable sprouts come down to three environmental factors: steady warmth, controlled moisture, and adequate oxygen. Learning how to germinate chili seeds properly sets the foundation for a productive season. Once your sprouts establish their first true leaves, following our complete guide to growing chili peppers will help you steer them toward a bountiful harvest.
What Pepper Seeds Need to Sprout
Each seed contains an embryo and an endosperm with stored energy. To germinate well, it needs three conditions in balance.
First, the seed requires adequate moisture. Dry seeds absorb moisture through a tiny pore called the micropyle, swelling the embryo and activating enzymes that break down stored energy. The media should stay damp like a wrung-out sponge, never waterlogged.
Second, warmth matters. Keep the growing medium at 80°F to 85°F (27°C to 29°C) for reliable germination. A heat mat with a thermostat helps keep the root zone steady, while a cool windowsill can slow emergence.
Third, the emerging embryo requires oxygen. Compacted, saturated potting media prevents gas exchange. Pepper seeds do not need light to germinate. Give seedlings bright light once their cotyledons emerge above the medium.
The Direct Sowing Method in Seed Trays
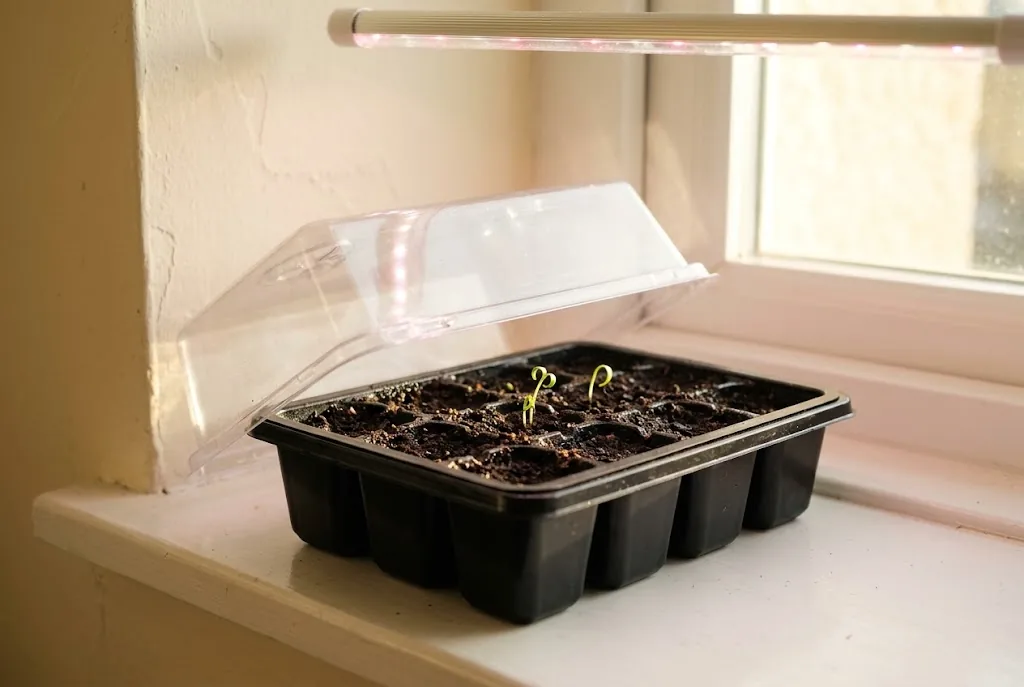
Direct sowing into cell trays is the most reliable approach for gardeners starting multiple varieties. It minimizes root disturbance and provides a seamless transition from sprout to young seedling.
Begin with a fine-textured, sterile seed-starting mix or commercial seed compost based on peat moss or coconut coir blended with perlite. Avoid heavy garden dirt, which compacts easily and harbors fungal pathogens. Fill your seed tray cells, tap the flat lightly on your bench to settle the mix, and pre-moisten the substrate with a gentle mist until evenly damp.
Tuck one seed per cell, or two seeds if working with older seed stock, about one quarter inch (roughly half a centimeter) deep. Lightly cover the hole with loose mix or a thin pinch of horticultural vermiculite to help keep the moisture around the seed coat. Set your flat on an electric bottom-heating pad equipped with a digital thermostat probe placed inside one of the central cells. Gentle bottom heating warms the root zone consistently. Covering the tray with a clear plastic dome traps humidity and maintains steady moisture levels without constant re-watering.
Before filling your flats, check our seasonal guide on timing when to start chili seeds indoors to align your indoor sow dates with your local spring frost calendar.
The Paper Towel Method for Viability Testing
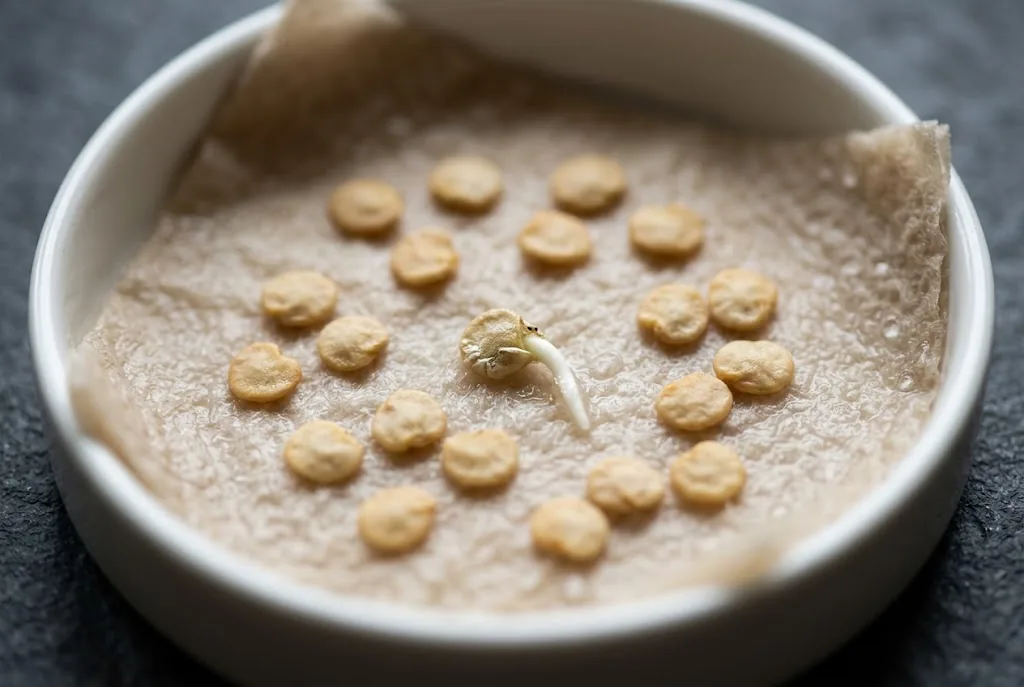
The paper towel method, sometimes called the baggie technique, is a popular alternative for testing older seeds or starting challenging, slow-sprouting varieties. It allows you to inspect root emergence directly without digging through potting mix.
To use this technique, take a sheet of unbleached paper towel and moisten it with clean, lukewarm water. Squeeze out all excess liquid thoroughly. The wet paper should be evenly damp without dripping. Lay the sheet flat and space your seeds across one half, leaving at least an inch between each seed.
Fold the remaining half of the towel over the seeds, then slide the damp bundle into a clear zip-top plastic bag or shallow plastic lidded box. Leave one corner unsealed to allow essential air exchange. Place the bundle in a warm location, such as on top of an electric warming pad, above a refrigerator, or inside an airing cupboard that maintains a steady 80 degrees Fahrenheit (27 degrees Celsius).
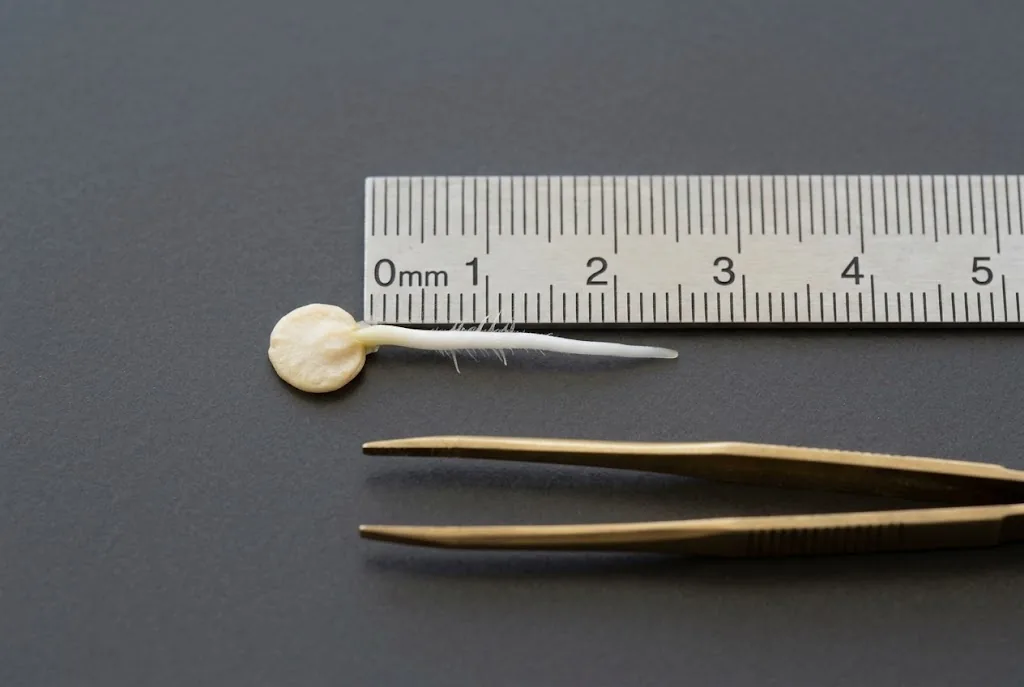
Inspect the pack every two days to confirm moisture levels. As soon as a white radicle breaks through the seed shell, gently lift the sprouted seed using clean tweezers. Transfer it promptly into a small pot or cell filled with moist compost, orienting the root tip downward into a shallow indentation, and cover it lightly.
Sprouting Timelines by Capsicum Species
Peppers do not all emerge at exactly the same pace. Soil warmth, seed age, and variety all affect the timing. As a practical baseline, expect germination in two to four weeks at a steady 80°F to 85°F. Some Capsicum chinense varieties can take up to five weeks.
Common Sprouting Problems and Fixes
Even seasoned growers encounter hiccups when starting seeds. Identifying the underlying cause allows you to correct course before losing an entire flat.
Seeds that do not emerge on schedule often need steadier warmth rather than more water. A tray can be much cooler than the room around it, especially on a windowsill or basement shelf. Check the growing medium with a thermometer and use thermostatically controlled bottom heat if needed.
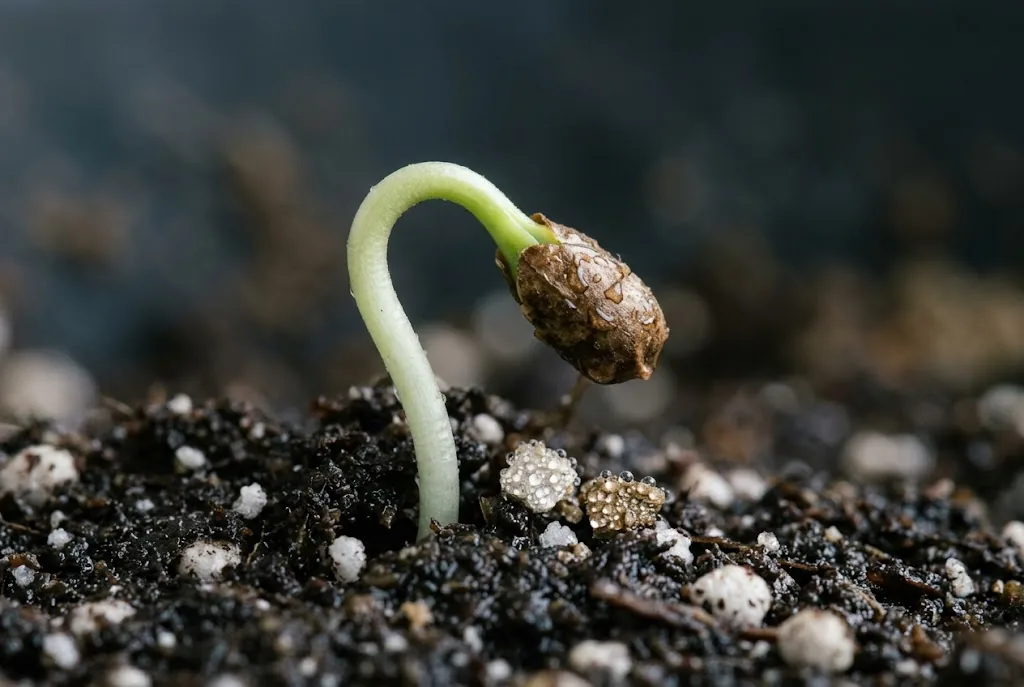
Another common setback is “helmet head,” where the seed coat remains firmly stuck around the emerging cotyledon leaves, trapping them inside. This happens when seeds are planted too shallowly or when ambient humidity drops too low during emergence. To help the seedling break free, place a droplet of warm water on the stuck husk and wait fifteen minutes for the coat to soften before gently easing it off with tweezers.
Damping-off is a heartbreaking fungal condition where newly emerged stems rot at the soil line and collapse overnight. It thrives in cold, stagnant, waterlogged media. Prevent damping-off by using sterile seedling mix, watering from the bottom, providing gentle airflow from a small fan, and removing humidity domes as soon as the first green loops break the surface.
Transitioning Sprouts into Seedlings
The moment cotyledon leaves break through the surface, the plant’s physiological priorities transform. Germinating seeds rely on internal nutrient reserves, but emerging seedlings immediately require sunlight or bright grow lights to begin photosynthesis.
Remove the humidity dome promptly to increase air circulation and reduce fungal risk. Move the flat under bright overhead grow lights, following the fixture maker’s guidance for the right distance. From this stage forward, attentive moisture management and proper light exposure form the backbone of essential chili seedling care as your plants develop their first sets of true leaves and prepare for potting up into smaller pots or moving outdoors into a greenhouse.
Frequently Asked Questions About Germinating Pepper Seeds
Should I soak seeds before planting?
Soaking is optional, not essential. Start with fresh seed, a warm growing medium, and evenly moist seed-starting mix. If you test older seed first, the paper towel method lets you see which seeds have produced a radicle before you pot them up.
Do chili seeds need light to germinate?
No. These seeds wake up best in darkness beneath a quarter-inch layer of moist potting medium. They only require light once their green seed leaves emerge above the soil line.
Can I grow plants from seeds saved from grocery store peppers?
Seeds from a fully ripe pepper can germinate, but the result may not match the parent fruit. If the pepper was a hybrid, its seedlings can vary in fruit shape, heat, yield, or other traits. A labeled seed packet is the more predictable choice when you want a known variety.
How long do chili seeds remain viable?
Pepper seed can remain viable for about four years when kept cool and dry, although germination declines as seed ages. Store it in a sealed container and test older seed before you rely on it for a full tray.
