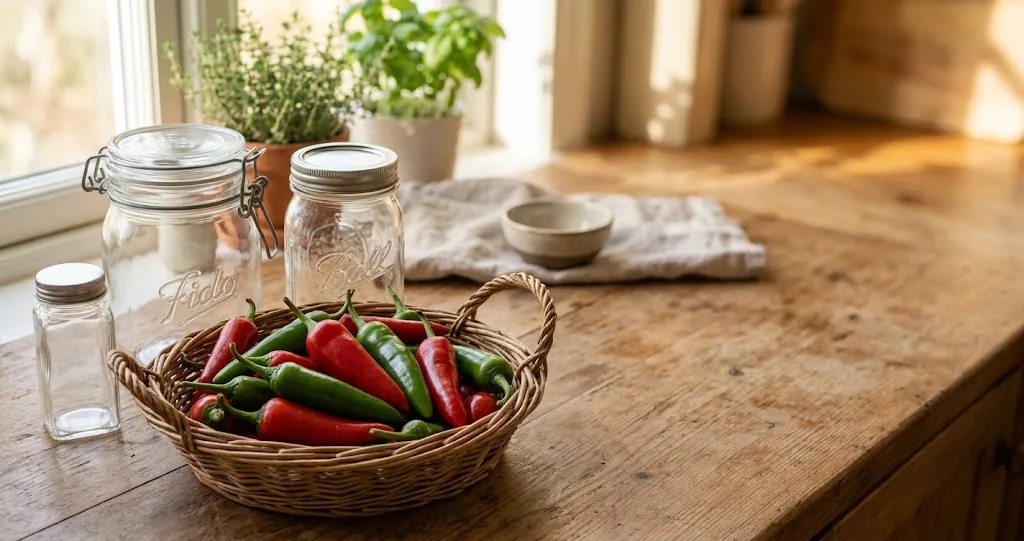
A bowl of freshly picked chilies can look indestructible, but a few damp or bruised pods can shorten the life of the whole batch. The best way to store chili depends on what you have: refrigerate firm, dry chilies for near-term cooking, freeze chilies for easy long-term use, or dry, pickle, or preserve them with a tested method.
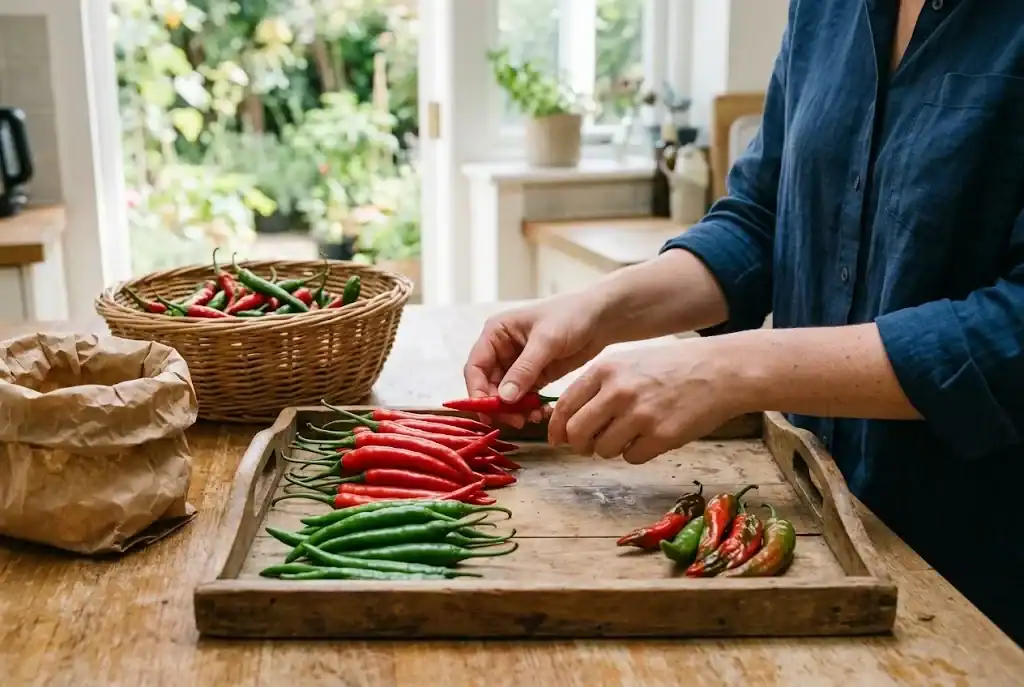
Start by sorting the harvest. Set aside any chilies with soft spots, cuts, mold, or insect damage, and use those first if they are still sound. Keep only firm, unblemished chilies for storage.
Choose the storage method by how you will use the chili
- Use within about a week: refrigerate whole, dry chilies.
- Cook with them later: freeze whole or sliced chilies.
- Want a pantry ingredient: dry the chilies completely, then store them airtight.
- Want a tangy condiment: make fridge pickles or use a tested canning method.
Do not wash chilies before fridge storage unless they are visibly dirty. Extra dampness encourages decay. Instead, brush off loose soil and rinse just before cooking. If you do wash a batch before freezing or drying, dry it very well with a clean towel.

How to store fresh chilies in the fridge
For the best texture, place dry, whole chilies in a loose paper bag or a partially open produce bag in the fridge crisper. A sealed, wet bag traps dampness, while an uncovered bowl lets chilies shrivel. Check the batch every few days and remove any chili pepper that is soft or spoiled.
Keep the stems on until you are ready to use the chilies. The intact stem end helps protect the flesh, and it makes each chili easier to handle. Avoid piling a heavy container on top of them, because small bruises quickly become weak spots.
Refrigeration is best for chilies you expect to add to a sauce, salsa, broth, or dinner soon. The exact keeping time varies with the variety and its condition at harvest, so use firmness and appearance as your guide. A chili that is limp, slimy, moldy, or leaking should be discarded.
Freeze chilies for the easiest long-term storage
Freezing is the easiest way to save a large harvest without cooking it first. Frozen chilies soften when thawed, but they work beautifully in stews, sauces, homemade chili, or hot sauce. For raw dishes, use chilies that were refrigerated instead.
- Choose firm, healthy chilies. Rinse them under running water.
- Dry them thoroughly. Surface water creates ice and can make the chilies softer after thawing.
- Remove stems. Leave small chilies whole, or halve larger chilies and remove seeds if that suits the recipes you make.
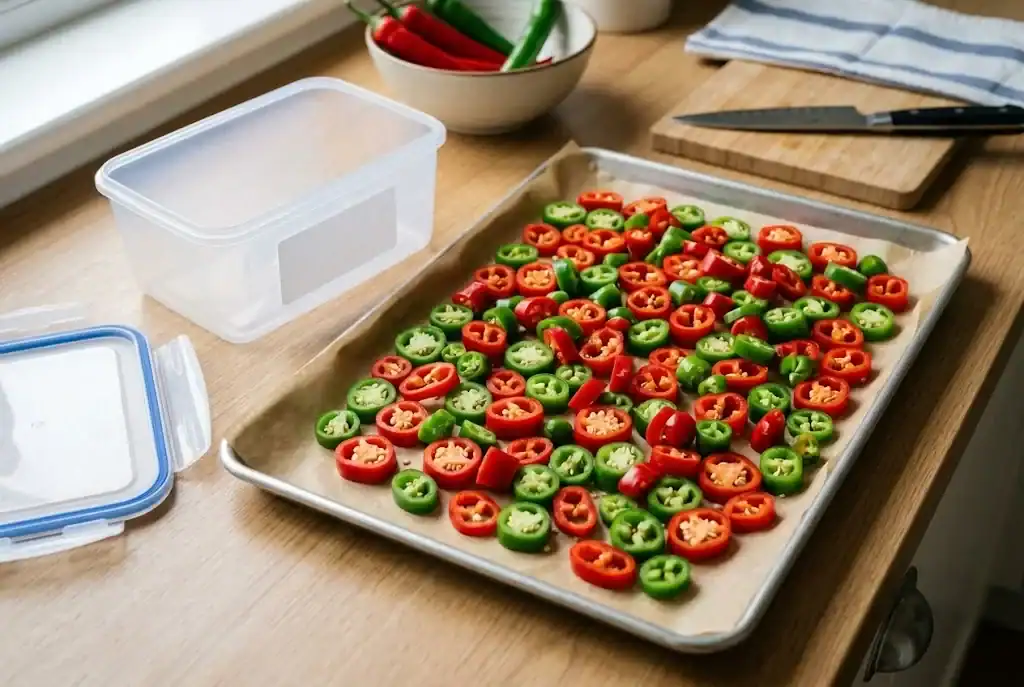
- Spread pieces on a tray until firm, then transfer them to a labeled freezing container or bag. Press out excess air, add the date, seal, and freeze. This optional tray step keeps slices from freezing into one solid block.
The National Center for Home Food Preservation notes that chilies are suitable for raw freezing after preparation, and recommends sealing them in freezing packaging. Use the frozen chilies straight from frozen storage in cooked dishes, or thaw only the amount you need. See its hot-pepper freezing guidance.
Dry chilies for flakes, powder, and pantry storage
Drying changes the texture, but it keeps a concentrated chili flavor close at hand. Use dried chili in a rub, spice blend, or a small amount of sauce when you want heat without extra moisture.
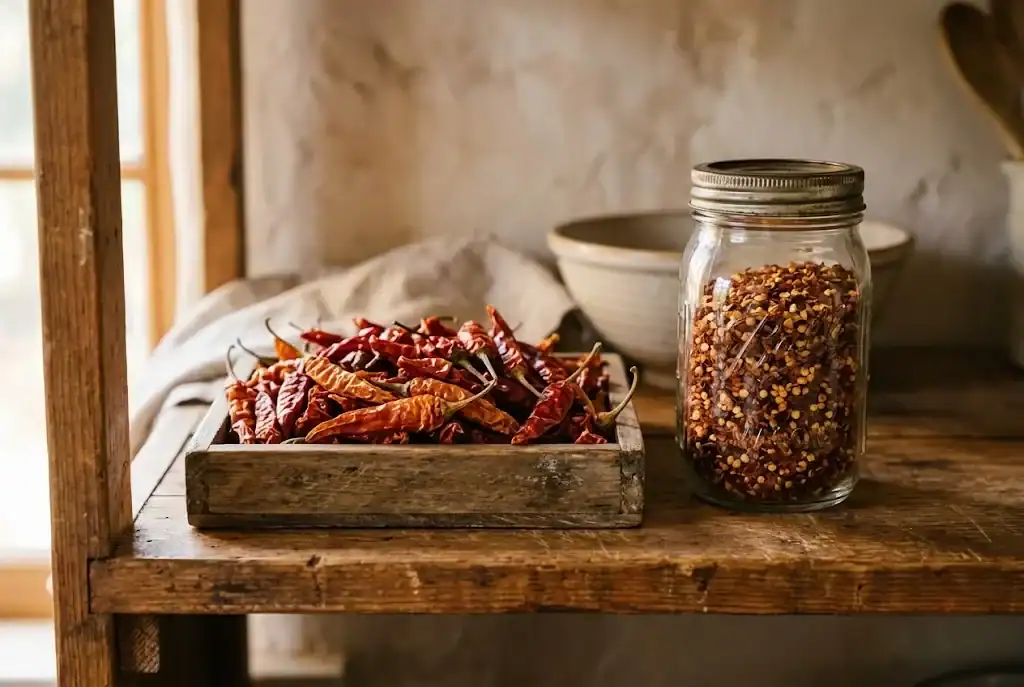
Drying concentrates heat and flavor, and it is a good option when cold-storage space is limited. Use only sound chilies. Split thick-fleshed chilies lengthwise so they dry evenly. A food dehydrator works well. You can also use a low oven or air-dry thin-walled chilies in a warm, dry, well-ventilated place.
The chilies are ready when they snap cleanly rather than bend. Let them cool fully, then store them in a clean, airtight jar away from heat and light. Any remaining dampness can cause mold, so inspect dried chilies during the first week. If you see condensation, return them to the dehydrator rather than sealing them away.
Wear gloves when cutting hot varieties, and avoid touching your eyes or face. After handling chilies, wash hands, boards, knives, and counters with soap and water. The National Center for Home Food Preservation gives the same caution for home preservation of hot chilies. Read its tested chili-preservation instructions.
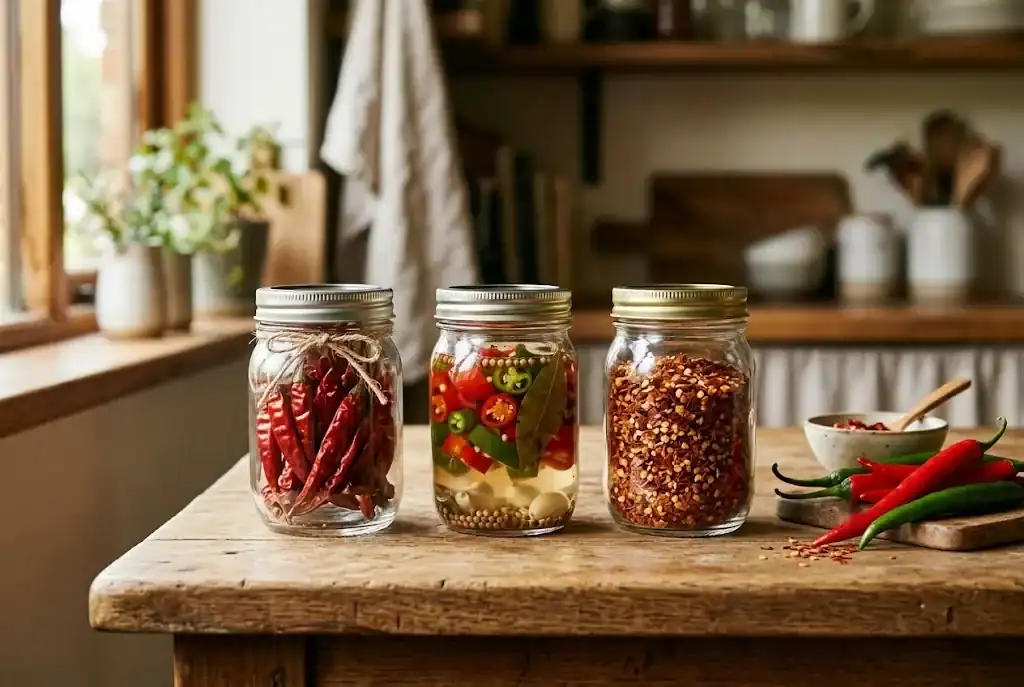
Pickling and canning need tested recipes
Pickled chilies add bright heat to sandwiches, tacos, grain bowls, and barbecue. Refrigerator pickles are simple, but they belong in the refrigerator and should be made from a reliable recipe. For shelf-stable jars, use a current tested recipe written for the chili style, jar size, acidity, and processing method you are using.
Do not improvise the vinegar, water, or processing time in a canning recipe. Chilies are a low-acid vegetable, so shelf-stable canning requires the right process. The National Center for Home Food Preservation publishes tested methods for hot and sweet chilies, pickles, relishes, and salsa. Browse its home-preservation resources.
Do not store fresh chilies in oil at room temperature
Do not keep fresh chilies, garlic, or herbs in oil at room temperature. Oregon State University Extension advises refrigerating fresh vegetables or herbs in oil, using them within four days, or freezing them for longer storage. Read its guidance on herbs and vegetables in oil.
Use frozen chilies without thawing
For a stew or sauce, or homemade hot sauce, add frozen slices directly to the pot while the dish simmers. This avoids thawing first and lets you add only what the dish needs. Grind fully dried chilies only when you need them, then return the rest to a sealed jar.
Keep storage decisions simple
Choose one method for each batch instead of trying to preserve every pod the same way. Keep the firmest chilies for the fridge, freeze the ones you will cook, and dry mature red chilies for flakes. That approach protects taste and makes the harvest easier to use.
Can you freeze chilies with seeds?
Yes. Freeze chili with seeds when you want to save time, or remove seeds and the pale inner ribs before freezing when you prefer less heat. Either choice works. Use a clean container, press out excess air, and seal it well.
What is the best container for frozen chilies?
A flat storage bag is useful for thin, flat portions; a rigid container protects larger pieces from crushing. Leave a little room for expansion, label each package, and keep it toward the back of the appliance where the temperature stays steady.
How do you use dried chilies?
Use a whole dried chili to flavor beans, soup, or a simmering sauce, then remove it before serving. For flakes, grind a small amount at a time. A dried chili is also a useful ingredient in salsa, barbecue sauce, and homemade seasoning blends.
Avoid freezer burn and condensation
Freeze only completely dry chilies. Surface water becomes ice, and trapped air can dry exposed pieces over time. Use a bag or container that closes securely, press out excess air, and do not repeatedly warm and refreeze the same package. Keep frozen packages together so they are easy to find without leaving the appliance door open for long.
For dried chilies, condensation is the warning sign to take seriously. If you see moisture inside a jar, return the contents to the dehydrator before storing them again. Keep the jar closed and away from heat and sunlight to protect aroma and color.
Know when to discard the harvest
Discard any fresh chili that is slimy, moldy, leaking, or deeply soft. Discard dried chilies with visible mold or an off smell. When a stored harvest looks doubtful, do not taste it to test safety.
Use your stored chilies well
Frozen chilies are at home in a serving of chili, tomato sauce, or a quick weeknight broth. Dried chilies can be ground into flakes or added whole to a simmering dish. Pickled chilies bring sharpness to rich foods. Once you have preserved the harvest, explore practical chili techniques.
Keep dried chilies whole until you need them. Grinding only a small amount at a time helps protect their aroma and keeps your spice blend flexible.
For a different next step, choose from these chili recipe ideas.
Store only clean, firm chilies, keep dampness under control, and match the method to your next meal. That small bit of sorting turns a short harvest window into weeks or months of useful flavor.