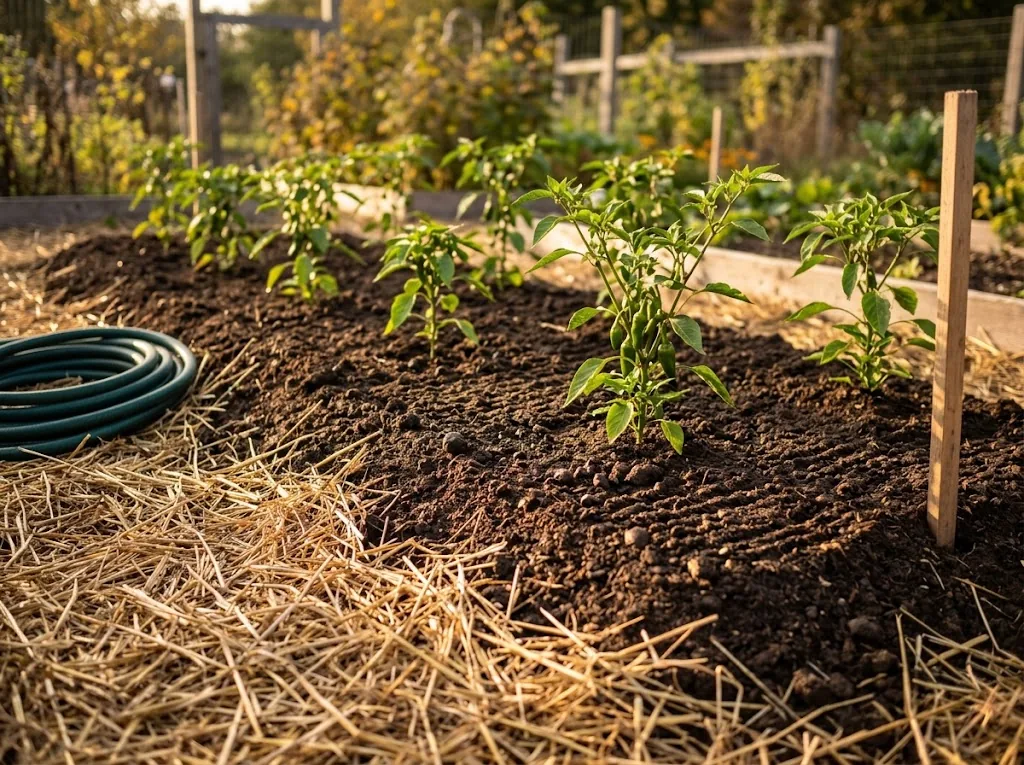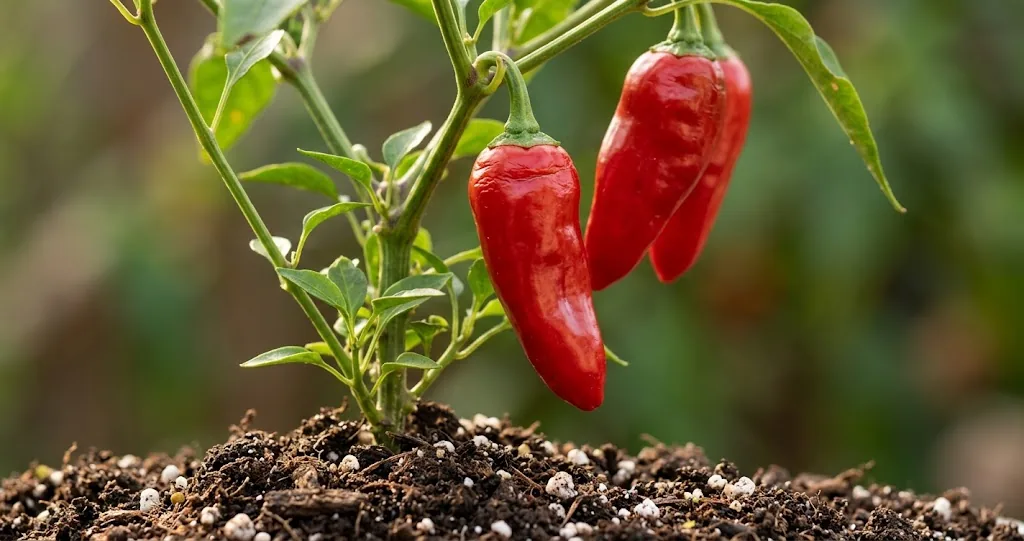
A loose, well-drained, slightly acidic to neutral soil gives chili plants a steadier root environment for flowering and fruiting. A good medium holds moisture without staying saturated, leaves room for air around the roots, and gives you a practical base for feeding through the season.
Whether you grow a single bell pepper in a window box or a row of super hot varieties in a backyard bed, the underlying rules do not change. Soil structure, water movement, pH balance, and a slow steady supply of nutrients drive pepper plant health more than any other single factor. The rest of this guide walks through what each chili plant root system actually needs, how to mix a simple homemade potting soil, when and how to adjust pH, how container and ground beds differ, common problems and quick fixes, and how to feed the soil through the season.
What chili roots actually need
Chili peppers (Capsicum species) need growing media that stay moist without becoming saturated, hold enough air for oxygen exchange, and provide nutrients in line with a soil test and fertilizer label. Three physical properties matter most: how freely water moves through the medium, the structure that keeps pore space open, and the pH that affects nutrient availability.
Free water movement is non-negotiable. Pots must have holes, and a dense ground bed needs organic matter worked in to break up clay. A medium that stays wet for more than a few hours after watering suffocates the fine root hairs and opens the door to root rot fungi like Phytophthora. Equally, a mix that drains too fast can leave peppers thirsty in midsummer heat, so the goal is “moist but airy” rather than “wet” or “dry.”
Structure is what keeps pore space open. A container mix can combine an organic base with materials such as perlite, pumice, bark or coarse sand to balance moisture retention with air space and water movement. Choose a mix that rewets evenly and does not stay compacted after watering.
pH controls which nutrients are available to the plant, even when those nutrients are already present in the soil. For most home-grown chili peppers, a slightly acidic to neutral range of roughly 6.0 to 7.0 is a useful target. Outside that range, some nutrients become less available. A soil test is more reliable than guessing from leaf color, and its recommendations should guide any amendment.
A simple homemade chili soil mix
A reliable starting recipe for one large container or a few small pots:
- 40 percent peat-free coco fiber or well-graded sphagnum peat moss. Coco is more sustainable and rewets easily after it dries; sphagnum peat holds nutrients well but is harder to rehydrate once bone dry.
- 20 percent coarse perlite or pumice. Perlite is the white volcanic popcorn that keeps the mix airy. Vermiculite is a useful substitute or addition if you tend to underwater, because it holds more water.
- 20 percent well-rotted compost or worm compost. Homemade compost is fine when it is fully finished and smells sweet. Worm compost is gentler and brings a balanced micronutrient profile.
- 10 percent coarse sand or fine pine bark. Pine bark slowly breaks down and keeps pore space open; coarse sand adds weight and improves water flow.
- 10 percent well-rotted manure or aged leaf mold. Either feeds the soil biology that feeds the plant. Skip fresh manure: it burns roots and pulls nutrients out of the soil as it breaks down.
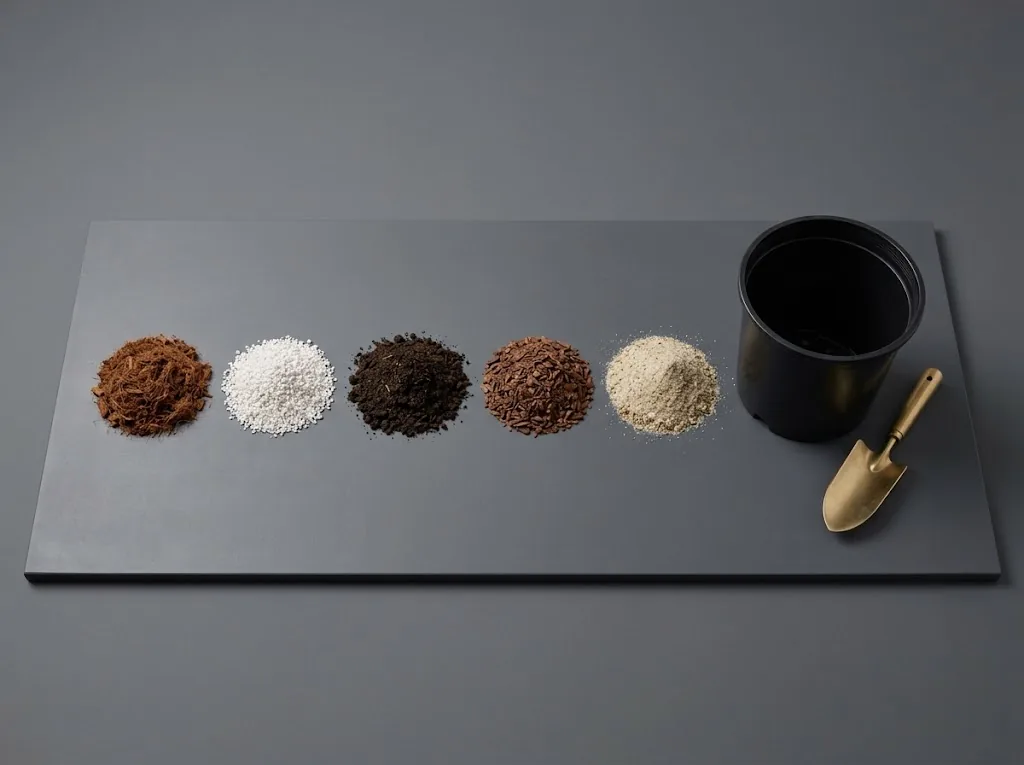
Mix everything in a clean wheelbarrow or a large bucket, then water it slowly until it is evenly moist but not dripping. Moisten the brown base ingredient before you measure it, since dry fiber absorbs a surprising amount of water the first time it is wetted.
Use the same proportions to make only as much mix as your container needs. A 5-gallon pot holds about 20 quarts, while a 10-gallon pot holds about twice that amount. For a large barrel or bed, fill it with the blend and set plant spacing according to the mature size of the variety rather than relying on one fixed container recipe.
Choosing the right bagged potting soil
If you would rather buy a mix than build one, look for a bag labeled “potting mix” or “container mix,” not a bag meant for in-ground use. Native ground material is formulated to be mixed into existing beds and compacts badly in pots. A good potting soil already includes pumice or perlite for aeration, organic matter or bark for structure, and a starter charge of balanced nutrients. Avoid mixes loaded with chemical fertilizer spikes if you prefer an organic setup, since the slow-release kind can push soft leafy growth in seedlings.
For seedlings, choose a “seed starting mix” rather than a regular potting soil. Seed starting mixes are finer in texture and lower in nutrients, which encourages the seedling to push roots out in search of food rather than sitting in a wet, rich medium prone to damping off. Once the seedling has two sets of true leaves, transplant it into the regular homemade or bagged mix above.
Adjusting pH the right way
Most bagged mixes are formulated close to the range peppers prefer, so do not adjust pH by default. Test first with a reliable soil test or through your local extension service. If the result shows that an adjustment is needed, use the amendment and rate recommended by that test and follow the product label. Lime raises pH and elemental sulfur can lower it, but the right rate depends on the starting pH, the material in the mix, water quality and the amount of soil involved.
For most growers, a well-aerated mix and steady watering handle pH through the season without intervention. Check again if a soil test, persistent growth problem or known alkaline water source suggests a real issue, rather than treating a number on a cheap probe as a diagnosis.
Container mix vs garden bed soil
In pots and grow bags, you control the medium from the start, so a peat-free fiber, pumice and compost blend gives chili plants everything they need. The loose texture also warms up faster in spring, which gets peppers off to a quicker start. Indoor growers under grow lights can use the same recipe year-round without worrying about ground contamination or pests.
Garden beds are a different story. Native ground usually needs amending before peppers will thrive, especially in clay or sandy plots. Work 2 to 4 inches of finished organic matter into the top 8 to 10 inches of the bed a few weeks before transplanting. Heavy clay benefits from added coarse sand or fine pine bark to break up the structure. Sandy ground benefits from extra humus and a layer of mulch on top to hold moisture between waterings.
If you want to grow chili peppers in pots on a balcony or in a small space, match the container size, drain holes and support to the mature size of the variety. For the full container guide, see Growing Chili Peppers in Pots: Container Size, Drainage and Setup.
Common soil problems and quick fixes
Most chili growing problems trace back to the medium rather than the weather or the plant. A few patterns come up over and over:
- Yellow leaves between the veins usually means pH is too high or too low for iron uptake. Test the runoff and adjust toward 6.0 to 7.0.
- Blossom end rot (dark sunken spots on the bottom of the fruit) is often linked to uneven moisture, which disrupts calcium delivery to the developing fruit. Keep moisture steady first, then use a soil test before adding calcium.
- Slow growth in mid-season often points to a compacted medium that has lost its pore space. Top-dress with worm compost and gently loosen the top inch with a fork.
- White crust on the soil surface can indicate salt build-up from hard water or over-fertilizing. Check your fertilizer rate and water quality, then let a soil or water test guide the correction.
- Stunted seedlings usually come from a fine seed starting mix that stayed too wet, or from a medium low in phosphorus. Once true leaves form, move the seedling up into a richer potting mix.
Reusing last year’s potting mix is tempting, but it can lose structure and accumulate salts over a season. Refresh or replace it before planting, especially if the previous crop had disease or nutrient problems.
Feeding the soil through the season
Soil mix and fertilizer are related, but they solve different jobs. Once a chili plant is established, choose fertilizer from a soil-test result and the product label rather than adding nutrients on a fixed calendar. Too much nitrogen can produce leafy growth at the expense of fruit, so use a complete plan that matches the plant stage and your existing soil fertility. For the full feeding schedule from seedlings through harvest, see Best Fertilizer for Chili Plants: Feeding for Fruit, Not Just Leaves.
Putting it all together
A chili plant grows best in a loose, well-aerated mix with a pH between 6.0 and 7.0, fed steadily through the season. Build that medium from a brown base ingredient, pumice or perlite, organic matter and a small amount of coarse material, and most of the season’s hard work is already done. Adjust pH gently when needed, water consistently, and refresh containers each spring. The plant will reward you with a long harvest of ripe, flavorful pods.
For a wider look at chili planting, container choice, watering and feeding through the full season, the Growing Herbs of Chili Made Easy guide pulls the whole process together.
Soil for chili seedlings
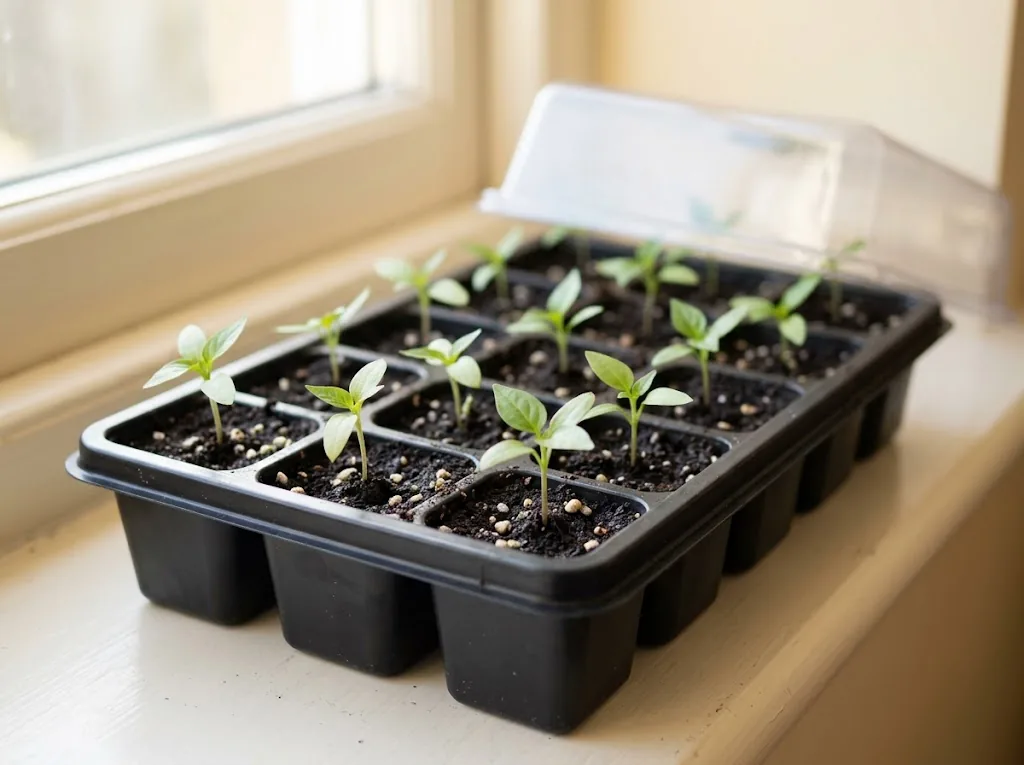
Chili seedlings need a different medium than mature plants in the garden. Their roots are thin and easily damaged, and they struggle in mixes that are heavy, wet or overly rich in nutrients. A clean seed-starting mix is finer in texture than regular potting soil, holds moisture evenly, and drains well enough that young roots do not sit in standing water. Use a fresh, commercially prepared seed-starting mix or a clean soilless mix suited to germination.
Sow chili seeds about 5 mm deep in cell trays or small pots, mist the surface until evenly moist, and cover with a humidity dome until the first true leaves appear. Keep the trays warm with a heat mat if your room runs cool. Once the seedlings have two sets of true leaves, move them up into small individual pots filled with the regular chili mix described earlier in this guide. From there, harden them off gradually over a week before transplanting after the soil and nights have warmed reliably in your area.
Quick soil tests you can do at home
Three simple checks catch most soil problems before they reach the plant:
- Water-flow test. Fill a pot with your mix and water it thoroughly. Water should escape through the holes in the pot, while the mix stays moist rather than waterlogged. If it remains saturated for a long time, revisit the mix and container setup before planting.
- Crumb test. Pick up a handful of moist mix and squeeze it. A good mix holds its shape loosely, then falls apart when you open your hand. A mix that stays in a tight ball is too dense; a mix that does not hold at all is too sandy or pumice-heavy.
- pH test. Use a reliable soil test when you are preparing a bed, filling containers or diagnosing a persistent problem. A range of roughly 6.0 to 7.0 suits most chili peppers. If an adjustment is needed, follow the test recommendation and product label.
These checks give you a practical starting point before planting and when a plant develops a persistent problem. Use them alongside a proper soil test when you need to make a nutrient or pH correction.
Preparing a new garden bed for chili peppers
If you are starting a fresh bed for chili peppers outdoors, begin by testing the soil and working well-rotted compost or other finished organic matter into the planting area as your local extension guidance recommends. Avoid fresh manure. A cover crop can be useful where it fits your season and site, but it is optional rather than a requirement for a productive pepper bed.
Before planting, rake the bed smooth and plan irrigation so the soil can stay evenly moist through summer. Mulch can help conserve moisture and suppress weeds. A well-prepared bed gives peppers a more reliable start than compacted or poorly drained ground.