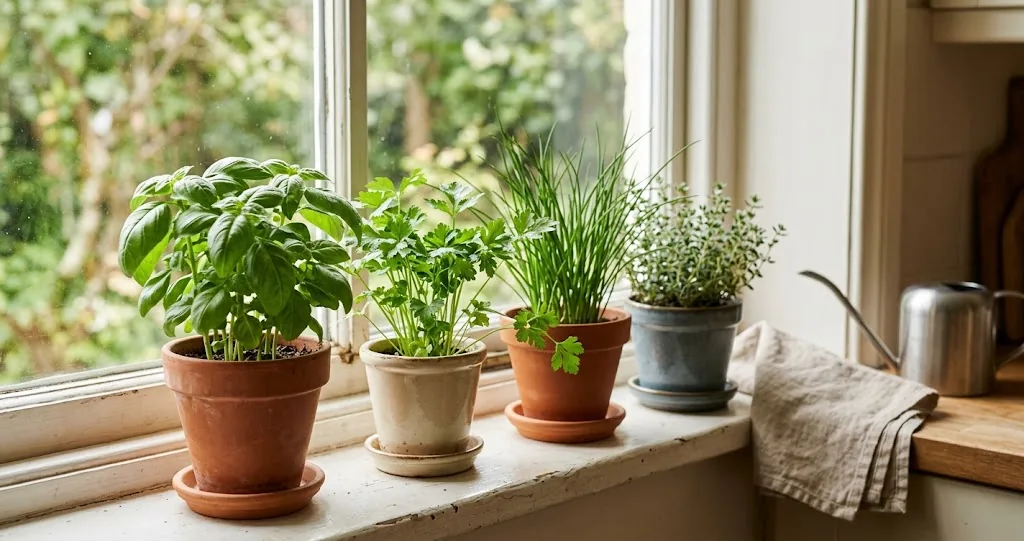
Fresh basil on a windowsill in February. Snipped chives scattered over a Tuesday-night scramble. A sprig of rosemary pulled from a kitchen container instead of a plastic clamshell from the grocery store. Growing herbs inside makes those small, useful moments possible every week of the year, and it does not need a greenhouse, a sunny yard, or a green thumb. What it does need is enough light, the right pot, a reasonable watering habit, and a short list of plants that adapt to life in your home. Herb gardening on a small scale rewards a beginner faster than almost any other kitchen hobby.

This guide walks through the whole process step by step. You will learn what an indoor setup actually needs to thrive, which culinary herbs are easiest to start with, how to plant from seed or starter, what light and water look like in practice, and how to fix the most common problems. Whether you have one bright kitchen window or are setting up a small grow shelf, the goal is the same: keep your kitchen productive, useful, and tasty through every growing season.
If you have never grown anything indoors, our walkthrough of starting an indoor herb garden is a useful companion read for any first-time indoor gardener. Indoor setups open up fresh flavors even when outdoor gardening space is limited, and most herbs grow happily alongside other indoor plants once you settle them into the right spot.
What indoor herbs actually need
Herbs are tougher than most people think, but indoor conditions strip away a few of the things an outdoor garden provides for free. Sun is the obvious one, but air circulation, drainage, and humidity matter too. Get those four right and most culinary herbs will grow well indoors for months or even years.
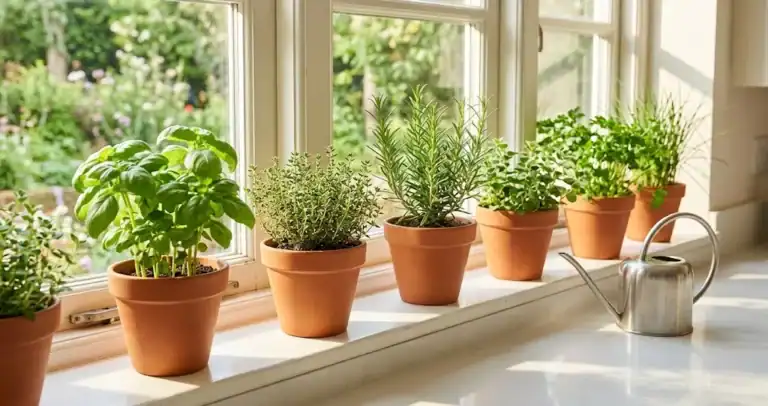
Light is the limiting factor in most homes. Most culinary herbs want at least 6 hours of direct sunlight a day, and some of the Mediterranean favorites prefer closer to 8. A south-facing window is the easiest place to start. East- and west-facing windows still work for thyme, parsley, and chives, which tolerate a little less sun. When natural light falls short, a small LED grow light clipped to a shelf or hung above the containers can fill the gap. Set it on a simple outlet timer for 12 to 14 hours a day and most herbs stay content through a dark winter.
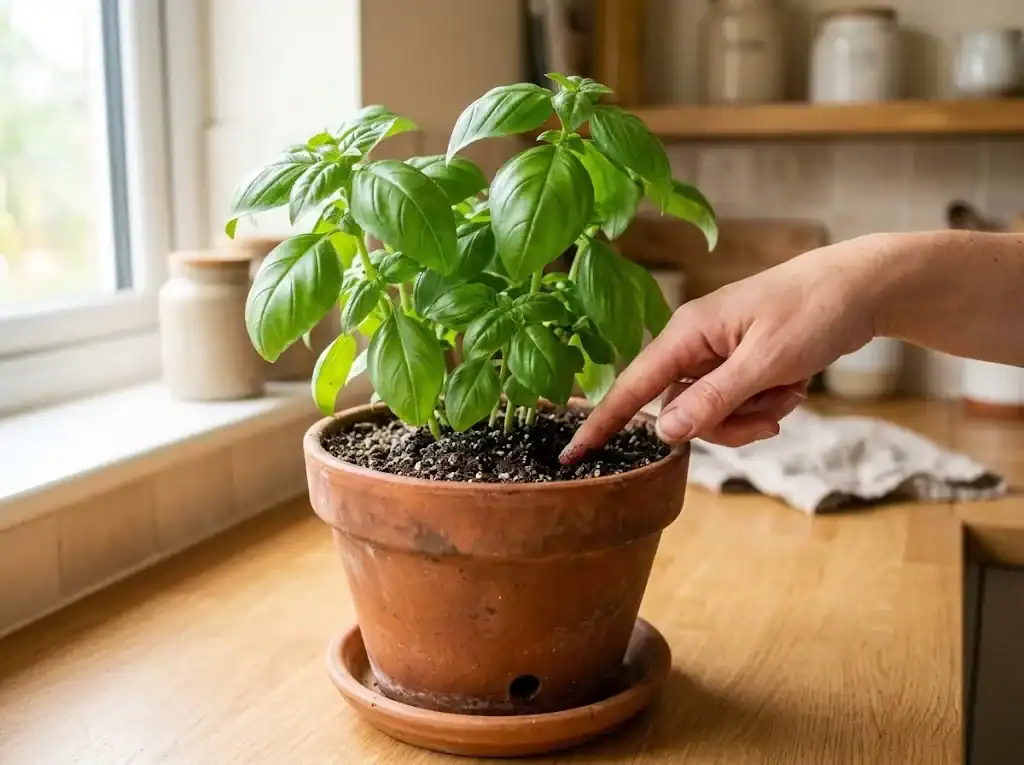
Water is the second variable, and the one beginners most often get wrong. Pots indoors dry out more slowly than outdoor beds, so the rule is to check before pouring. Stick a finger about an inch into the soil. If it feels dry at that depth, water thoroughly until it runs out the bottom. If it still feels damp, wait. Herbs like a drink, not a bath, and soggy roots rot fast.
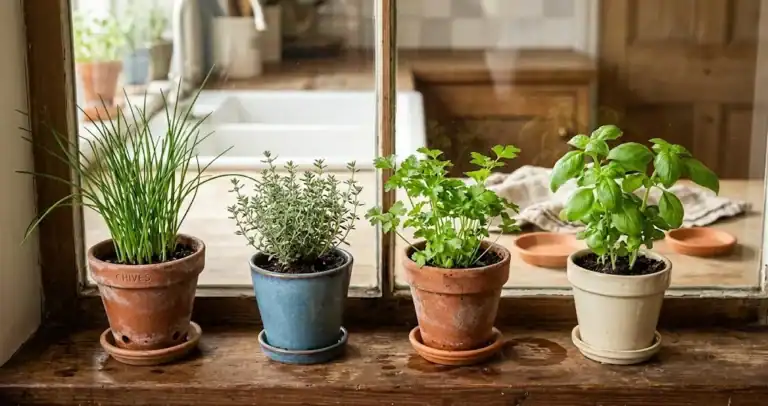
Drainage is what makes that “thorough then wait” pattern possible. Every container you use needs a drainage hole at the bottom, with a saucer underneath to catch what runs through. Without drainage, water pools at the root zone and the plant suffocates. A simple terracotta clay pot is a classic choice because the porous walls help the soil breathe and even out moisture. Plastic and glazed ceramic work too, as long as the hole is there and the saucer is in place. For a closer look at container choice, see what makes a good herb container.
Air movement and indoor temperatures matter more than they sound. Most herbs prefer room temperatures between 65 and 75 degrees F and dislike cold drafts from single-pane windows in winter. A small fan on low, run for a few hours a day, keeps the air moving and reduces the fungal problems that come from stagnant, humid corners. Good air flow also encourages sturdier stems and stronger flavor. Most kitchens already have enough air circulation for a small collection.
The easiest herbs to grow indoors
Some herbs adapt to indoor life better than others. Tender leafy types grow quickly and forgive small mistakes, while woody herbs like rosemary and thyme are slower and a little fussier but last for years. A mix of both gives you everyday cooking without much work. Knowing the best herbs to start with keeps the first round of indoor growing rewarding rather than frustrating.
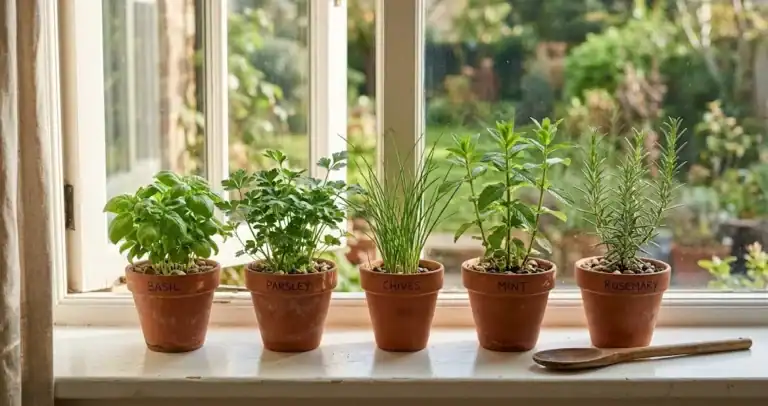
For beginners, these are the easiest culinary herbs to start with and the ones most home cooks reach for first. Most will grow herbs indoors with very little fuss once you find the right spot:
- Sweet basil. Loves warmth and bright light. Best started from a starter plant; pinch the tops often to keep it bushy and delay flowering.
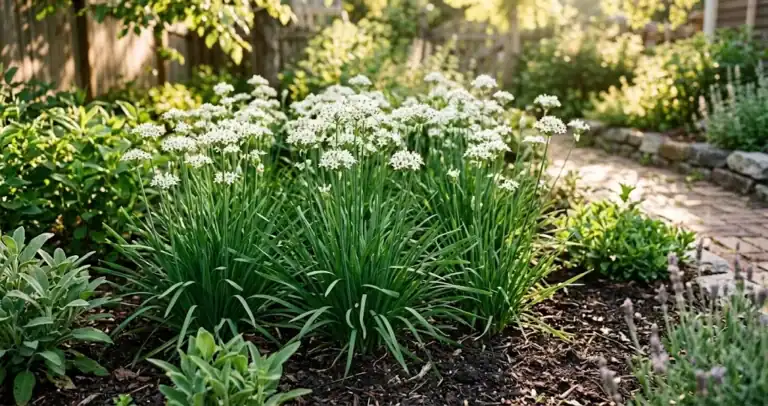
- Chives. Tolerant of cooler windows and partial sun. Snip with scissors and it grows back. Pretty purple flowers in spring.
- Mint. Almost indestructible. Give spearmint or peppermint its own container because the roots spread aggressively and will quickly crowd out neighbors.
- Parsley. Slow to start but steady once established. Flat-leaf and curly both grow inside; flat has stronger flavor for cooking.
- Thyme. Wants a smaller pot, drier soil, and as much sun as you can give it. Thyme likes low humidity, so a drier room suits it better than a steamy kitchen.
- Rosemary. The trickiest of the easy group because it needs bright light, sharp drainage, and cooler room temperatures than basil. Worth the effort for the flavor.
- Cilantro. Fast but short-lived. Plan to succession plant every few weeks for a steady supply rather than one large container.
- Oregano. A hardy Mediterranean herb that thrives inside with bright light and a lighter watering hand.
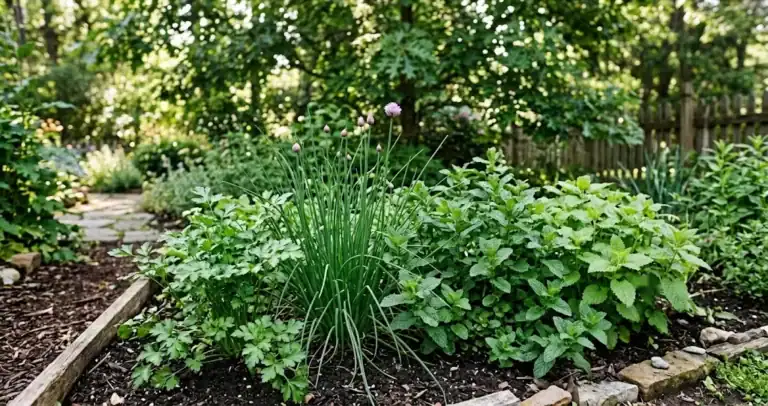
If you only have room for two or three containers, start with chives, parsley, and mint. Together they cover a huge range of weeknight cooking without any special equipment beyond a bright counter or shelf.
How to start an indoor herb garden
There are two reliable ways to start: from seed or from a starter plant. Each has its place. Seeds are cheaper and offer more variety, but they take longer and demand consistent light and moisture to germinate. Starter plants cost more but skip the fragile seedling stage and put herbs on your counter in a week.
Starting from seed. Use a fresh packet of herb seeds from a reputable supplier and a seed-starting mix, not garden soil. Garden soil compacts in small pots and brings insects inside. Sow at the depth listed on the packet, mist the surface to keep it evenly moist, and cover the container with a clear plastic dome or a loose bag to hold humidity until the first leaves appear. As soon as the seedlings have two sets of true leaves, thin them so the strongest one has the container to itself. A small fan running nearby from the start keeps the air moving and grows sturdier stems. Most herbs start happily from seed if you begin with a clean pot and steady moisture.
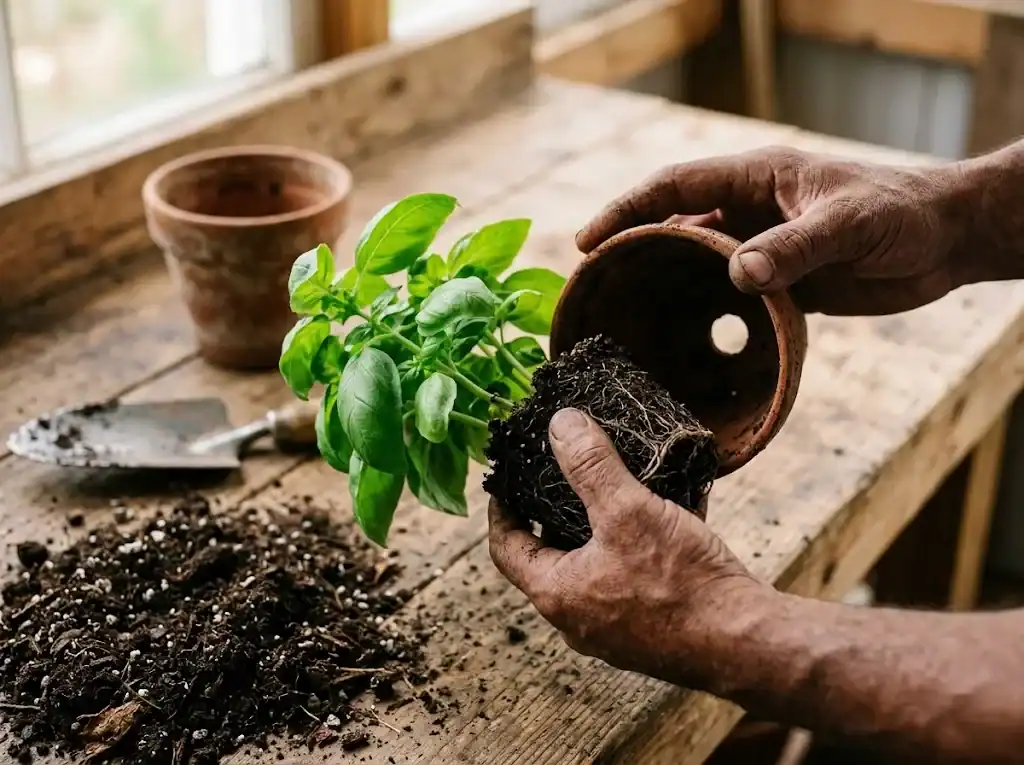
Starting from a starter plant. Buy small pots from a nursery or grocery store and bring them home. Loosen the root ball gently with your fingers before planting into a slightly larger container with fresh potting mix. Water once and let drain. Hold off on fertilizer for the first two or three weeks while the roots settle in.
Choosing containers. Match container size to plant size. A 4- to 6-inch pot is plenty for a single sweet basil, parsley, or chive plant. Mint and rosemary can move up to 8 inches once roots fill their starter. Avoid very small pots, which dry out fast, and very large pots, which stay wet too long. Drainage holes are not optional. If you fall in love with a decorative pot that has none, use it as a cover and keep the herb in a plastic nursery pot inside it.
Light, water, and feeding in practice
The single most useful habit for an indoor garden is to check on the plants every day or two. A quick look tells you whether the soil is drying out, whether leaves are starting to yellow, or whether a plant has bolted into flower. Most problems are caught and fixed in a one-minute check before they become serious.
Light. Aim for 6 hours of direct sunlight for the sun-loving group (basil, rosemary, thyme, oregano) and a minimum of 4 for the tolerant group (parsley, chives, cilantro). Rotate pots a quarter turn each week so growth stays even. If a plant starts leaning hard toward the glass, it is telling you it needs more light. Move it closer to the window or add a small fixture a few inches above the leaves. Direct sunlight from a south-facing window is the easiest source of hours of sunlight, and works well for most culinary herbs without extra equipment.
Watering. The “finger test” beats any schedule. Stick a finger into the mix up to the first knuckle. If it feels dry, water thoroughly until liquid runs from the hole. If it feels damp, wait another day. Most indoor herbs need water every 3 to 7 days depending on container size, light, and indoor humidity. Water less in winter when growth slows and the air is cooler.
Feeding. Indoor containers have a finite amount of nutrients, so a light feeding schedule keeps herbs productive. A diluted water-soluble fertilizer at one-quarter to one-half strength, applied every 2 to 4 weeks during active growth, is plenty. Skip feeding in the deep winter when growth has slowed. Overfed plants grow fast and taste mild; underfed ones stay compact and flavorful.
Troubleshooting common indoor herb problems
Most problems trace back to one of three causes: too much water, too little light, or a pot that is the wrong size. Learning to read the leaves saves a lot of guesswork.
Yellowing lower leaves. Usually overwatering or poor drainage. Check that the pot drains freely and let the soil dry further between waterings.
Leggy, stretched growth. The plant is reaching for light. Move it closer to a window or add a fixture above. Pinch the stretched tips back to encourage branching.
Black spots or sudden wilting. Often root rot from waterlogged soil. Tip the plant out, trim any dark mushy roots, and repot into fresh dry mix. Going forward, water less and make sure the container drains.
White powder on leaves. Powdery mildew, common in stagnant or overly humid air. Improve air movement, water at the soil level rather than over the leaves, and remove affected leaves.
Plants that flower and stop producing leaves. Sweet basil and cilantro do this when they are stressed or mature. Pinch off flower buds as they form to keep the leaves coming.
Pests indoors. Fungus gnats show up in constantly wet soil. Let the top of the soil dry between waterings and they will fade. Aphids and whitefly are less common inside but can arrive on a new plant. A quick rinse under the tap or a few sprays of insecticidal soap clears them.

Harvesting and using your indoor herbs
Regular harvesting is what turns a small collection into a productive one. The more you snip, the more the plant branches and grows back, as long as you leave enough leaf area for the plant to feed itself. A safe rule for almost every herb is to take no more than one-third of the plant at a time and to cut just above a leaf pair so two new shoots can grow from that node.
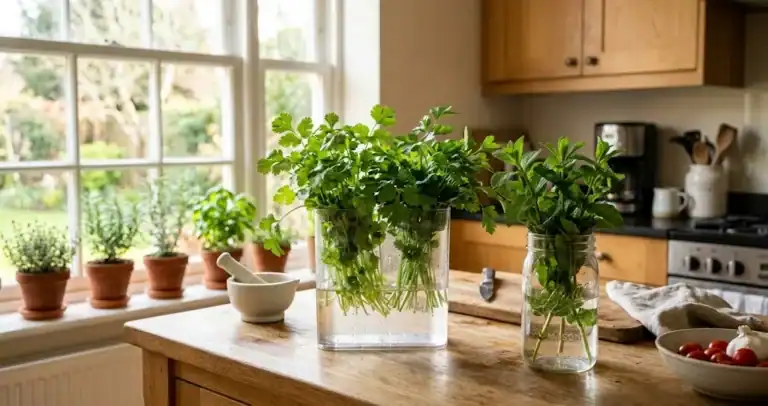
For leafy favorites like sweet basil, pinch the top growth rather than cutting whole stems, and pinch any flower buds the moment they form. For chives, snip with scissors from the outside of the clump, leaving the inner growth to recover. For mint, cut whole stems back to a leaf pair and it will resprout quickly. For thyme, oregano, and rosemary, take short sprigs rather than long stems and never cut into the bare woody base, which will not regrow.

The best part of an indoor setup is the gap it closes between “I want fresh herbs” and “I have fresh herbs.” A few leaves torn over tomatoes, a scatter of chives on a baked potato, a sprig of rosemary in a slow-roasted chicken, parsley folded into a grain salad at the last minute. The list grows every week you cook with what you have on the counter.
A short plan for your first week
If you want a simple starting point, this is the shortest path to a working setup.
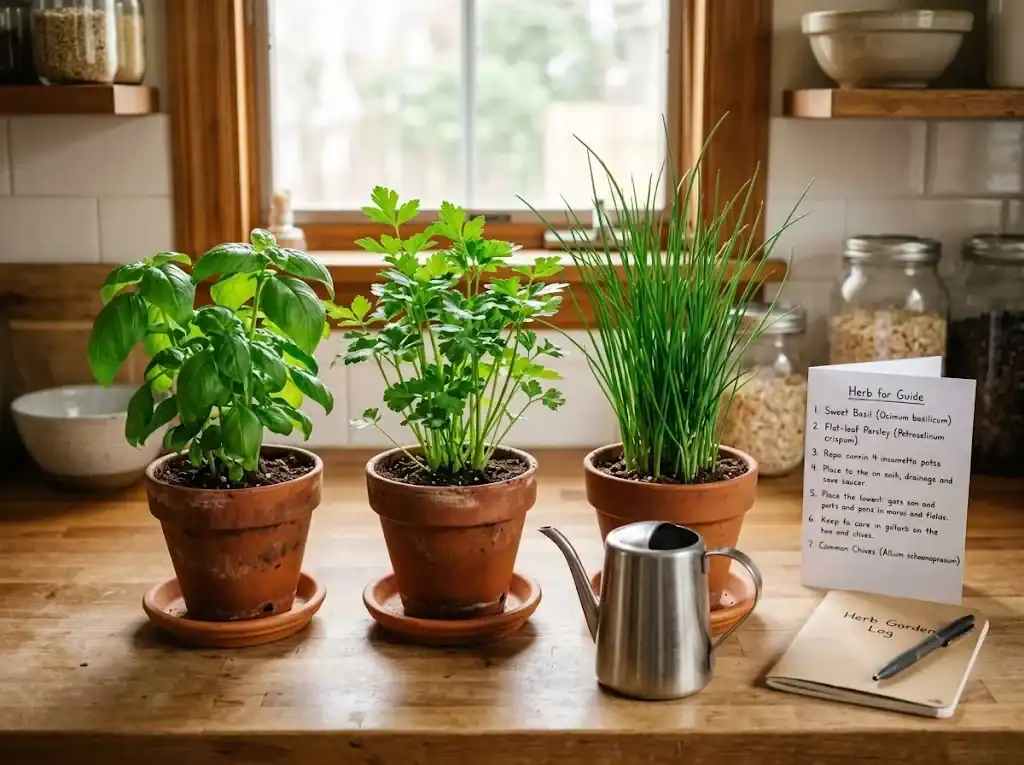
- Pick two or three herbs from the easy list above. Chives, parsley, and mint make a strong starter trio.
- Buy small starter plants from a local nursery or grocery store. Choose pots that look healthy with no yellowing leaves.
- Move each plant into a 4- to 6-inch container with drainage holes, using fresh indoor soil. Water once and let drain.
- Place the containers in your sunniest window, ideally south-facing, or set up a small fixture for 12 hours a day.
- Check soil moisture every 2 to 3 days. Water only when the top inch of soil feels dry.
- Pinch the top growth of any leafy plant within the first week to encourage bushy shape. Snip chives as soon as they are 6 inches tall.
- Start a light feeding routine after 3 weeks: a quarter-strength liquid fertilizer every 2 to 4 weeks during spring and summer.
That is the whole loop: bright light, well-drained containers, careful watering, regular pinching, and light feeding. Run that loop for a few weeks and an indoor herb garden stops feeling like a project and starts feeling like part of the kitchen. A small, steady supply of fresh herbs at home is one of the easiest pieces of gardening to keep going, and it pays back every time you cook.
For a broader view of planning and planting a herb bed, see our beginner’s guide to growing an herb garden.