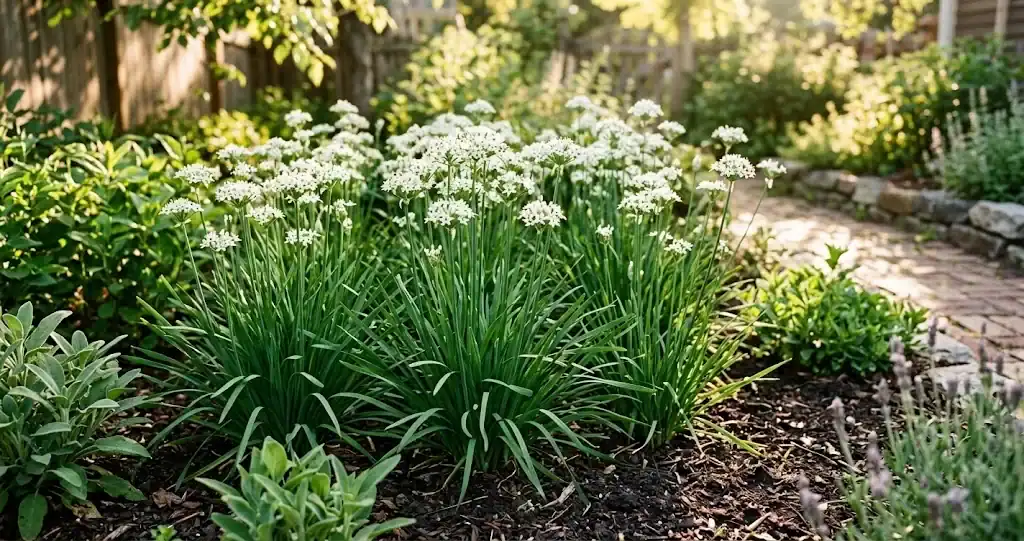
Garlic chives bring a delicate, garlicky flavor to home kitchens while asking for very little in return from the home gardener. Known botanically as Allium tuberosum, this easy-to-grow perennial herb thrives in garden beds, raised planters, and patio containers across temperate climates. Unlike bulb garlic, which requires months in the soil to form underground cloves, a pot of garlic chives produces tender green foliage and flavorful flower buds that you can snip continuously from spring through late summer.
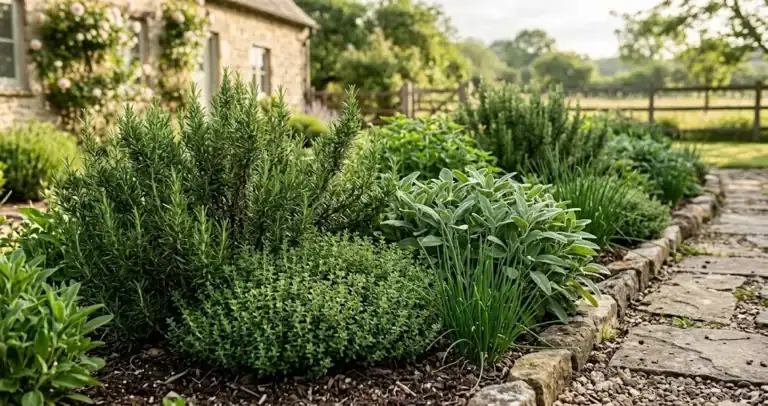
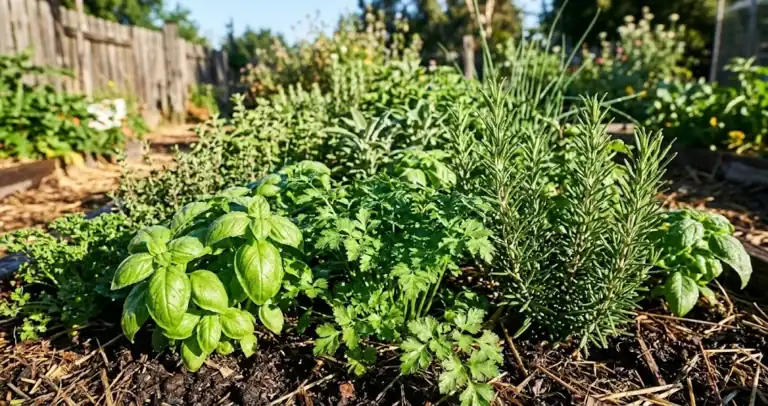
Whether you want to snip fresh chives for stir fries or attract honeybees to your landscape, cultivating garlic chives at home is one of the most rewarding projects for backyard growers. When planning an herb garden from scratch, grouping hardy plants together creates a dependable cutting zone that returns stronger each year.
What Are Garlic Chives? Botany and Flavor Profile
Garlic chives, also known as Chinese chives or oriental garlic, belong to the onion genus alongside leeks, scallions, and culinary garlic. Native to southwestern China, garlic chive plants have been cultivated across East Asia for centuries as both a kitchen staple and a resilient landscape perennial. In Asian markets, you may see fresh garlic chives sold as jiu cai or blanched yellow varieties marketed as yellow chives.
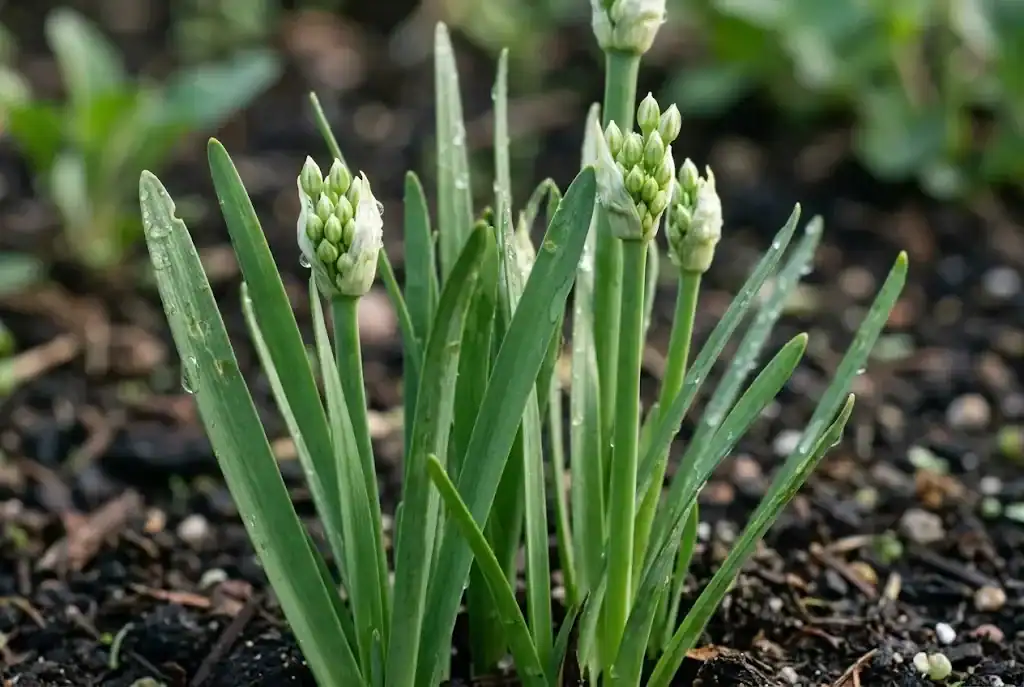
The plant grows in dense clumps reaching 12 to 18 inches in height. Unlike bulb garlic, which produces a large harvestable head, garlic chives form dense clumps from small bulbs and fibrous roots. Every part of the plant is suitable for cooking, including the flat leaves, tender young flower stalks, star-shaped white flowers, and immature seed pods. Because the blossoms are also culinary treats, they make an attractive finishing touch for soups, dips, and green salads.
The flavor profile provides a pleasant balance between mild garlic flavor and sweet onion flavor. Fresh chive leaves have a gentle, savory pungency that is milder than raw cloves, meaning they will not overpower light egg dishes, fresh salad bowls, or delicate broths. When used fresh or sautéed briefly, the foliage imparts a rich, savory aroma to warm meals.
Garlic Chives vs Onion Chives: Key Differences
Growers often compare garlic chives with common onion chives (A. schoenoprasum). While both plants belong to the same genus and share clumping habits, several clear physical traits set them apart:
- Leaf structure: Garlic chives have distinct flat leaves with solid green interiors. In contrast, regular chives produce hollow, cylindrical tubes.
- Flavor profile: Garlic chives deliver a gentle garlic flavor, whereas common chives taste like mild spring onions.
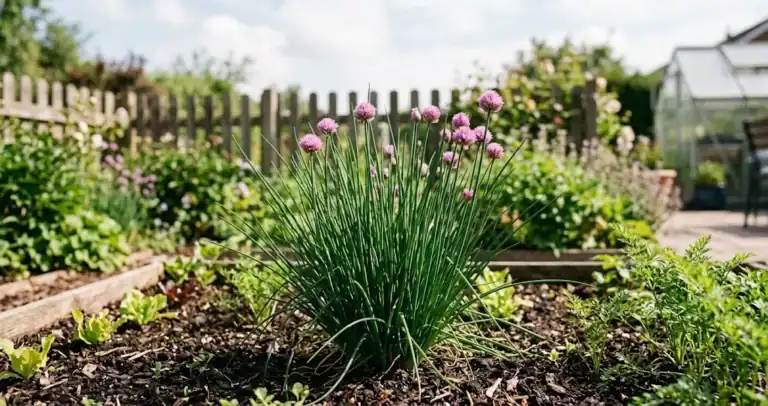
- Flower color and bloom time: Garlic chives produce loose clusters of starry white flowers in late summer from August onward. Onion chives produce round, purple pom-pom blossoms in late spring.
- Growth habit: Garlic chive plants grow slightly taller, developing sturdy flowering stems that remain tender when clipped young.
Cultivating both types gives you a continuous supply of complementary onion and garlic flavors all season long.
Ideal Growing Conditions: Soil, Sunlight, and Climate
Garlic chives are hardy throughout USDA Zones 3 to 9. Once established, these resilient plants tolerate summer heat, winter freezing, and brief dry spells with ease.
Sunlight Requirements
Garlic chives prefer full sun, needing at least 6 hours of sunlight daily for vigorous leaf growth and strong stems. While plants thrive best in open sunlight, chives can grow in partial shade where they receive 4 to 6 hours of light. In hot southern climates, light afternoon shade keeps the foliage tender during midsummer heat waves.
Soil and Moisture Needs
Plant garlic chives in fertile, well-drained soil rich in organic matter. Work fresh compost or well-rotted leaf mold into the bed before planting. Chives prefer moist soil with a pH between 6.0 and 7.0 that drains freely.
Avoid heavy, waterlogged clay beds. Persistent waterlogging rots root crowns and invites fungal issues. Keep soil evenly moist, providing about 1 inch of water weekly during the active growing season.
Planting Garlic Chives: How to Grow Chives from Seed or Division
You can start chives using three straightforward methods: sowing seed, transplanting a nursery start, or dividing established clumps.
Starting Chives from Seed
Starting garlic chives from seed is economical and gives you access to specialized culinary varieties. To grow them from seed successfully, start with fresh seed from the current season.
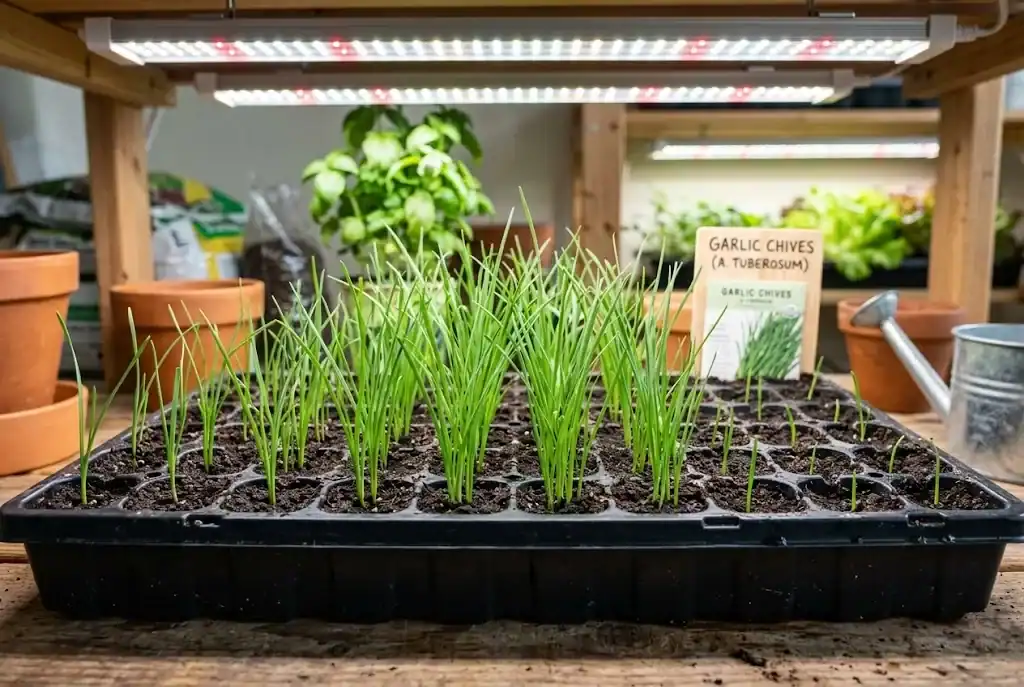
- Indoor seed starting: Sow seeds indoors 6 to 8 weeks before your last spring frost date. Fill flats with moist starting mix. Sow garlic chives 1/4 inch deep, pressing seeds gently into the starting mix and covering lightly with fine soil. Seeds require darkness for germination, so keep flats at 65°F to 70°F (18°C to 21°C). Sprouts emerge within 14 to 21 days. When green sprouts appear, place trays under bright grow lights or on a sunny windowsill.
- Direct outdoor sowing: When the danger of spring frost has passed and soil reaches 60°F (15°C), sow garlic chives directly into prepared beds. Sow seeds thinly in shallow furrows spaced 12 inches apart. Once seedlings reach 2 inches tall, thin them so seedlings or small clumps stand 6 to 12 inches apart in the row.
Planting Nursery Starts
Purchasing a potted nursery seedling allows you to gather fresh chive leaves during your first season. The best time to plant is mid-spring after heavy frosts subside. Dig a hole twice as wide as the pot, amend the soil with organic compost, set the root ball level with the ground, and water thoroughly.
Propagating by Clump Division
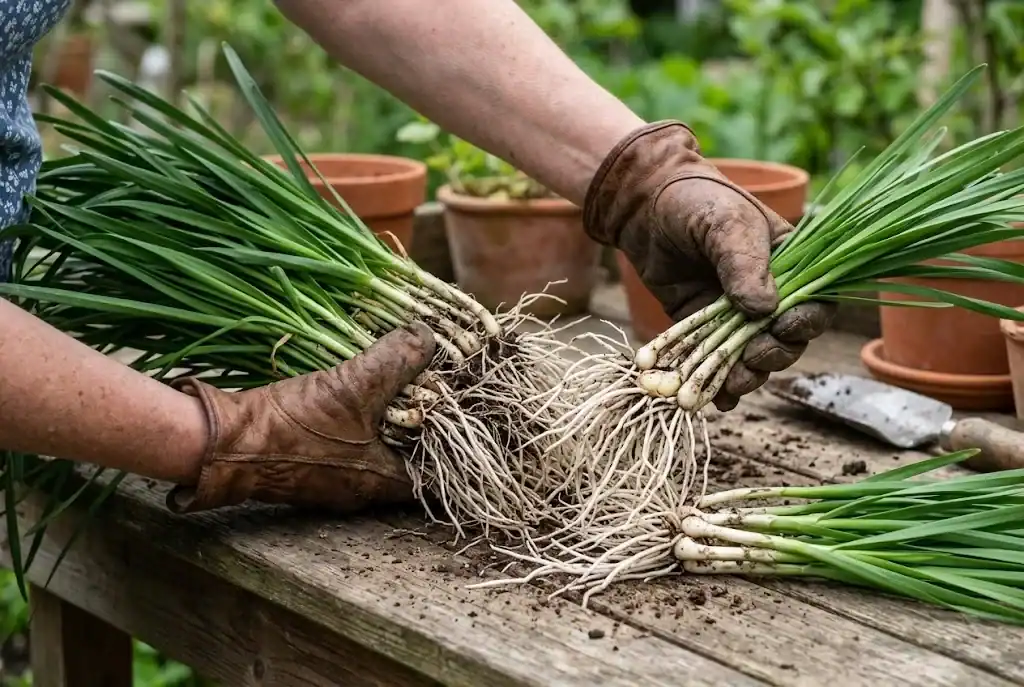
Division is the fastest way to multiply plants and refresh older beds. Divide mature clumps every 3 to 4 years in early spring when new growth emerges, or in autumn after flowering finishes. Lift the clump with a fork, shake away excess soil, and separate the root mass into smaller sections containing 4 to 6 healthy shoots. Replant divided clumps immediately and water well.
Plant Care and Maintenance in the Garden
Routine plant care for garlic chives is simple, making them a favorite for beginners and experienced gardeners alike.
Watering and Mulching
Water whenever the top inch of soil feels dry. Consistent moisture produces tender leaves, whereas drought stress causes tips to yellow. Apply a 2-inch layer of organic mulch around the base of the clump to conserve moisture, cool roots, and suppress weeds.
Fertilizing and Soil Nutrition
Top-dress beds each spring with a generous layer of finished compost. For container plants, feed monthly during active growth with a balanced organic liquid fertilizer diluted to half strength.
Managing Self-Seeding
Garlic chives naturally produce abundant black seeds inside dried seed capsules in late summer. If left unmanaged, seeds scatter and sprout across nearby beds. To prevent unwanted plants, deadhead flower stems as soon as white blossoms fade, clipping the flowering stalk down to soil level.
Growing Garlic Chives Indoors on a Sunny Ledge
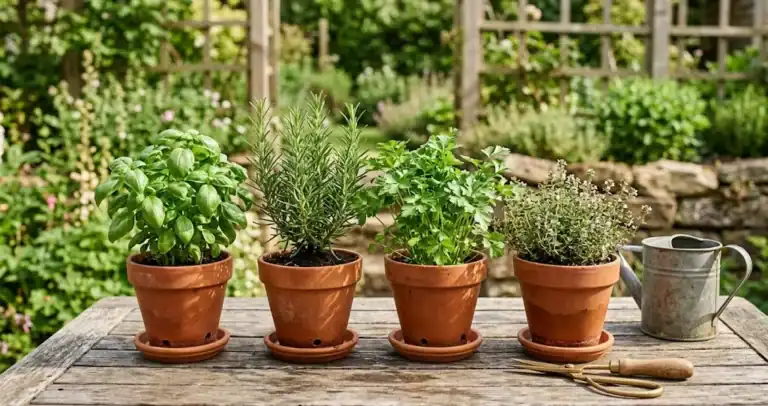
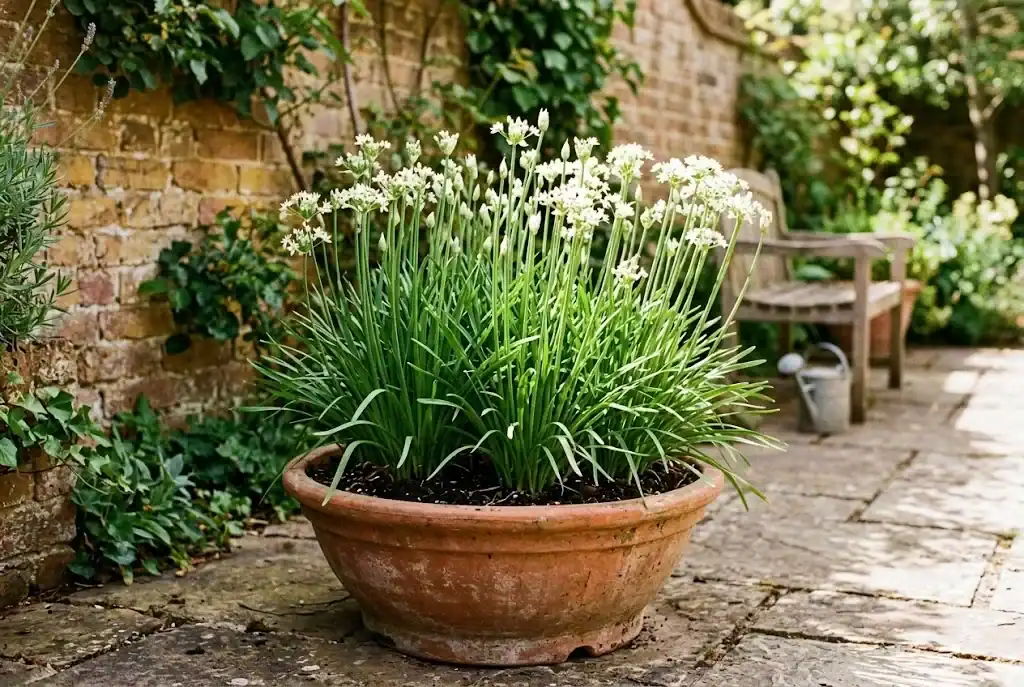
Garlic chives are well-suited for container culture, thriving in pots on balconies, patios, and bright kitchen ledges.
Select a container at least 6 to 8 inches deep with drainage holes. Fill with premium potting soil amended with compost and perlite. Place the pot where it receives 6 hours of sunlight daily. In winter, grow chives indoors by placing pots in a sunny south-facing window or under LED grow lights running 12 hours daily. Indoor chives will grow steadily if kept away from cold drafts and dry heating vents.
Companion Planting and Pollinator Benefits
Garlic chives can be an edible flowering companion when planted near tomatoes, carrots, peppers, and brassicas, but they should not be relied on for pest control.
The attractive white flowers that appear from late summer into autumn are highly attractive to pollinators, including honeybees, native bumblebees, and hoverflies. Leaving a few blossoms intact supports beneficial insects across your garden.
Harvesting Leaves and Flower Buds
Once plants are established, you can gather leaves regularly throughout the season. Knowing how to harvest garlic chives properly keeps plants productive.
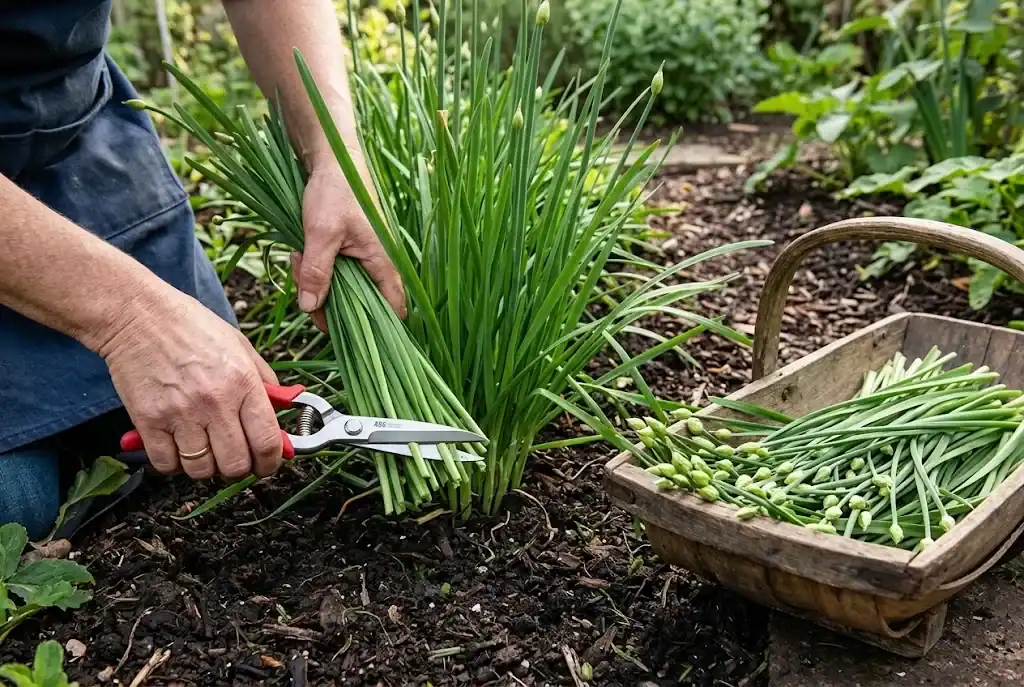
Use clean snips to cut flat leaves about 1 to 2 inches above ground level. Established clumps quickly regrow fresh foliage, allowing you to clip greens 3 to 4 times per year. You can also gather young flowering stalks and tender flower buds in late summer before blossoms open. Snapped while crisp, flower buds offer a delicate crunch and sweet garlic essence.
Culinary Uses and Flavor in the Kitchen
Fresh garlic chives are celebrated for their culinary versatility. Simply rinse the flat leaves, pat dry, and chop finely before adding them to dishes.
- Stir fries and noodles: Toss 2-inch batons of chive foliage into hot woks with noodles, tofu, or vegetables during the final minute of cooking.
- Dumplings and eggs: Mix minced garlic chives into fillings for savory dumplings and fold into scrambled eggs or omelets.
- Soups and finishing touches: Use them as a garnish for soups, broths, and roasted dishes right before serving.
- Herb butter: Blend chopped chives into softened butter with sea salt for a savory spread over warm bread or grilled vegetables.
After clipping your crop, knowing how to store garlic chives keeps your fresh cuts crisp in the refrigerator for up to a week.

Frequently Asked Questions About Garlic Chives
Do garlic chives die back in winter?
Yes. Foliage will die back after hard frosts in late autumn. Roots remain dormant beneath the soil and send up vigorous new shoots the following spring.
Can I harvest garlic chives in the first year?
If grown from seed, gather foliage lightly during the first season so plants establish strong root crowns. From the second year onward, snip foliage regularly.
How do I stop garlic chives from spreading?
Cut off flower heads before seed pods mature and open. Removing faded blossoms prevents seeds from scattering across your garden beds.