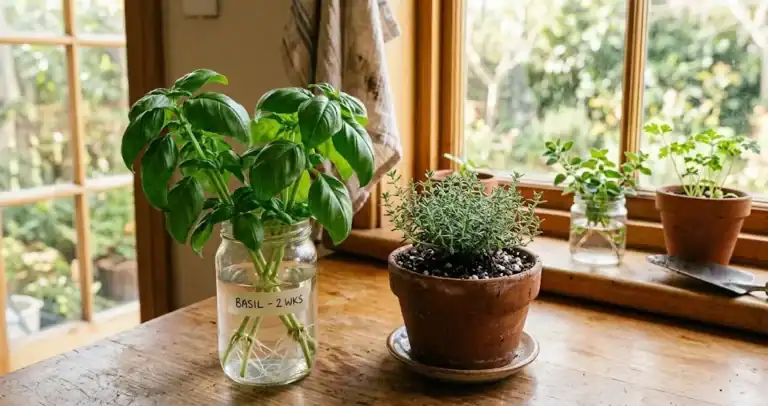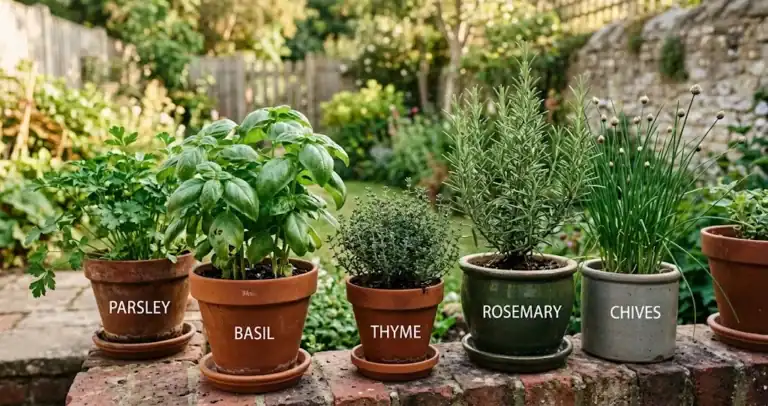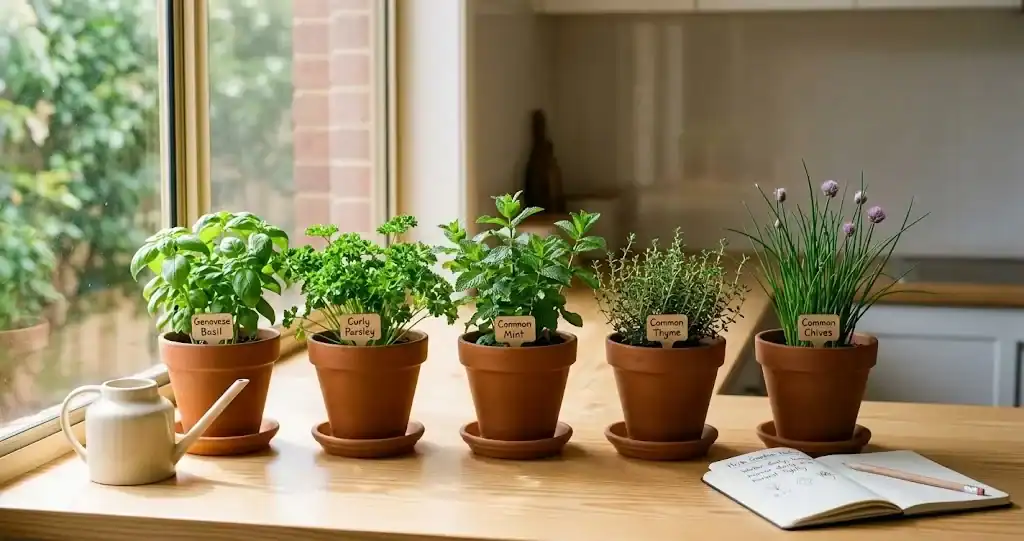
Most indoor herb gardens fail for reasons that have nothing to do with skill. A pot without drainage, a windowsill that never sees direct sun, an herb plant that gets the same drink every day regardless of whether the soil is dry. Pull those mistakes out and the rest gets easier. These herb garden tips cover the conditions that decide whether your kitchen herbs thrive or quietly fade over a few months, and how to grow herbs successfully indoors for fresh herbs year-round.
If you are still choosing pots and pinning down the very first steps, the what an indoor herb garden needs first guide walks through that earlier stage.
Start with herbs that actually like being indoors
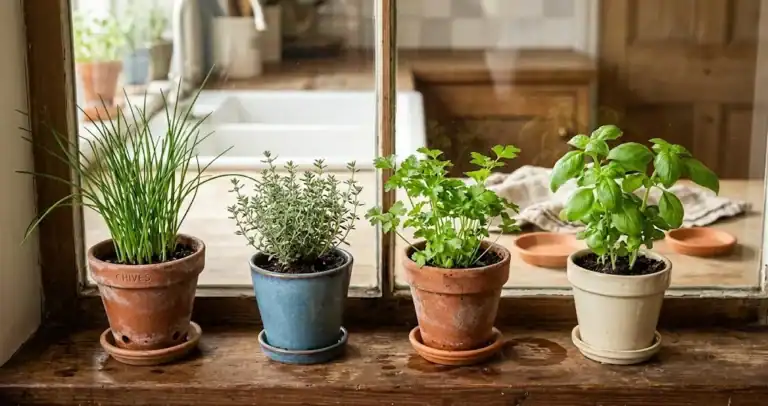
Not every herb wants to live on a kitchen counter, but picking by the conditions you can actually give them is the trick. Group your choices around two broad camps: herbs that want drier feet and the brightest light you have, such as thyme, oregano, rosemary, sage, and bay; and herbs that tolerate steadier moisture and a touch less sun, such as parsley, mint, and chives. If you are choosing herbs to grow indoors, start with several different herbs from either camp and match them to the spot. The easiest to begin with, such as chives, mint, parsley, and thyme, all keep producing with steady light and basic care.
Pick the right herbs for the spot you have, and most of the work is already done. Reliable indoor choices for a kitchen gardener starting out:
- Basil. The classic leafy herb. Wants warmth, regular water, and as much sun as a south-facing window can give. Pinch flowers the moment they appear, or leaf flavor turns bitter. It is an annual, so plan to replace it each year or take cuttings to root.
- Mint. Almost impossible to kill, easy to overplant. Keep mint in its own pot because the runners take over shared containers fast. Mint tolerates lower light than basil but still wants four to six hours of sun a day.
- Chives. Tolerates cooler indoor temperatures and partial sun. Cut down to about an inch above the soil every few weeks to keep fresh growth coming.
- Thyme and oregano. Both want dry feet and bright light. Skip daily watering; let the top inch of soil dry out between drinks.
- Parsley. Often sold as an annual alongside pots of basil, but parsley is a biennial and can keep producing indoors for two seasons if you keep harvesting the outer stems.
- Rosemary. Beautiful, fragrant, and fussy about indoor humidity and overwatering. Easiest treated as a short-lived houseplant rather than a long-term commitment.
These are the favorites for good reason: they actually grow well inside a normal apartment, recover quickly after cutting, and are the herbs cooks reach for most. Once you know which of these thrive in your conditions, you can branch out into less common options, such as oregano, sage, or bay, all of which prefer drier conditions and reward a little restraint with strong flavor.
Skip anything labelled “terrarium plant” or “houseplant” if you intend to cook with it. Those are usually grown for foliage, not flavor, and the species differ. Perennial herbs such as chives, mint, oregano, thyme, and rosemary keep their roots year to year, while most parsley plants finish their life cycle within a season and need replacing. A few plants in your herb garden is enough; many herbs spread quickly once they get going. The easiest to start with stay compact, tolerate normal room temperatures, and tolerate the natural light most homes provide.
Give them the light they need
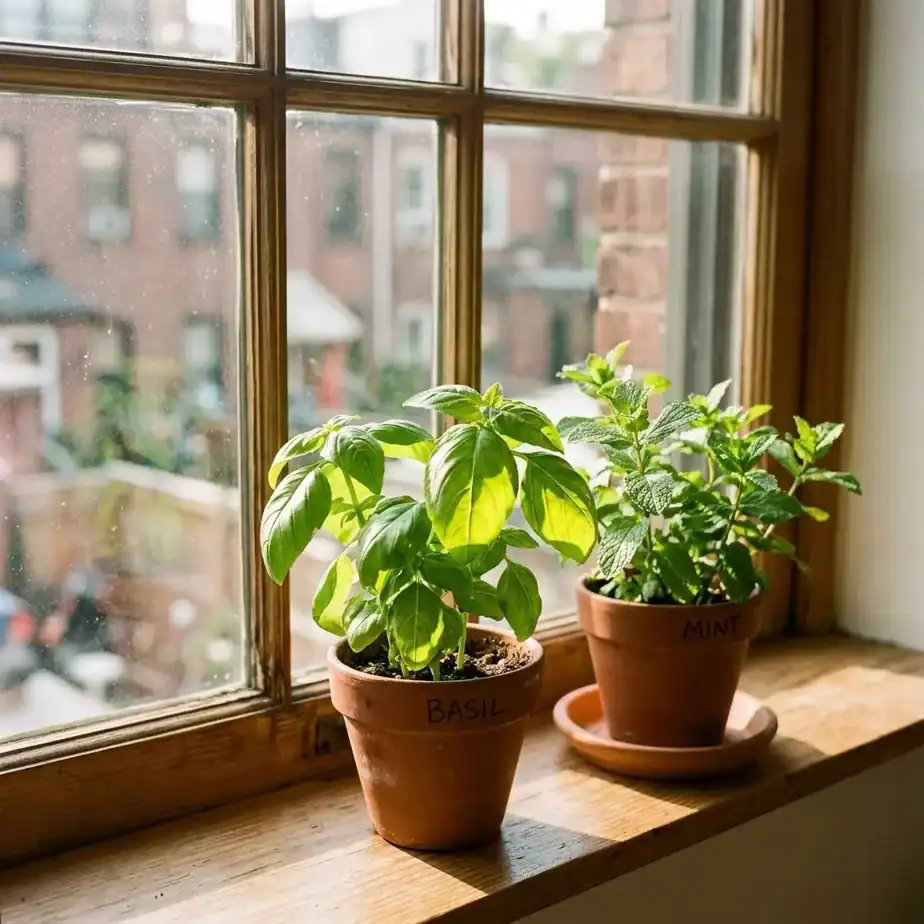
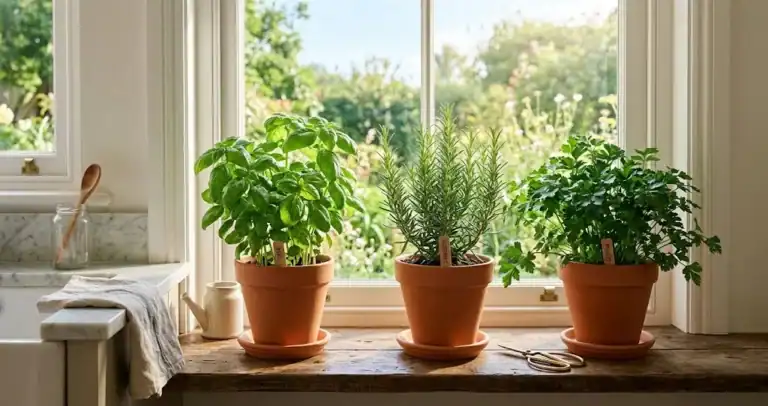
Most culinary indoor herbs want at least six hours of direct sunlight a day. A south-facing window in the northern hemisphere is the easiest source. East and west windows give a workable four to six hours; a north-facing window does not, in most homes, give enough light to keep herbs productive for long. Hours of bright sun are the single biggest reason indoor gardens thrive or quietly stretch toward the glass. Track how many hours of sunlight your spot actually gets before choosing herbs that prefer full sun, like rosemary, versus those that tolerate partial shade, like parsley and mint.
If your best window falls short on light, add a grow light. A simple full-spectrum LED panel set about six to twelve inches above the plants for twelve to sixteen hours a day will keep leafy herbs productive through winter. Rotate pots a quarter turn each week so the plants do not lean toward the window and become lopsided.
Common signs your herbs need more light:
- Long, pale stems with widely spaced leaves.
- Plants leaning hard toward the window.
- Smaller new leaves compared to the older ones.
- Slow growth even when watering and feeding look fine.
Choose pots that drain, every time
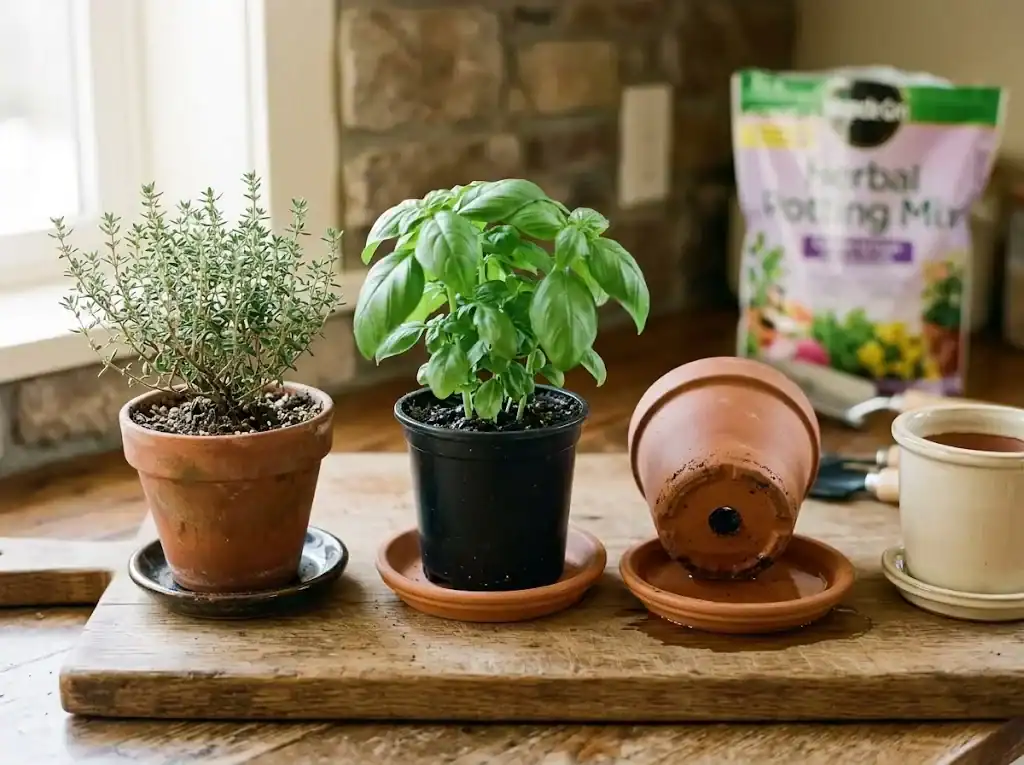
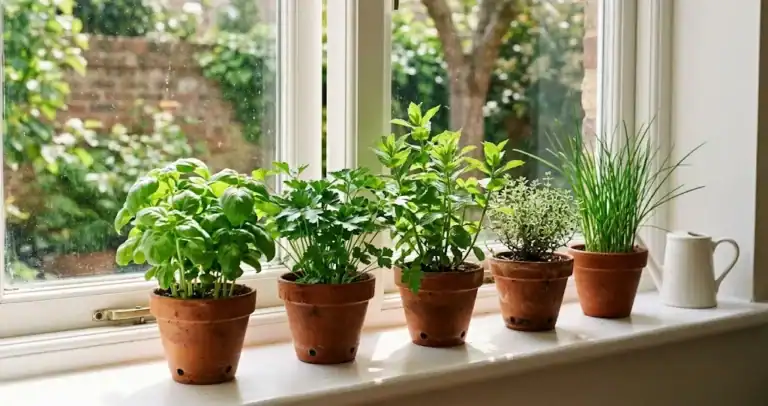
Drainage is the single biggest reason indoor herbs die. Sitting in a saucer of water rots the roots within days, and a plant that looked fine yesterday is suddenly wilted and gone. Skip decorative pots without drainage holes unless you plan to keep the herb in its nursery pot inside the prettier container and lift it out to water. Place herbs in their final pot as soon as you get them home; moving them around in the first week slows their root recovery.
Pot size matters more than people expect. Most herbs do best when their root ball fits the pot with about an inch of space on every side. Too small and the soil dries out so fast you water twice a day. Too large and the soil stays wet around roots that have not filled the container yet.
Match the pot to the herb. Basil, parsley, and chives do well in standard six- to eight-inch pots. Mint likes a roomier planter because of how it spreads. Thyme, oregano, and rosemary prefer a slightly smaller pot in a quick-drying mix. If you are short on space, dedicated herb planters with several small compartments let you grow a row of different herbs in one footprint.
Terracotta breathes and dries faster than glazed ceramic or plastic. In a sunny, dry room, that is an asset. In a cool, dim kitchen, plastic stays moist longer and may suit thirsty basil and parsley.
Water the right way, not on a schedule
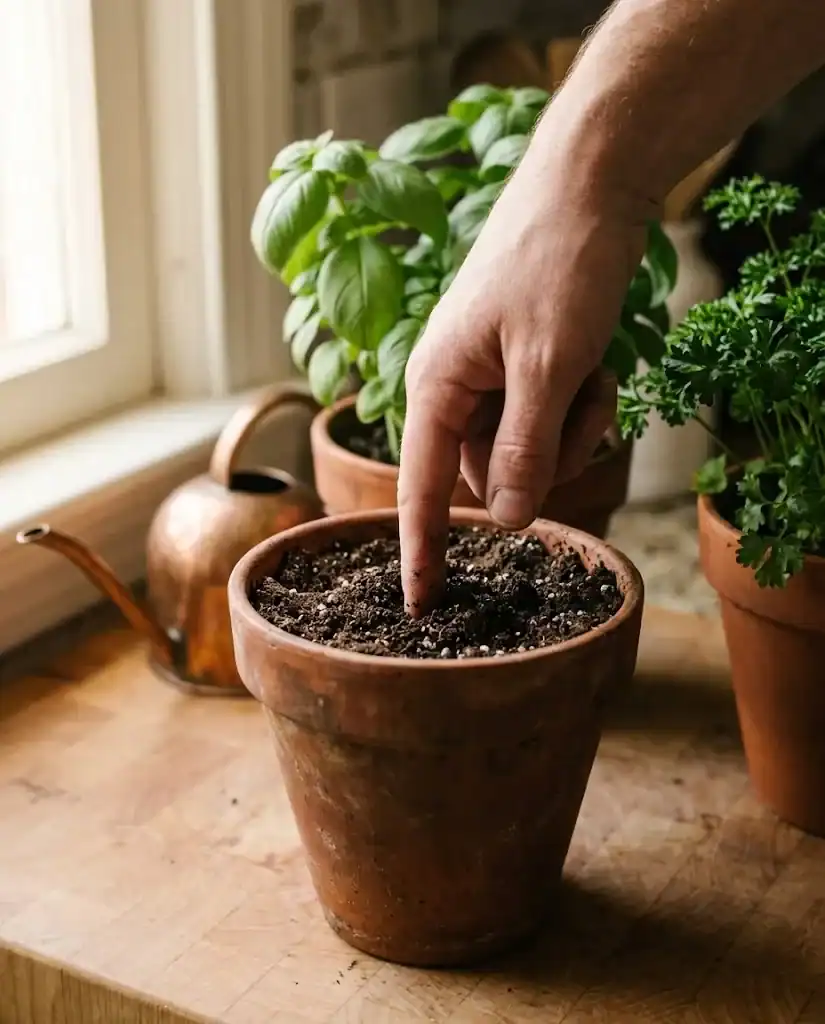
Aim to water when the top inch of soil is dry, not on a fixed day. Stick a finger in the soil: if it feels damp at the joint, wait. If it feels dry, water thoroughly until it drains from the bottom, then let it drain. Do not let the pot sit in that drained water.
Most indoor herb problems show up as either overwatering or underwatering, and they look surprisingly similar at first: wilted leaves, drooping stems. Check the soil before reacting. If it is wet, the plant has been overwatered and needs drier conditions for a week. If it is bone-dry and the pot feels light, soak it once and you usually see recovery within hours.
If your tap water has a strong chlorine smell, fill the can a few hours early and let it stand uncovered so the chlorine can dissipate. Otherwise, ordinary room-temperature tap water is fine for indoor herbs, and brown leaf tips usually trace back to dry indoor air or salt buildup from overfeeding, not water quality itself.
Feed lightly and refresh the soil each year
Herbs in pots eventually run out of nutrients. A half-strength liquid feed every two to three weeks during the growing season is plenty. Cut back or stop feeding in winter when growth slows.
Once a year, refresh the soil. Either repot in fresh mix, slightly larger if the roots are crowded, or top-dress by scraping off the top inch or two and replacing with new potting mix. This adds nutrients back without the disturbance of a full repot.
Skip garden soil. It compacts in containers and holds too much moisture around the roots. Bagged potting mix is what you want.
Pick the herbs often, the right way
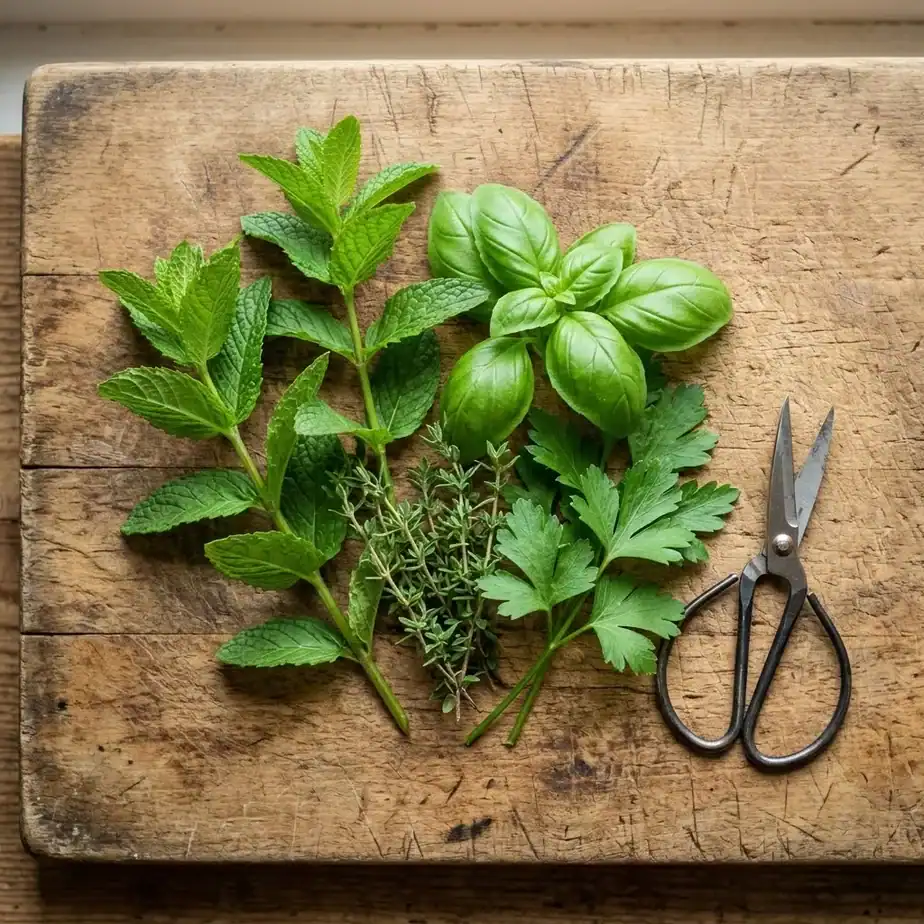
Regular harvest keeps herbs producing and is the easiest way to tell if the herb is happy. Pinch or cut just above a leaf pair where you want the plant to branch and grow new stems. Never strip more than a third of the plant at once, or recovery slows. A steady harvest rhythm, rather than one big cut every few weeks, is what growing success looks like for most kitchen herbs.
For basil and mint, cut stems just above a leaf pair so the plant branches from that node. For parsley, take outer stems near the base of the plant rather than the crown, and leave the central rosette to keep producing. For chives, cut the entire clump down to about an inch above the soil for a fresh flush of tender shoots. For woody herbs, including thyme, rosemary, and oregano, snip a stem rather than plucking leaves one at a time; the cut stem is where new growth will branch out.
If flowers appear, pinch them off as soon as you can. Blooming often ends leaf production and changes the flavor, especially in chives and oregano.
Five mistakes that quietly kill indoor herbs
- No drainage. The fastest killer. If the pot does not drain, water in a smaller pot inside it and lift the inner pot out after.
- Too little light. A north-facing windowsill or a shaded corner is a recipe for pale, leggy growth. Either move the herbs to a brighter spot indoors or run a small grow lamp on a timer.
- Cold drafts. Leaves brushing a freezing windowpane in winter or sitting next to a heat vent both stress herbs. Move them a foot or two away from the worst temperature swings.
- Watering on a schedule. Check the soil each time. Calendar-based watering either drowns or parches depending on the weather.
- Using garden soil. It is too heavy, holds too much moisture, and brings pests indoors. Use potting mix.
Starting herbs from seed indoors
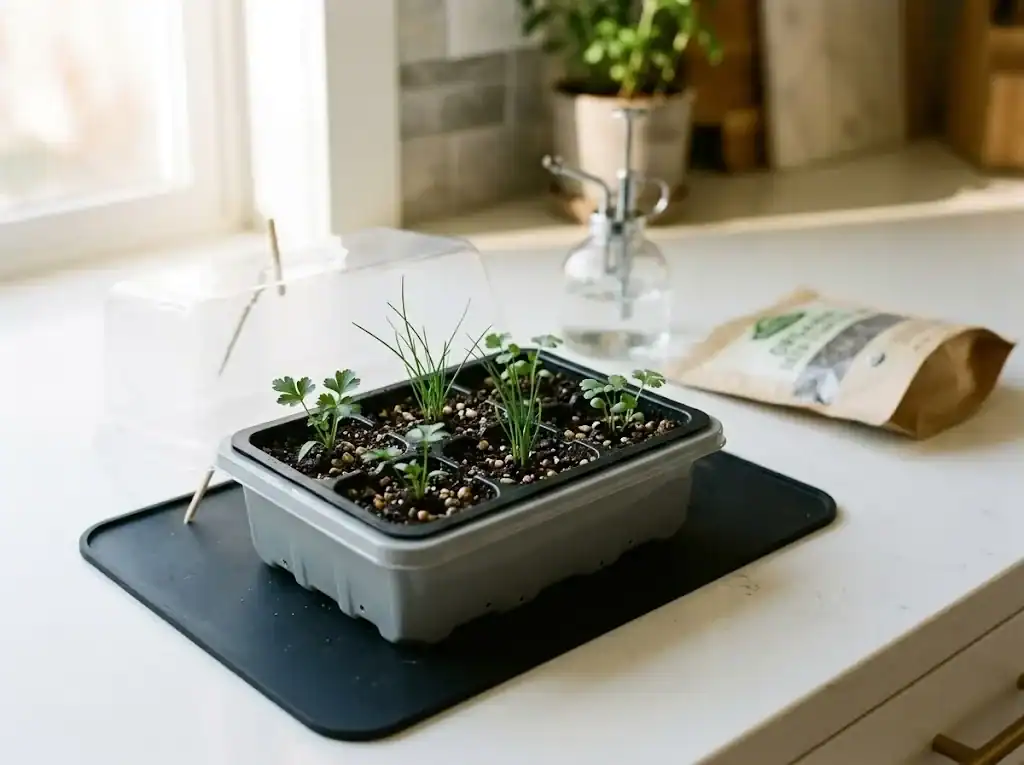
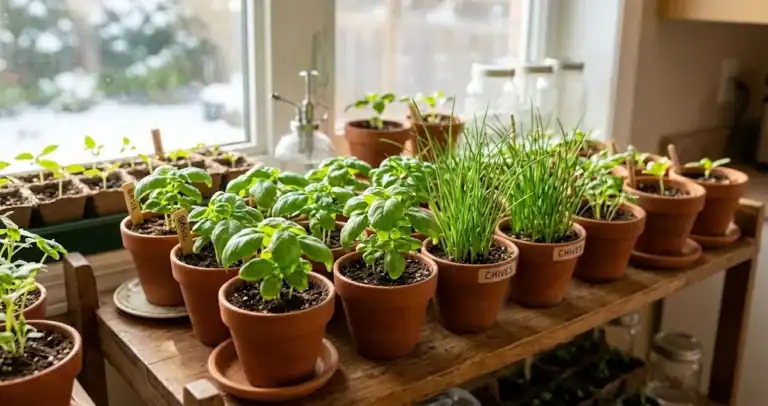
If you want more variety or a larger garden, starting herbs from seed indoors is straightforward. Sow herb seeds in a shallow tray of moist seed-starting mix, press them in lightly, cover with a thin layer of mix, and keep the tray warm and humid until seedlings appear. Once they have two sets of leaves, transplant into small pots.
Keep herbs growing steadily by checking them once a week for new growth, and rotate pots a quarter turn each time you water. Know your herbs as you go: a happy basil sends out bright new leaves in days, while rosemary grows so slowly that weeks of apparent stillness is normal.
Chives and cilantro usually emerge within a couple of weeks and grow well from seed indoors. Parsley is famously slow, often taking several weeks before the first seedlings show, so it rewards patience more than most herbs. Rosemary and thyme are slower and trickier still, so most indoor gardeners start with starter plants from a garden center rather than seed. Buying pre-seeded growing kits is a workable shortcut if you would rather skip the seed-starting step. Whatever you start with, place your pots in the brightest spot available for the first two weeks so young plants do not stretch.
Frequently asked questions
Do indoor herbs need drainage holes? Yes. Every indoor herb pot needs a drainage hole. Pots without holes keep water around the roots and cause rot within days.
How often should I water indoor herbs? When the top inch of soil is dry. In a sunny, warm room that may be every two to three days for thirsty basil. In a cool room, once a week or less for rosemary.
Can I grow herbs indoors without a grow light? If you have a south-facing window with at least six hours of direct sun, yes. Otherwise an LED panel set on a timer is the difference between a productive plant and a sad one.
Which herbs should not be potted together? Mint, because its runners take over. Otherwise, group herbs with similar water and light needs: basil, parsley, and chives together; thyme, oregano, and rosemary together.
How do I start herbs from seed indoors? Sow herb seeds in a shallow tray of moist seed-starting mix, cover lightly, keep warm, and move to a bright spot once seedlings appear. The growing your own from seed indoors guide walks through the steps in more detail.
Indoor herbs reward the same idea every time: match the plant to the spot you actually have, give it the conditions it came from, and check on it before you react. Once you get into that rhythm, a kitchen windowsill can supply fresh herbs for pasta, chives for potatoes, and mint for tea most months of the year. Pay attention to the herbs you grow, know what each one prefers, and small adjustments early in the growing season prevent the long tail of plant problems later.
For a wider look at soil, spacing, and the rest of the broader setup, the beginner’s guide to growing an herb garden covers the framework behind these tips.