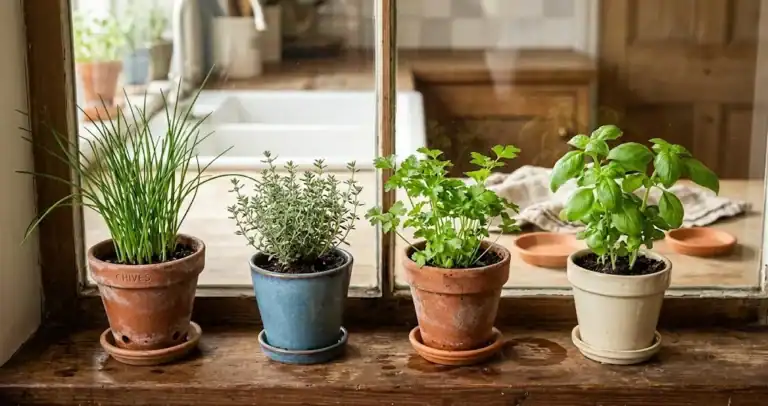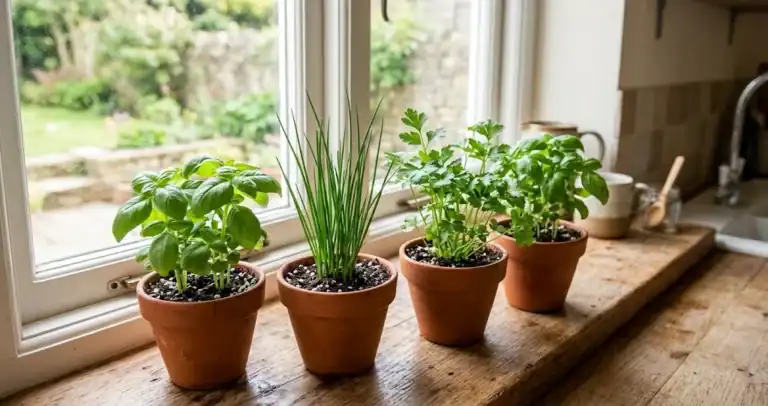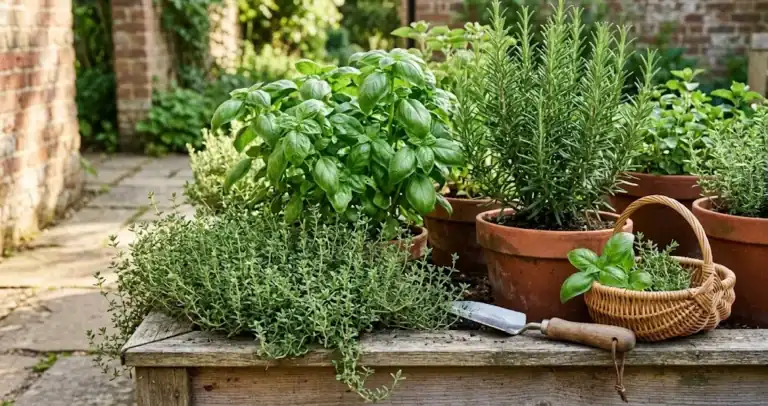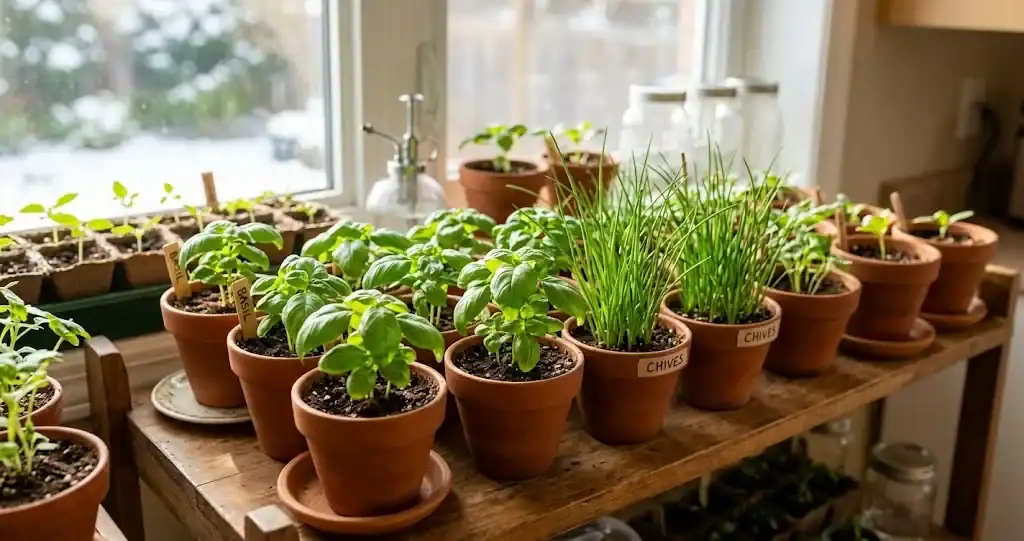
Starting an indoor herb garden from scratch gives you full control over what you grow, from tender summer greens to hardy culinary staples. When you know how to grow herbs from seed in your home, you can cultivate fresh seasonings all year, even when frost blankets the yard. Growing herbs from seed also costs far less than buying mature plants from a garden center, and it lets you choose specialized herb varieties that grocery stores rarely carry.
Successful indoor herb growing does not demand expensive greenhouse equipment. It requires simple tools, consistent warmth, good light, and a little patience. Whether you want a compact kitchen garden on a windowsill or multiple plants in a pot under fluorescent tubes, this guide walks you through every stage of seed starting so your herb plants grow strong from day one.
Why Start from Seed Indoors?
Starting seeds indoors lets you jumpstart the season regardless of whether you are gardening in zone 3 or zone 9. When you start seeds in controlled indoor conditions, vulnerable young sprouts avoid unpredictable cold snaps, driving rains, and hungry garden pests. You give each tiny seedling an optimal environment to develop vigorous root systems before harsh weather ever touches them.
Many popular culinary herbs are annual herbs or tender perennials that sprout rapidly and grow well in containers. Fast-sprouting favorites such as sweet basil, dill, chervil, and cilantro flourish when you start from seed. Perennials like thyme, winter savory, and chives also adapt readily to container culture. Slower growers such as rosemary can be challenging because their seeds germinate erratically, so while rosemary can start from seed, many growers propagate it from a cutting instead.
Essential Supplies for Sowing Seed at Home
Before you sow herb seeds, gather a few reliable materials. Having clean supplies on hand keeps fungal issues at bay and ensures your young herbs receive proper moisture and aeration.
- Seed packets: Purchase fresh seed from a dependable supplier. Check the seed packet for the packaging date, expected emergence rate, and sowing depth. For guidance on assessing quality and vitality, review our practical guide on how to choose herb seed for your space.
- Growing medium: Use a lightweight, sterile seed-starting mix rather than heavy outdoor garden soil or dense potting soil. High-quality seed mixes typically contain fine peat moss or coconut coir blended with perlite or vermiculite. This structure retains moisture while allowing delicate new roots to breathe.
- Containers and seed trays: Shallow seed trays, plug flats, recycled plastic containers, or biodegradable pots all work well. Every container or pot must have open holes at the base so excess moisture escapes freely.
- Clear humidity covers: Plastic domes or clean wrap help cover your containers during early sprouting to keep humidity stable and the seeds moist.
- Watering gear: A gentle spray bottle or mister prevents tiny seeds from washing away during top watering, though a shallow saucer lets you water from the bottom once seedlings take hold.
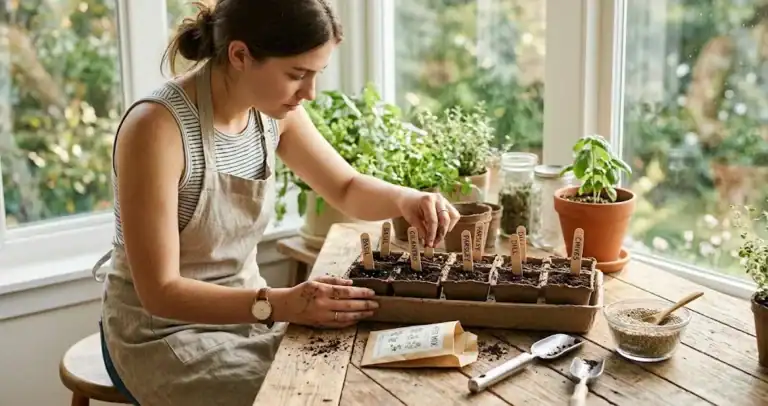
- Labels: Mark each container or individual pot with the herb name and the date you sow to track progress accurately.
Light, Warmth, and Airflow Requirements
Light is often the limiting factor when you grow herbs inside the home. Outdoors, herbs need at least six to eight hours of direct sunlight each day. Indoors, even an unobstructed, bright south facing window rarely provides enough intense light during short winter days to sustain compact growth. Without sufficient brightness, delicate seedlings grow tall, pale, and leggy as they stretch toward the glass.
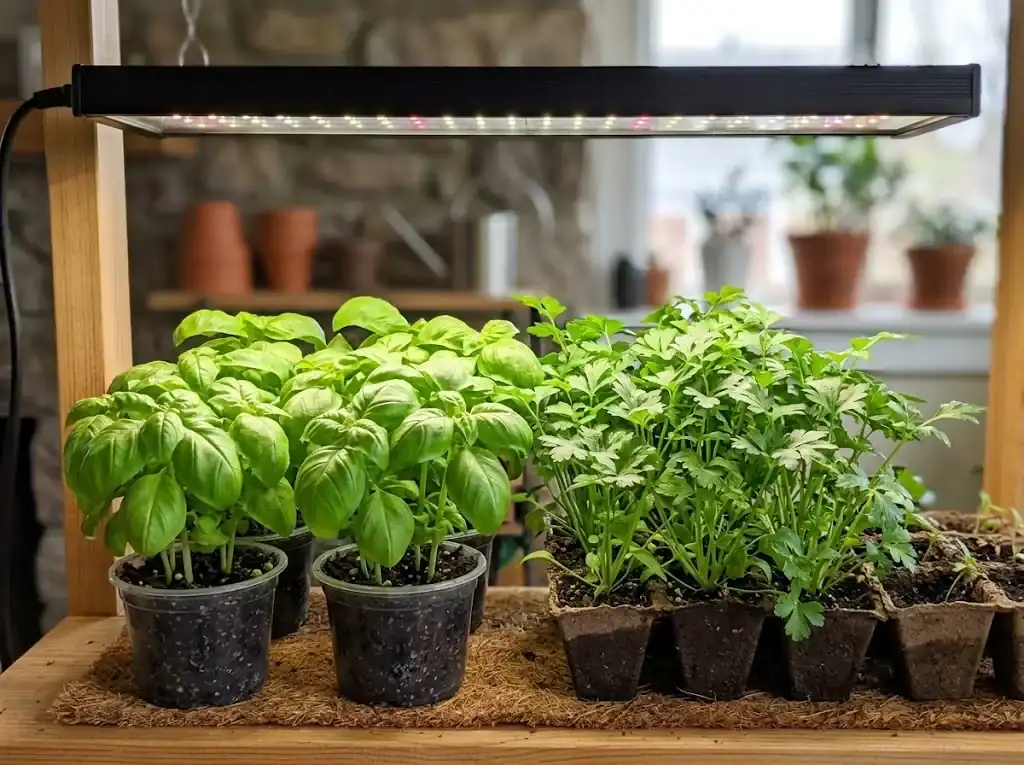
To ensure your indoor garden thrives, plan to use a grow light. Modern full-spectrum LED fixtures or standard T5 fluorescent shop lights deliver the consistent spectrum that young plants require. Position the lights two to four inches above the tops of the seedlings, raising the fixture gradually as the plants develop. Provide 14 to 16 hours of light daily using an automated mechanical or digital timer.
Temperature also plays a pivotal role in seed germination. Most varieties sprout best when the growing medium stays between 65 and 75 degrees Fahrenheit. While daytime ambient room warmth is usually sufficient, seeds germinate faster when placed on a gentle seedling heat mat. Once the sprouts appear, they prefer ambient air that is slightly cooler at night, dropping to around 60 to 65 degrees. Maintaining gentle air circulation with a small oscillating fan prevents stagnant air, strengthens stems, and reduces fungal problems like damping off.
If you are planning your overall growing space, review our tips on getting your indoor setup right before placing your trays and equipment.
Step-by-Step: How to Sow Herb Seeds Indoors
Once your workspace is ready, follow these straightforward steps to sow your seeds cleanly and evenly.
Step 1: Moisten the mix. Place your seed-starting mix into a bucket or large basin and add warm water gradually. Stir until the growing medium feels evenly damp like a wrung-out sponge. Never pack soggy mix into containers, as compressed soil suffocates emerging roots.
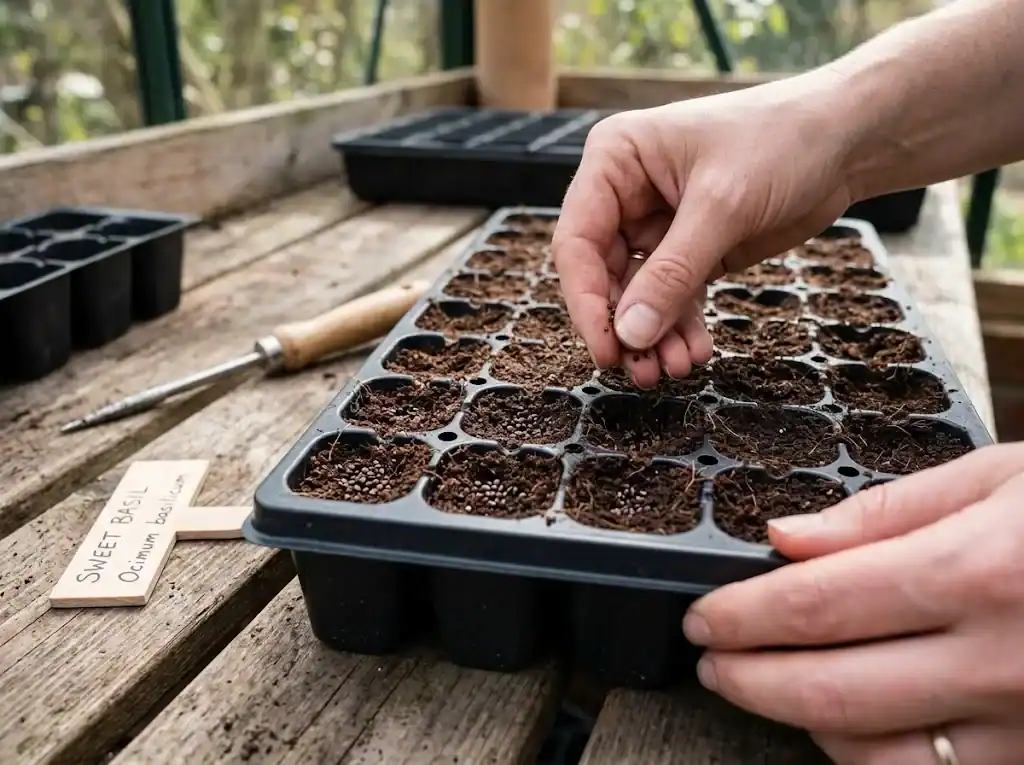
Step 2: Fill your containers. Spoon the moistened mix into your seed trays, cell flats, or each small pot. Tap the containers lightly against the tabletop to settle the particles, leaving about a half-inch of headspace below the rim.
Step 3: Sow according to seed size. Consult your seed packet for precise planting depths. Larger seeds, such as coriander or borage, need a shallow furrow about one-quarter inch deep. Medium seeds, including chive, parsley, and basil, only need a light dusting of fine mix or compost over them. Very fine seeds, like oregano, thyme, and lemon balm, require light for germination and should be pressed gently onto the moist surface without covering them with soil.
Step 4: Cover to retain moisture. Mist the soil surface lightly. Cover your containers with clear plastic lids or loosely draped wrap to trap humidity. Place the flat in a warm spot out of harsh direct sunlight until the seeds germinate.
Caring for Emerging Seedlings
The moment you spot green sprouts emerging from the medium, remove the clear cover immediately. Leaving humidity domes in place over newly sprouted herbs traps excess moisture and invites damping off, a soil-borne fungal disease that rots young stems at soil level.
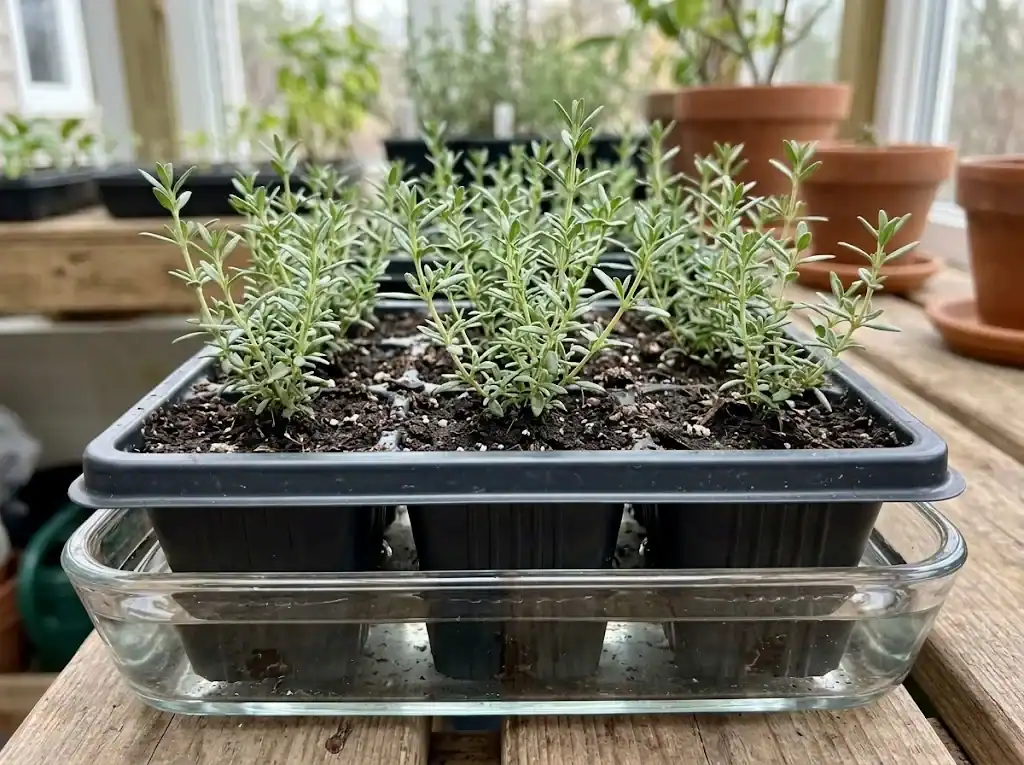
Move your sprouted containers directly under your lighting fixture. Keep the light source close so the young plants grow compact and bushy rather than thin and weak. Water carefully. The best technique is to water from the bottom: place your seedling tray into a shallow sink or water-filled saucer for 15 to 20 minutes, allowing moisture to wick up through the bottom holes, then discard standing water.
When the seedlings develop their first set of true leaves, thin the crop. True leaves are the second set of foliage to appear, resembling miniature versions of mature herb foliage. Snip weaker sprouts at the soil line with clean kitchen shears so each remaining plant has room to develop.
Transplanting and Long-Term Pot Culture
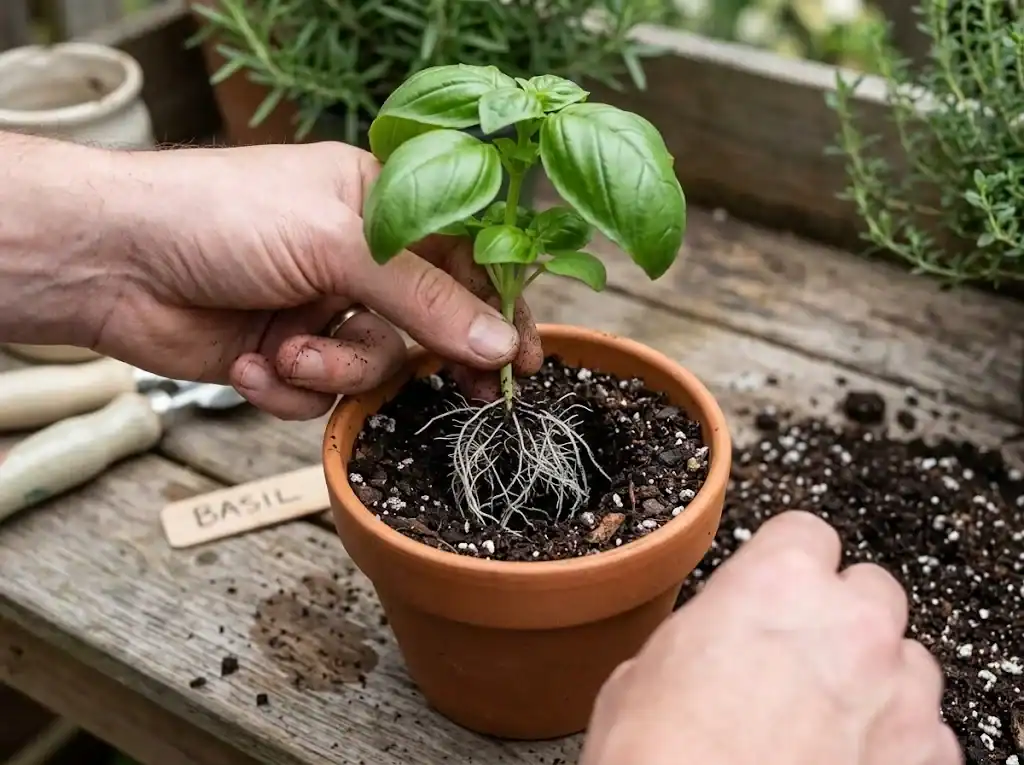
As seedlings grow, their roots fill the starter cells. When roots begin peeking through bottom drainage holes or foliage begins crowding neighboring cells, the young herbs need to be transplanted into permanent containers. Move them into individual four-inch or six-inch containers, placing a single vigorous seedling in each pot filled with high-grade container potting mix enriched with compost.
If you plan to move any containerized herbs outside for the summer, harden them off over a week to ten days. Set each pot in a sheltered, shaded outdoor spot for two hours on the first day, gradually increasing their exposure to wind and direct sun each afternoon. This gradual transition prevents leaf scorch and transplant shock before you keep the plants outdoors permanently.
For gardeners looking to expand beyond indoor containers into permanent beds and raised planters, explore the wider basics of growing herbs across different garden spaces.
Frequently Asked Questions
Can I grow potted herbs from seed on a windowsill without extra lighting?
You can start herbs on a wide, sunny window sill facing south, but natural daylight during late autumn and winter is rarely intense enough to produce robust plants. Supplementing with an overhead LED unit prevents leggy, spindly stems.
How often should I water young herb seedlings?
Check your containers daily, but water only when the surface of the soil begins to feel dry to the touch. Seedlings need moisture, but waterlogged roots quickly drown. Bottom watering every few days is safer than daily surface soaking.
Which herbs are easiest to grow from seed on a windowsill?
Sweet basil, chives, parsley, and dill are among the most dependable culinary herbs to start from seed. They sprout reliably within one to two weeks and establish rapidly in small pots.
When can I begin harvesting my herbs?
Wait until your herb plants are at least six to eight inches tall and have developed multiple sets of true leaves. Harvest by snipping the outer top stems, which stimulates lateral buds to branch out and keeps your plants productive.