Chives earn a permanent spot in any kitchen garden because they ask very little and give back for years. A single cluster planted this spring will return every year, bloom in lavender pompoms the next, and quietly reseed itself in the corners of the bed. Plant them once in a sunny spot with decent drainage and you will have a steady supply of mild, oniony flavor for baked potatoes, scrambled eggs, salads, and finishing butters well into autumn.
They are also one of the easiest herbs to start from seed, divide, or pot up for a sunny windowsill. If you have struggled with fussier herbs like basil or cilantro, chives are a confidence-building place to begin. The trick is not technique. It is matching the plant to a spot it actually likes, then letting it do what it does naturally.
What chives are and how they differ from garlic chives
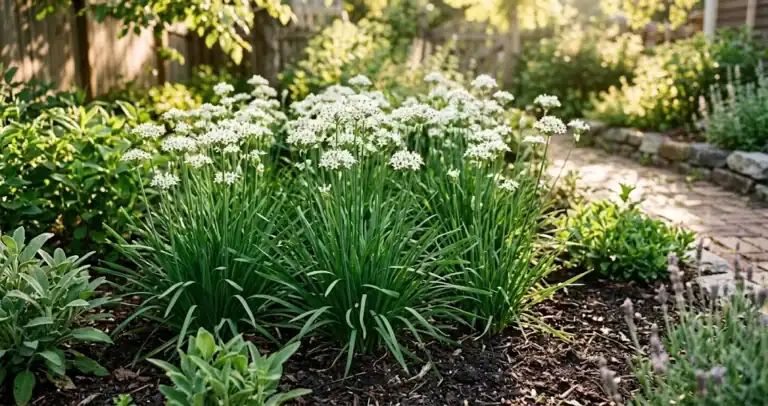
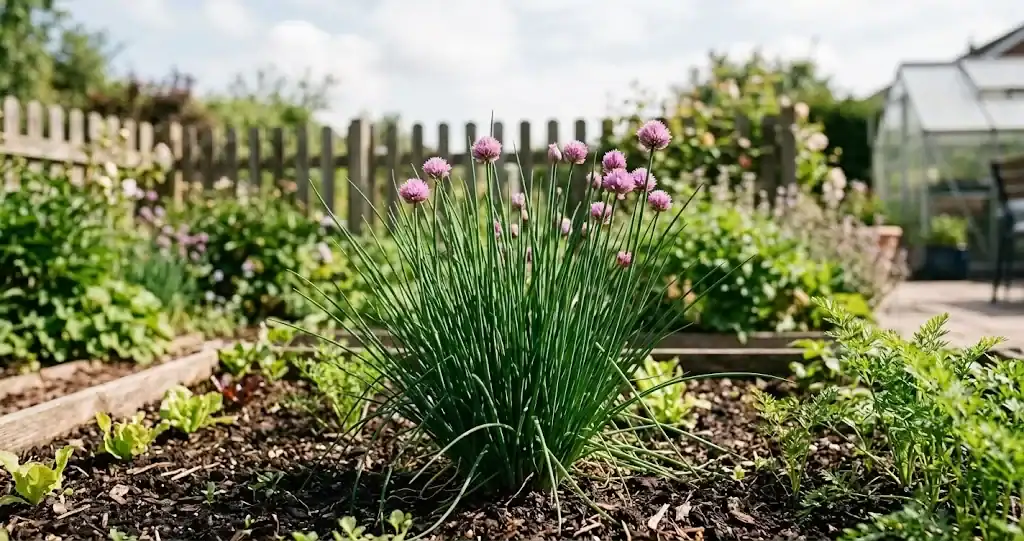
Common chives (Allium schoenoprasum) are a perennial in the onion family. They grow in dense clumps of thin, hollow leaves that look like a small bunch of grass. The flavor is a mild onion note that lifts rather than dominates. In late spring or early summer, the plants send up round, pink-purple flower heads that are also edible and pretty enough to toss on a salad.
Garlic chives, sometimes called Chinese chives, are a different species. The leaves are flat rather than hollow, the white flowers are star-shaped, and the flavor carries a mild garlic note rather than the regular onion flavor. They are just as easy to grow, but they have a tendency to self-seed enthusiastically, so many gardeners keep them in a pot on their own. If you want both kinds, plant them apart and let each clump do its own thing. They will not cross-pollinate into something strange, but they will both come back reliably.
For most home cooks, regular chives are the workhorse. They freeze well, dry well enough for winter, and pair with almost any savory dish. Garlic chives earn their place when you cook a lot of Asian food or want a different flavor in the garden.
Choosing a spot in the garden

Chives want full sun, which is six or more hours of direct light a day in most climates. They will tolerate a little afternoon shade, especially in hot southern gardens, but their leaves stay greener and the patch thickens faster in full sun. In heavy shade the stalks get floppy and the flowers get sparse.
Soil is the next big call. Chives are not picky, but they hate wet feet. If your bed holds water after rain, work in a few inches of organic matter before planting and consider a raised bed. A soil pH between 6.0 and 7.0 is fine for almost everyone. If you are planting in a brand-new bed that has never been amended, mix in two or three inches of well-rotted manure over the top and fork it in lightly. Chives do not need a rich soil, but they do appreciate one that drains well.
Pick a spot close to the kitchen door. The single best way to use chives is to snip a handful at the last minute, and you will only do that if the plant is on your path. A two-foot-by-two-foot patch is enough for a household, and one mature cluster that has been divided a few times will fill that easily.
Planting from seed, divisions, or starts
You can start chives three ways, and each one works. For gardeners who want to grow chives from seed, start them under lights about eight weeks before your last frost. For divisions, dig up a friend or nursery plant in spring. For nursery starts, plant straight into the garden.
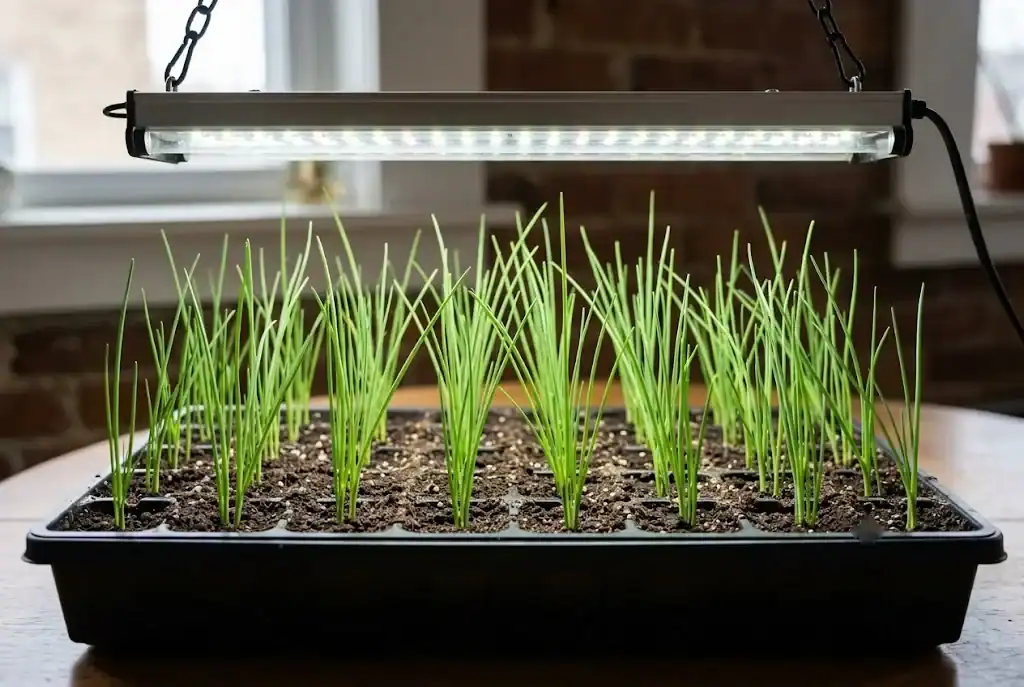
From seed. Chive seeds are small and slow, but reliable. Sow under lights about eight weeks before your last frost, covering the seed thinly and keeping the soil moist. Germination takes two to three weeks, so do not give up if nothing shows in a week. Once the seedlings are about three inches high, thin them to one per cell or space them a few inches apart in a tray. Harden them off for a week before moving them outside. Transplant them into the garden once nights stay above 50°F (10°C).
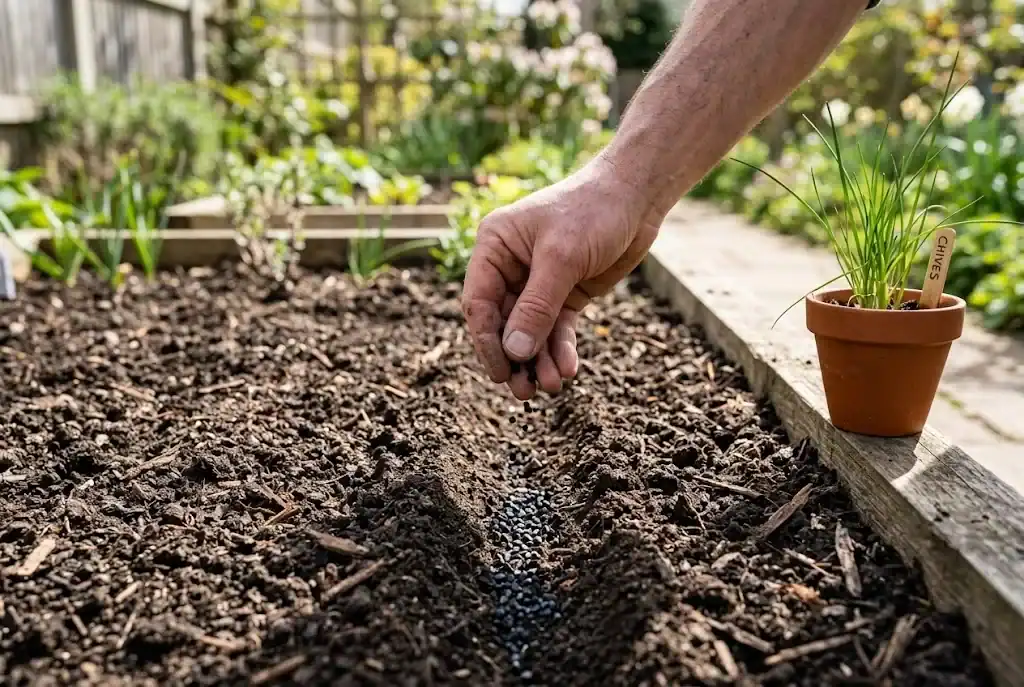
Direct sowing. You can also plant chive seed straight in the garden in spring, as soon as the soil can be worked. Rake the bed smooth, scatter the seed thinly, press it in lightly, and keep the surface moist until you see green threads. Direct-sown chives often catch up with transplants by midsummer.
From divisions or starts. The fastest and most reliable way is to plant a small cluster from a friend, a nursery, or an existing patch in your own garden. Dig up an established cluster in spring or fall, slice it into fist-sized pieces with a sharp spade, and replant each piece at the same depth it was growing. Water well for the first week and they will bounce back fast.
Space plants about eight to twelve inches apart in a row, or a foot apart in all directions if you are planting in a block. They look airy the first year and crowd each other politely by the third.
Water, fertilizer, and ongoing care
Chives like even moisture. A deep watering once a week in dry weather is better than a daily sprinkle. The top inch of soil can dry out between waterings, but if the leaves start to look pale and the tips yellow, give the plant a long soak. Mulch with an inch of straw or chopped leaves to keep the roots cool and the weeds down.
Fertilizer is optional. A single light feeding in spring with a balanced organic fertilizer, or a top-dressing of well-rotted manure, is plenty for the year. Over-fertilized chives grow fast and floppy and lose some of their concentrated onion taste. If your soil is already reasonably good, skip the fertilizer entirely.
Every three or four years, the center of an old patch gets woody and the leaves get thinner. That is the signal to divide. Lift the whole clump in spring or after the first hard frost in fall, chop it into four or five pieces with a sharp spade, and replant the healthiest pieces. The old center can be composted. This is the cheapest way to expand your patch or share with neighbors.

Growing chives in containers and indoors
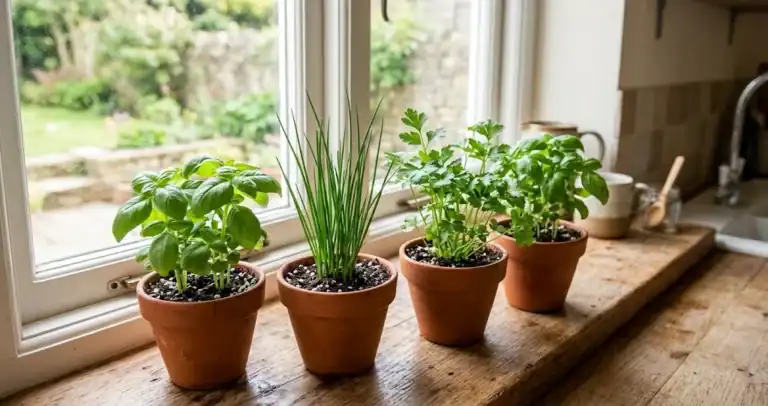
Chives adapt very well to pots, which makes them a good choice for a balcony, a patio, or a sunny windowsill. Pick a container at least eight inches deep with drainage holes. Use a regular potting mix, not garden soil, and plant one cluster per eight-inch pot or three clusters in a twelve-inch pot.
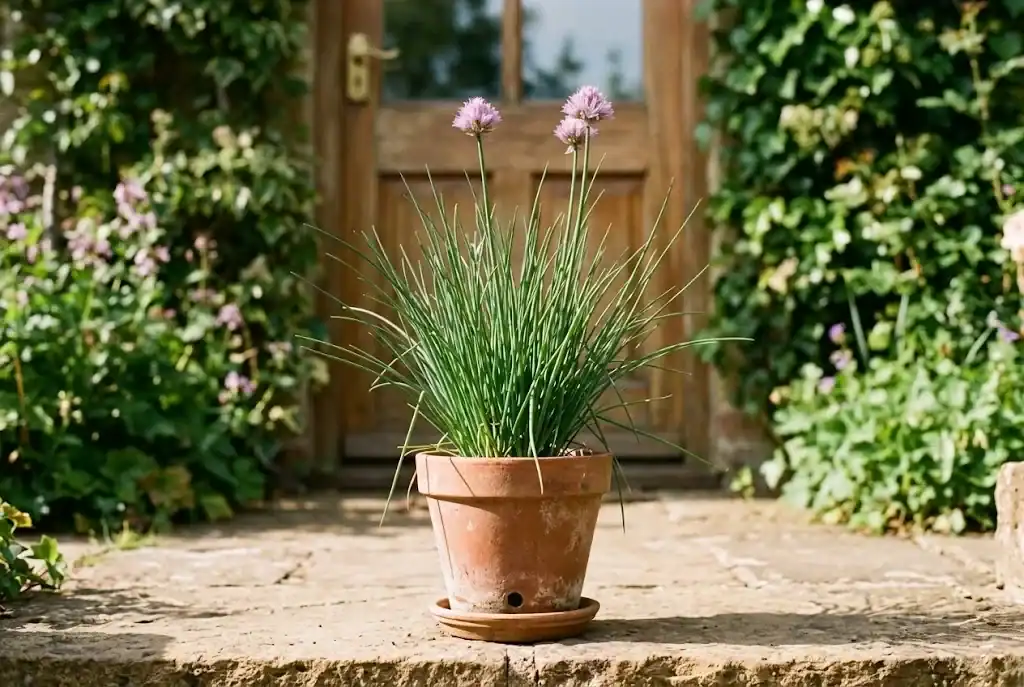
Water potted chives whenever the top inch dries out. Container soil dries faster than ground soil, especially in summer. Feed lightly once a month with a dilute liquid fertilizer, or top-dress with worm castings in spring and midsummer.
For chives grown indoors, give the pot the brightest window you have, ideally a south- or west-facing one. Rotate the pot a quarter turn every week so the plant does not lean. If you do not have a sunny window, a simple grow light on a timer for twelve to fourteen hours a day will keep the plant productive through winter. Potted chives do not need much heat, but they do need light. A cold, dark kitchen window is not the right home for them.
Companion plants and what to keep apart
Chives make a useful addition to a mixed herb and vegetable patch. The lavender flower heads draw pollinators, and many gardeners tuck a small cluster at the end of each raised bed, near tomatoes, peppers, carrots, lettuce, and brassicas, simply as part of a diverse planting.
Two cautions. First, chives and beans are not great neighbors. Onions in general can stunt bean growth, and chives are no exception. Keep them a few feet apart or put the chives in their own pot. Second, chives self-seed readily. If you do not want volunteers popping up all over the bed, snip the flower heads off right after they fade. The flowers are tasty, so bring them to the kitchen instead of the compost.
Common problems and what to do about them
Chives have few real pests, but a few things can go wrong.
Yellow leaves. Usually a water issue, either too much or too little. Check the soil and adjust. It can also be a sign of nitrogen deficiency, which a light spring feeding will fix.
Leek rust or downy mildew. Orange or yellow spots on the leaves usually mean leek rust. Cut affected leaves to the ground, clean up debris, and water at the base rather than overhead. The plant usually outgrows the infection. Downy mildew shows as fuzzy gray patches and is more serious. Remove the plant, do not add it to the compost, and start fresh somewhere drier.
Onion maggots. Rare in home gardens but possible. Affected plants turn pale, wilt, and stop putting on fresh growth, and small larvae feed on the roots. Lift and dispose of affected plants and rotate the next chive planting to a different bed.
Floppy plants. Usually one of three causes: too much nitrogen, too little light, or an old crowded patch that needs dividing. If over-fertilization is the likely cause, skip the next feeding and water deeply to dilute the soil. If light is the issue, move the pot or thin surrounding plants. If the patch is old and woody, lift and divide it. A light cut back to two inches can help recovery once the underlying cause is fixed.
If you only do one thing, water at the base rather than over the leaves. Wet foliage is what brings most chive problems on. A healthy chive plant in well-drained soil rarely needs more than this.
When and how to harvest chives
Wait until the clump is at least six inches tall and well established before the first cut, usually two to three months after planting out. To harvest, take a sharp pair of kitchen scissors or a knife and snip the leaves about an inch above the soil. Cutting the whole plant to the ground is fine, too. The patch will regrow in two to three weeks during the growing season. Stop cutting about a month before your first expected frost so the plant can store energy for winter.
Regular harvesting actually keeps the plant producing. A chive patch that is never cut gets old and woody. The full how-to on cutting at the right height, what to do with the flowers, and how to encourage a thicker regrowth is covered in detail on the harvesting chives page.
Storing chives for winter
Fresh chives keep in the fridge for about a week if you stand them in a jar with a little water and loosely cover the tops with a plastic bag. For longer storage, the easiest methods are freezing and drying. Freeze chopped chives in a thin layer on a sheet pan, then tip them into a jar or freezer bag. They will lose their crisp texture but keep their flavor for six months or more.
Dried chives are milder than fresh but useful for winter soups and egg dishes. Tie small bundles and hang them in a warm, airy spot out of direct sun, or use a dehydrator on the lowest setting. For step-by-step freezing, drying, and butter-cube methods, the storing chives page walks through each option.
Frequently asked questions
Do chives grow back after cutting? Yes. Cut the leaves above the growing point and the plant regrows from the base. Cutting the whole patch to ground level is safe and often produces a fresh flush in two to three weeks during the growing season.
How long do chives take to grow? From seed, expect sprouts in two to three weeks and a harvestable cluster in about three months. From a divided start, you can begin snipping within a few weeks of planting.
Will chives spread? Slowly, by cluster growth and a little self-seeding. Divide every three or four years to keep the patch tidy and remove spent flower heads if you do not want volunteers.
Can chives be grown in pots inside? Yes. They do well in a sunny window or under a simple grow light. Water when the top inch dries out and feed lightly once a month.
Are chives perennial? In most climates, yes. The foliage dies back in winter and the roots return each spring for many years.
When should I plant chives? In early spring after the last frost, or under lights 8 weeks earlier. Transplants go in once nights stay above 50°F.
A useful next step
Once you have a happy chive patch, the natural next questions are about the rest of an herb garden. Soil, sunlight, watering, and the layout of a beginner’s bed all come together in the beginner’s guide to growing an herb garden. Start there for the broader framework, and use this page as the chive-specific playbook when you are planning this year’s planting.