Allium tuberosum is a flat-leafed herb in the allium family, the same plant group as onions, garlic, and leeks. Its mild flavor brightens eggs, stir-fries, dumplings, and pasta, and a healthy clump produces far more leaves than you can use in one meal. Pick a bunch, and the question becomes how to keep that yield usable for weeks or months rather than watching it turn yellow in the fridge drawer. Pick the right method for the time you have, and you can use fresh leaves from your own garden almost year round. For the wider picture on herbs worth knowing, see a closer look at the herbs worth knowing.
This guide covers four reliable ways to store chives: short term in the refrigerator, long term in the freezer, fully dried for the pantry, and preserved as vinegar. Each method suits a different timeline, and a small amount of prep before storage is what keeps the flavor bright. If you are cutting the leaves for the first time, the way you cut and wash them matters more than the storage method you eventually choose. A quick note on technique will help you get the longest life from the same bunch.
How to harvest and prep garlic chives for storage
Pick chives in the morning once the dew has dried but before the day heats up. The leaves are at their firmest then, and they hold their flavor better through storage. Use clean kitchen scissors or a sharp knife and cut the leaves about an inch above the soil line. Cutting too low damages the crown and slows regrowth; cutting too high wastes usable leaves. For a fuller walk through cutting height, regrowth, and flower bud handling, see a guide to harvesting garlic chives.
Once you have a bunch, give the leaves a cool water rinse to remove any soil or garden debris. A salad spinner does this quickly and gently, and a final pat with paper towels or a clean kitchen towel removes most of the surface moisture. Wet leaves turn slimy fast in storage, so this step is worth the few extra minutes. Trim off any yellowed tips, discard anything that smells off, and keep only clean, crisp leaves for the fridge or dryer.
How long garlic chives stay fresh without storage prep
Fresh leaves start to wilt and lose flavor within three to five days at room temperature, even in a cool kitchen. In the refrigerator, unwashed and loosely wrapped, they will hold for about a week before the leaves soften and the flavor fades. That short window is why most home gardeners with even a modest herb garden lean on one of the four storage methods below. Plan on using or preserving your yield within a day or two of cutting.
Chives are not as delicate as basil, but they do bruise easily. Cramming a large cut into a single plastic bag is a quick path to brown spots and off smells. Smaller containers of herbs, each holding a few sprigs, keep the leaves from being crushed and let you pull out only what you need without exposing the rest to air.
Refrigerator storage: up to two weeks
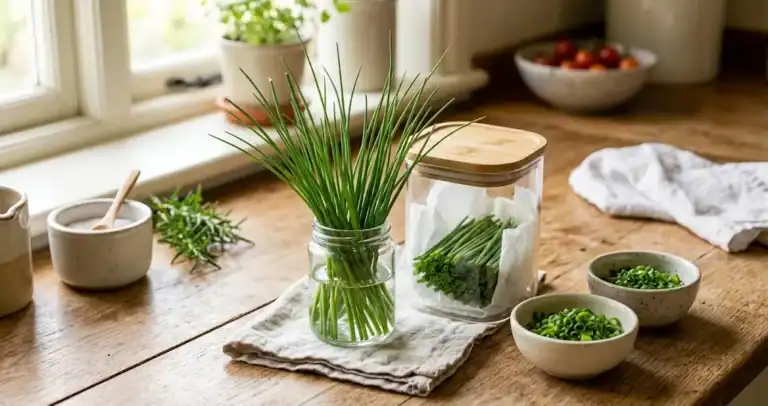
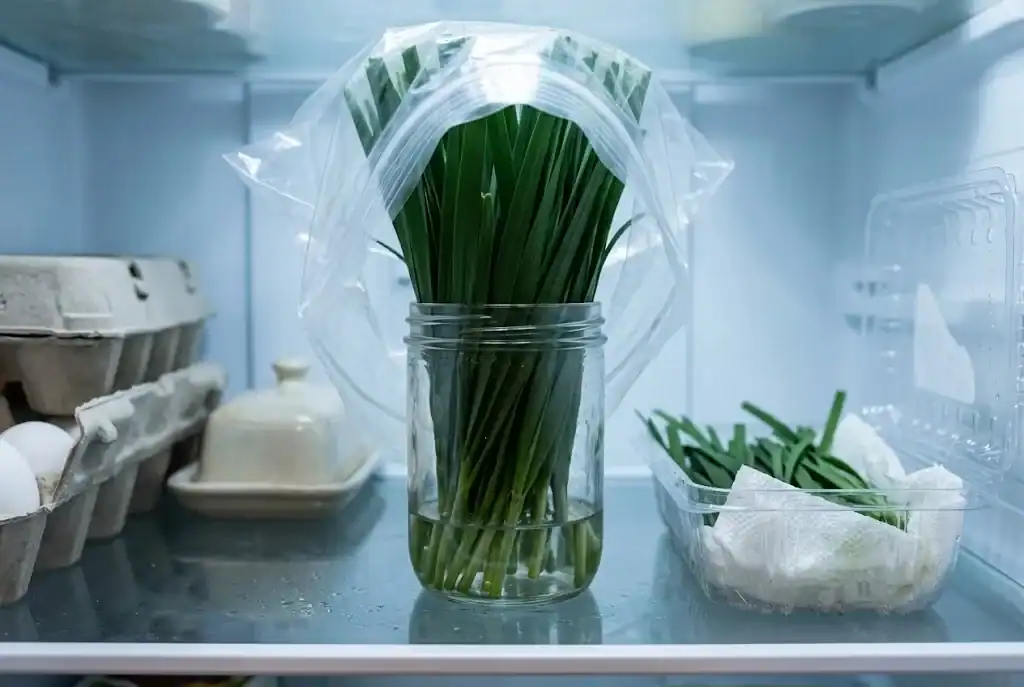
For a small bunch you will use within a week or two, the refrigerator is the simplest storage method. Wrap the unwashed leaves loosely in a damp paper towel, slide the bundle into a perforated plastic bag or a container with the lid slightly ajar, and place it in the crisper drawer. The damp paper towel keeps humidity high enough that the leaves do not dry out, while the ventilation prevents the moisture that makes them rot.
For a slightly longer hold, treat the leaves the way you would treat fresh herbs such as parsley or chive stems: stand a small bunch upright in a jar with an inch of cool water, loosely cover the tops with a plastic bag, and refrigerate. Change the water every other day. This method keeps the leaves perky for ten to fourteen days and is the best choice when you plan to use the herb fresh for garnish or in salads. It also keeps them ready to drop into scrambled eggs and baked potatoes as a finishing herb.
Freezer storage: up to six months
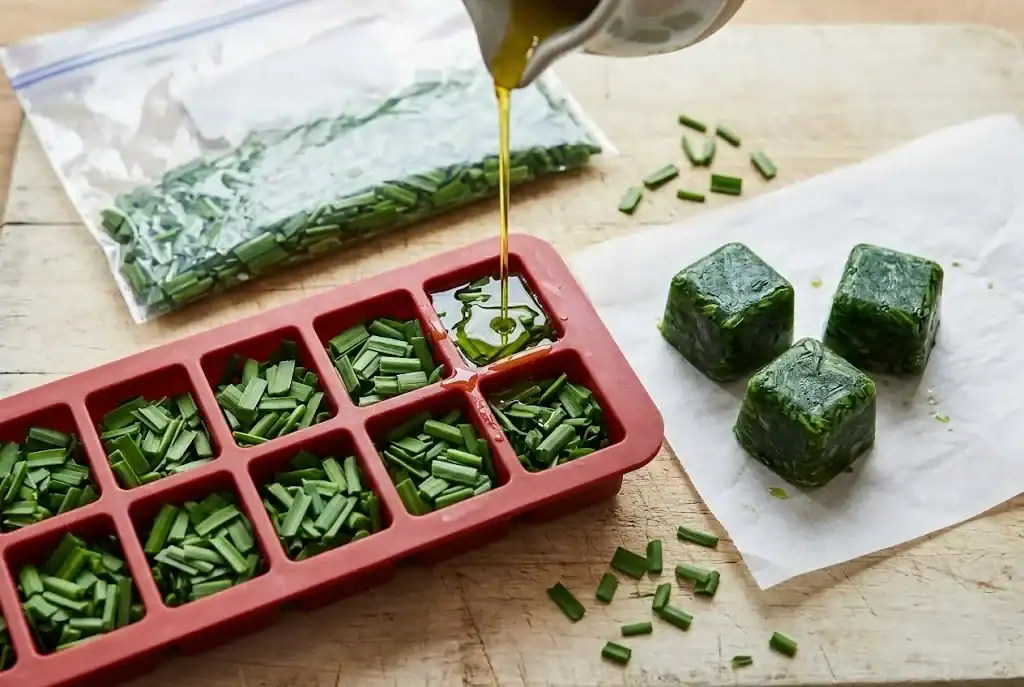
Freezing is the most useful long term option for home cooks who want their herb on hand for cooked dishes. The flavor of frozen leaves holds well in sautés, dumplings, and stir-fries, even if the leaves lose their crisp texture once thawed. Three methods work well: chopped chives in a bag, frozen in oil in an ice cube tray, or layered on a baking sheet for individual pieces.
For chopped leaves in a bag, finely cut clean material, spread them on a paper towel or a clean kitchen towel for a few minutes to draw off surface water, then scoop them into a labeled zip-top bag. Press flat, squeeze out the air, and lay the bag flat in the cold compartment. Flat bags freeze quickly and stack neatly. Use a straw to suck out the last of the air before sealing for the longest protection against burn.
For oil cubes, mix one part chopped leaves with two parts neutral oil (olive oil works but imparts its own flavor) and spoon the mixture into ice cube trays. Freeze until solid, pop the cubes out, and store them in an airtight container or a labeled bag. Each cube adds a measured dose of flavor to sautés, pasta sauces, soups, and stews. The oil protects the leaves from oxidation and keeps them from clumping.
For sheet frozen pieces, spread chopped leaves in a single layer on a parchment paper lined baking sheet, freeze until firm, then transfer the frozen pieces to a labeled bag. The pieces pour straight from the bag into whatever you are cooking, no measuring or thawing required. This is a good method for gardeners who pick a large bunch at once and want to use small amounts across many meals.
Dried chives: six months or longer
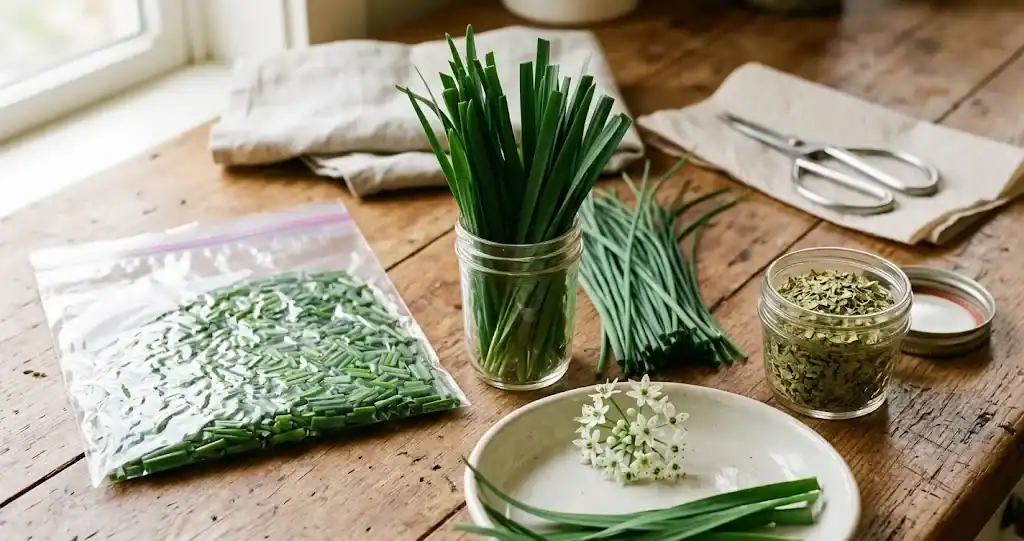
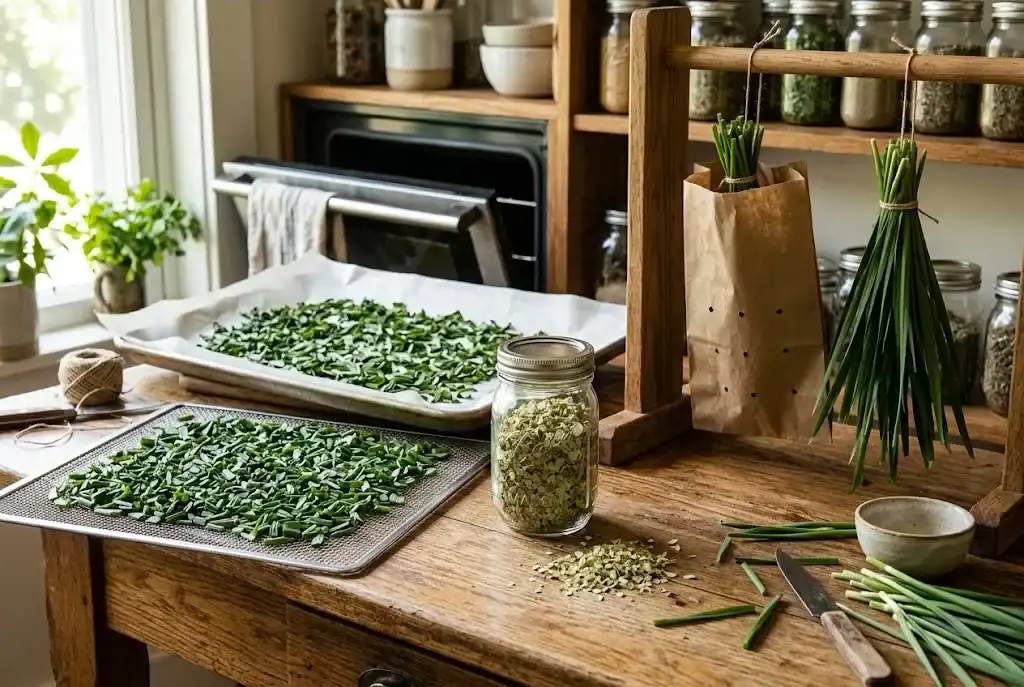
Drying concentrates the flavor into a pantry staple that keeps for half a year or more when stored properly. The three main drying methods are dehydrator, oven, and air drying in a warm room. All three work; choose based on what equipment you have and how much patience you want to spend.
A dehydrator gives the most even results. Spread the clean chopped leaves in a single layer on the trays, set the dehydrator to its lowest setting (around 95 to 115 degrees Fahrenheit), and dry until the leaves crumble between your fingers. Two to four hours is usually enough. Once dry, store the leaves in an airtight jar in a dark place, away from heat and direct sunlight. A small mason jar with a tight lid works well.
Without a dehydrator, an oven on its lowest setting can do the same job. Spread the chopped leaves on a baking sheet lined with parchment paper, set the oven to its lowest temperature, and prop the oven door open a crack with a wooden spoon so moisture can escape. Stir or turn the leaves every thirty minutes. Drying time is one to two hours; the goal is crumbly, not browned. Browning means the oven was too hot and the flavor has cooked out.
Air drying is the slowest method and works best in a warm, dry, well ventilated room. Tie small bundles of clean leaves at the stems, hang them upside down in a spot with good airflow, and wait one to two weeks. Cover the bundles with a paper bag poked with ventilation holes to keep dust off. Once the leaves crumble, strip them from the stems and store in an airtight container.
Blossom vinegar: up to a year
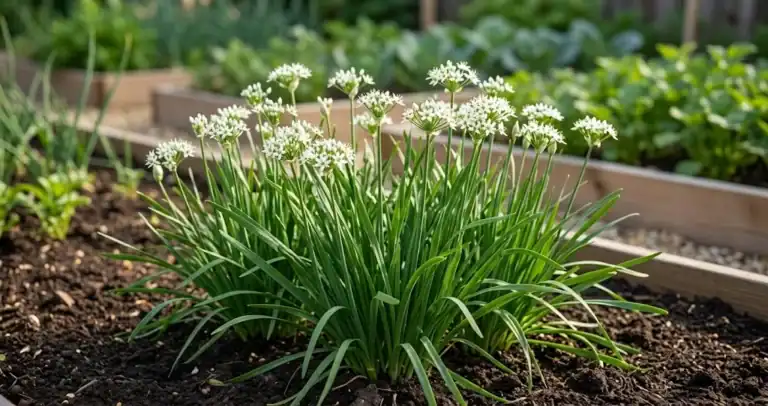
If your plant has flowered, the white blossoms are edible and have a milder, slightly sweet flavor. You can preserve them as a quick refrigerator pickle or steep them into chive vinegar for salad dressings. The vinegar itself keeps up to a year in a cool dark pantry because the acidity preserves the bright garlic chive flavor long after the original blossoms have been strained out.
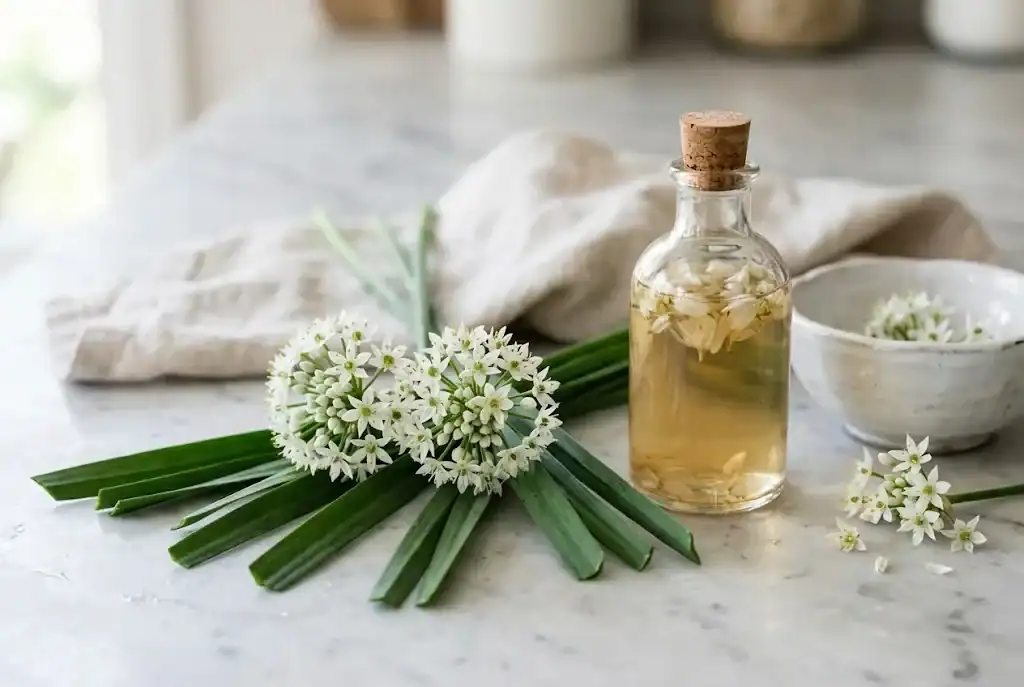
Pick the blossoms on a dry morning once any dew has dried. Choose fully open clusters and leave any tight green buds for another day. Shake off any insects, give the clusters a quick cool water rinse, and pat them thoroughly dry with a clean kitchen towel. Wet blossoms cloud the finished vinegar. Trim the clusters from the stalks with clean kitchen scissors, leaving a short stem that is easy to fish out later.
Pack the blossoms loosely into a clean glass jar; a one-pint jar holds about half a cup of loosely packed clusters. Pour room temperature white wine vinegar or apple cider vinegar over the blossoms until they are completely submerged, with about half an inch of headspace at the top. Use a vinegar with at least five percent acidity for safe shelf storage; rice vinegar or seasoned rice vinegar is too low and will not keep. Cap the jar loosely for the first day so any remaining gas can escape, then tighten the lid.
Steep the jar in a cool dark place for two to four weeks. Taste at two weeks for a light floral note; three weeks gives a stronger infusion that still tastes like the fresh herb. Strain the finished vinegar through a fine mesh sieve lined with a coffee filter or a doubled piece of cheesecloth, then pour it into a clean glass bottle with a tight fitting lid. The strained blossoms can be used immediately in a stir-fry or folded into compound butter, but they are not safe to store long.
Label the bottle with the date and store it in a cool dark pantry away from direct sunlight. Properly made and strained, the blossom vinegar keeps its bright flavor for up to a year. If it ever clouds, develops a fuzzy growth, or smells off, discard it and start fresh with a clean jar. The vinegar lifts any salad dressed simply with olive oil and salt, and a splash over roasted root vegetables or grilled chicken pulls the garlic chive flavor into the cooked dish without the work of mincing fresh leaves.
Common mistakes to avoid
A few habits shorten the life of stored leaves faster than anything else. Storing wet leaves is the biggest one: moisture trapped in a closed container is what turns leaves brown and slimy within a day or two. Always pat the leaves dry with paper towels or a clean kitchen towel before any method of storage.
Cramming leaves into a single overstuffed bag crushes them, and crushed leaves brown faster than intact ones. Smaller containers of herbs with a few sprigs each beat one giant bag every time. For the cold storage option, do the air squeeze before sealing: a sealed bag with the air pressed out and laid flat freezes faster and burns less than a puffy bag.
Finally, do not store the herb near strong-smelling foods in the refrigerator or freezer compartment. The leaves absorb odors easily, and a bunch stored next to leftover chili peppers can take on a flavor you did not bargain for.
Putting it to use
Stored leaves slip into a long list of recipes. Frozen cubes are perfect for sautés, scrambled eggs, and stir-fries. Dried leaves crumble into stew, soup, salad dressings, and marinades. Refrigerator leaves make a fresh garnish for baked potatoes, dumplings, and noodle dishes. Once you have a steady supply, you stop buying the herb in plastic clamshells at the grocery store, and you start reaching for your own. For ideas on turning the stored yield into actual meals, see ways to put garlic chives to work in the kitchen.
Storing the herb is less about one perfect method and more about matching the method to the timeline. Use the refrigerator for the next few days, the freezer for cooked use across the next few months, and the dehydrator or oven for a pantry stash. The plant is generous; a healthy clump will keep giving you yield through the season. With a few minutes of prep and the right container, every cut can be put to work.