A bowl of fresh chili peppers, picked minutes before dinner, has a bright, fruity heat that the supermarket version never matches. Growing chili peppers in a garden is not difficult, but the plants do reward a thoughtful start. Pick the right variety, give them a long warm growing season, and most home gardeners end up with more pods than they can eat fresh.
This guide walks through the whole cycle: choosing varieties that suit your taste and climate, starting pepper seeds under cover, transplanting into the garden, feeding and watering through summer, handling the common problems that show up, harvesting at peak ripeness, and storing or cooking what you pick. The steps work in a backyard bed, a raised planter, or a row of large pots on a sunny patio.
Choose the right chili variety for your garden
Chili peppers cover a huge range of heat, from a single mild chili pepper you can eat like bell pepper, to habaneros that demand respect. Before you order seeds, think about how you actually want to use what you grow.
- Mild chili peppers like banana, Anaheim, and poblano are forgiving, productive, and easy to cook with for a family that prefers gentle warmth.
- Medium-hot peppers like jalapeño and serrano give a clear kick and are versatile in salsas, pickles, and stir fries.
- Spicy peppers like cayenne and Thai keep their heat when dried, which suits anyone who wants a year-round spice jar. If you like a hotter pepper, try a small cayenne patch in addition to a milder main bed.
- Very hot peppers like habanero, ghost, and Carolina Reaper need a long warm season and careful handling. They are fun to try, but they are not the easiest place to start.
If this is your first year, two or three varieties will teach you more than a dozen. Look at local garden centers in late winter for transplants if you would rather skip the seed stage. Pepper seedlings from a nursery are a perfectly good way to grow peppers, and they save about eight weeks of indoor work.
Start chili seeds under cover for a strong start
Chili peppers grow slowly at the start. In most of the United States, peppers need to be started indoors about eight to ten weeks before the last expected cold snap, so they have time to set fruit before cool weather returns. A simple setup with a seed tray, fresh potting mix, and a warm bright window is enough.
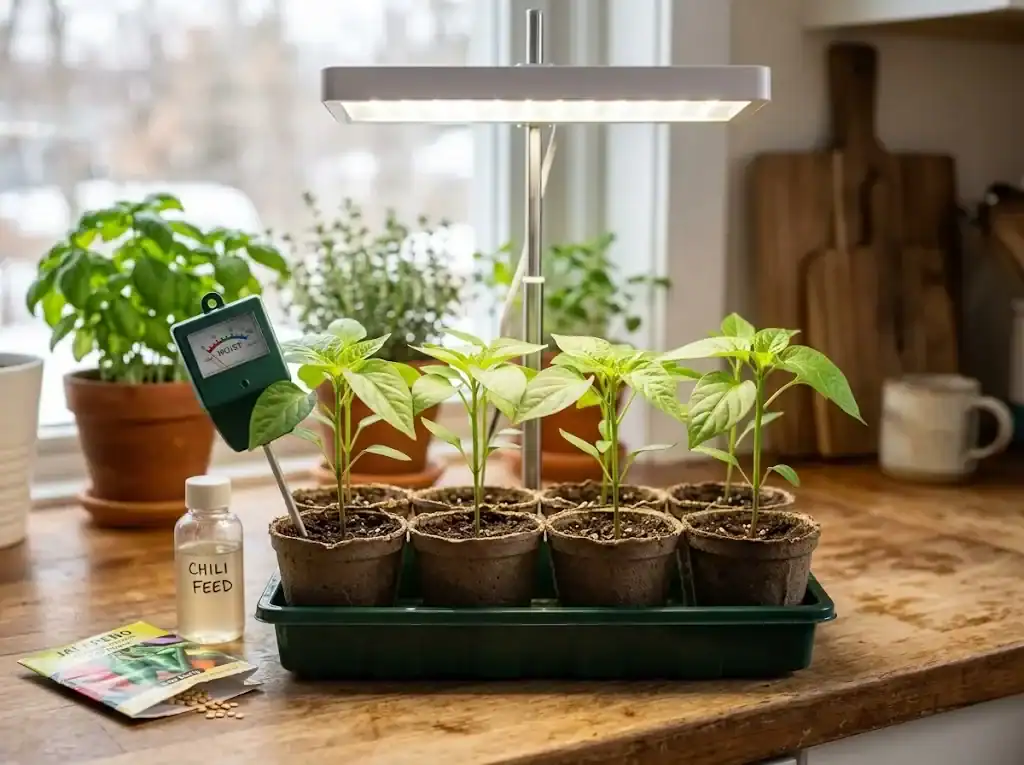
Press each pepper seed about a quarter inch into moist seed-starting mix, cover lightly, and keep the tray warm. A heat mat set to 80°F speeds germination; without one, the top of a refrigerator often works. Most chili seeds sprout in 7 to 14 days. As soon as seedlings appear, move them under a bright window or a simple grow light for 14 to 16 hours a day so the young pepper plants stay stocky rather than leggy.
When each seedling has two sets of true leaves, pot it up into its own small container. Bury the stem slightly up to the first leaves; new roots will form along the buried portion and the pepper plant will be sturdier. Keep the soil lightly moist and feed with a diluted balanced fertilizer every other week. By the time night temperatures are reliably in the mid-50s, a healthy pepper seedling should be four to six inches tall with a thick stem and dark green leaves.
Harden off and transplant pepper seedlings outside
Pepper plants do not like cold soil or cold nights. Move them into the garden only when nighttime temperatures stay above 55°F and the soil has had time to warm. Rushing this step is the single most common reason chili peppers stall for weeks after transplanting.
Spend a week hardening them off. Set the pots outside in a sheltered spot for an hour on day one, then add an hour each day, working up to a full day outside by the end of the week. Bring them in if a cold snap or strong wind arrives.
When you transplant, space pepper plants 18 to 24 inches apart in rows 24 to 30 inches apart. In pots, choose containers at least 12 inches wide so the roots have room. Bury each seedling a little deeper than it sat in its pot, the same way you did at the potting-up stage. Water deeply at planting and lay down a 2-inch layer of straw or compost mulch to keep soil moisture steady and weeds down.

Give peppers the sun, soil, and water they need
Chili peppers grow best with six to eight hours of direct sun, well-drained soil, and steady moisture. In hot southern gardens, a spot that gets morning sun and light afternoon shade is often kinder than a wall that bakes all afternoon. In cooler northern gardens, the sunniest south-facing wall is usually the right answer.
Soil preparation is the part of the job that pays off all season. Work two to three inches of compost into the top eight inches of the bed a couple of weeks before transplanting. If your soil is heavy clay, raise the bed or grow peppers in pots so the roots never sit in water. The goal is soil that holds moisture long enough for roots to drink but drains well enough that they never drown.
Water deeply once or twice a week rather than a light sprinkle every day. The top inch of soil can dry out between waterings; the soil a few inches down should stay lightly moist. Inconsistent watering leads to blossom drop and small peppers. A simple moisture check is the most reliable guide. Stick a finger in the soil: if it feels dry past the first knuckle, water.
Feed and care for chili plants through summer
Peppers are moderate feeders. Too much nitrogen gives you leafy plants with few peppers; too little and the leaves turn pale and the crop is thin. A balanced approach works well for most home gardens.
- At planting. Mix a small handful of balanced organic fertilizer into the hole.
- Three weeks after transplant. Side-dress with compost or a light feed of a low-nitrogen fertilizer to support flowering.
- When you see the first pepper flowers. Switch to a fertilizer that is a little lower in nitrogen and a little higher in phosphorus and potassium to encourage fruit set.
As the plants grow, pinch off the very first flower or two. It feels strange, but it lets the plant put energy into a stronger framework before fruiting begins. Stake taller varieties or cage them early, before the branches get heavy with pods. Remove any leaves that touch the soil to keep disease pressure down. Throughout the summer, pluck a few leaves here and there to improve airflow, but leave most of the canopy in place to shade the fruit.

Spot and solve common chili problems
Even with good care, a few issues tend to show up. Catching them early is most of the battle.
- Flower drop. Usually caused by cold nights, hot dry wind, or inconsistent watering. Steady moisture and a light shade cloth in heat waves help.
- Curled or distorted leaves. Often a sign of aphids on the undersides of leaves. A strong spray of water or insecticidal soap clears them up.
- Pale leaves with green veins. Magnesium deficiency. A foliar spray of Epsom salt mixed at one tablespoon per gallon of water helps quickly while you adjust your feeding routine.
- Black spots near the stem end. Blossom end rot from uneven watering or calcium uptake. The fix is steadier moisture, not extra calcium in most garden soils.
- Corking on peppers. Those light brown stretch marks on pods approaching full color are not a disease; they are a sign of a healthy, fast-growing plant. They are actually prized on some varieties.

If you see holes in leaves, check for caterpillars or slugs at night with a flashlight. Birds will sometimes peck at ripe pods; a small piece of netting draped over the plants stops them. Keeping the area around the bed free of weeds removes hiding spots for many pests through the rest of the year.
Harvest chili peppers at their peak
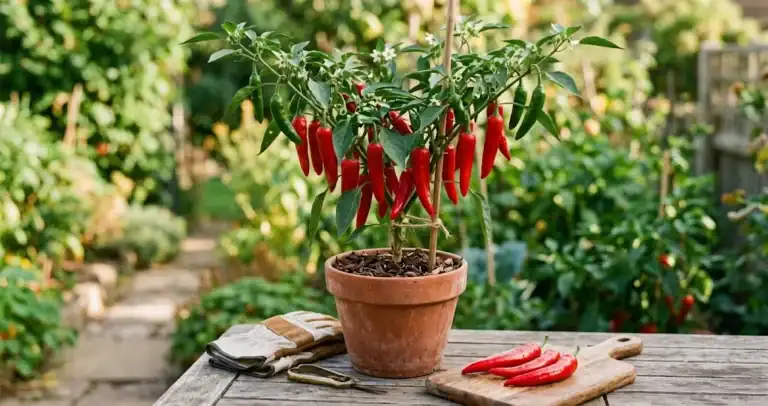
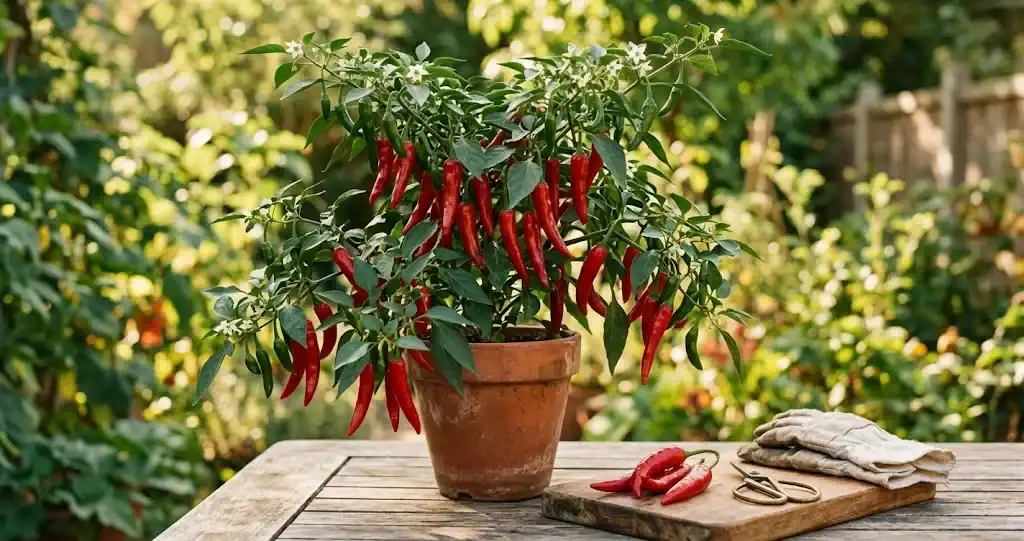
Most chili peppers start green and ripen to red, yellow, orange, or even purple, depending on the variety. You can pick pods at any stage. Green peppers have a brighter, more vegetal flavor; fully colored ripe peppers are sweeter, easier to dry, and often pack more capsaicin.
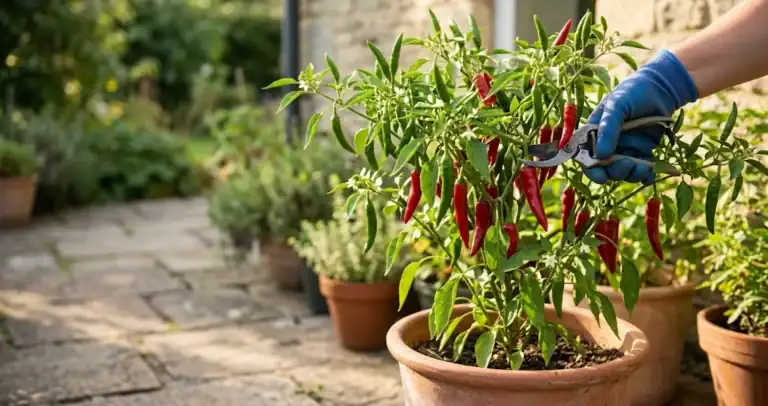
Pick peppers with a clean snap. Cut the stem about half an inch above the cap with sharp scissors or pruners rather than pulling, which can snap the branch. The more you pick, the more the plant produces, so do not let ripe pods hang around hoping to get bigger. Thin-walled peppers in particular are best picked on the small side; larger pods left too long on the plant can turn soft or sunburned.

If a cold snap is coming and you still have green pods on the plant, pull the whole plant and hang it upside down in a cool dry place. Many green peppers will continue to color indoors for another week or two, which is a useful way to rescue the last of the crop.
Store, dry, or freeze your chili harvest
Fresh chili peppers keep for about two weeks in the refrigerator. For longer storage, you have three reliable options: drying, freezing, or quick pickling. A home gardener with even one good plant can end up with far more fresh peppers than the family eats in a week, so it pays to plan for putting some up.
To dry chili peppers, thread a needle and string whole pods on a line in a warm, airy room, or use a dehydrator at 125°F until the pods are brittle. Dried peppers keep their heat for a year or more and grind easily into chili powder or flakes. To freeze, lay pods on a tray to freeze individually, then bag them. Frozen peppers soften on thawing but keep their flavor well for cooked dishes. Pickled chilies in vinegar and salt are the fastest way to put up a small batch.
If you want more detail on storing chili for the months ahead, see this guide on how to store chili after harvest.
Put your chili harvest to work in the kitchen
Once the peppers start coming in fast, the easiest thing is to keep a small bowl of fresh pods on the counter and reach for them the way you would for garlic. A single jalapeño sliced into a stir fry, or a pinch of dried chili flakes in a pot of soup, will change the way you cook for the rest of the year.
If you grow more than you can use fresh, dry the surplus into chili powder, freeze chopped peppers in oil for instant sauté starters, or pickle a quick batch to keep in the fridge. A short guide on cooking with chili covers the basics of building flavor with both fresh and dried pods.
Plan your herb garden for years of harvests
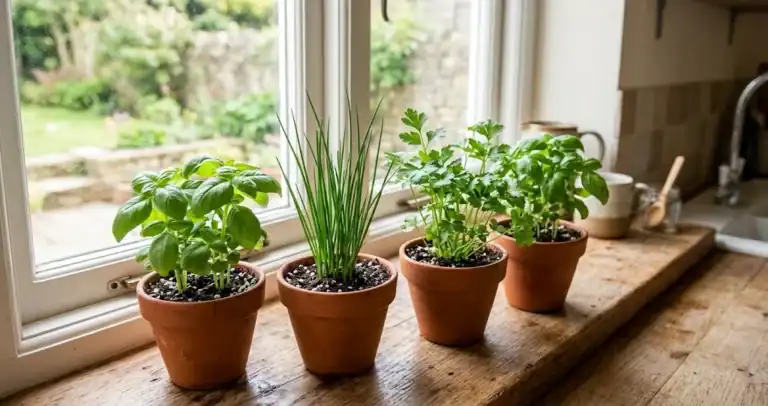
Chili peppers fit naturally into a broader kitchen garden alongside basil, oregano, thyme, and parsley. If you are building a herb bed for the first time or expanding an existing one, this beginner’s guide on planning an herb garden properly walks through layout, sun, soil, and water for the long term. A little planning in spring saves a lot of rework every year.
Frequently asked questions about growing chili peppers
How long does it take for chili peppers to grow from seed to picking? Most home garden varieties take 75 to 100 days from transplanting to first ripe pods, which is why starting seeds under cover eight to ten weeks before cold weather arrives matters. Spicy peppers and larger-fruited varieties tend to take the longest to ripen.
Can I grow chili peppers in pots? Yes. Peppers do very well in containers at least 12 inches wide with good drainage. Pot-grown peppers dry out faster than in-ground plants, so plan on watering more often in mid-summer, and choose a pot color that does not bake the roots in hot climates.
Do chili peppers need full sun? Six to eight hours of direct sun is the practical minimum. In very hot southern gardens, late afternoon shade helps prevent blossom drop. In cooler regions, full sun all day is best.
Why are my pepper flowers dropping without setting fruit? The most common causes are cool nights below 55°F, hot dry wind, and inconsistent watering. Steady moisture, light afternoon shade in heat waves, and patience usually solve it within a couple of weeks.
Are chili peppers safe around pets? Capsaicin, the compound that gives chili peppers their heat, is a strong irritant to animals: it is even used as an active ingredient in some animal repellent sprays because of the coughing and eye irritation it causes on contact, according to the National Pesticide Information Center. Keep curious pets away from the bed, and never offer a cat or dog a chili pod to taste. Wash your hands well after handling hot peppers, and wear gloves when working with very spicy varieties.
Should I save seeds from my best plants? If you are growing open-pollinated varieties and want to try next year, yes. Let one or two pods fully color on the plant, scoop out the seeds, dry them on a plate for a week, and store in a labeled paper envelope in a cool dry place. Hybrids will not come true from saved seed, so this only works for non-hybrid types.