This annual is the quiet culinary herb you reach for when parsley feels too green and tarragon too sharp. Chervil is native to the Caucasus and parts of Eastern Europe, but it naturalizes easily in most temperate gardens. It has a soft, anise-edged flavor that lifts buttery eggs, mild fish, and spring vegetables without taking them over. Often sold as French parsley, it is a key part of the fines herbes blend alongside chives and parsley. In this guide you will learn how to grow this annual from sowing through to the first cut. The catch is that it is a cool-season annual that bolts the moment hot weather settles in, so the real work of growing it is choosing the right window and the right site.
What chervil is and how it grows
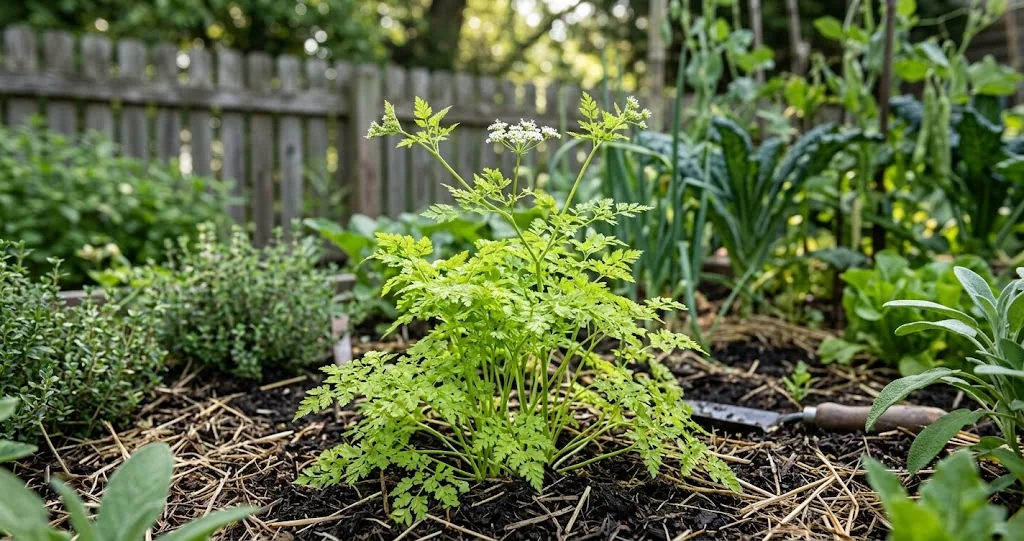
Chervil (Anthriscus cerefolium) is a slender annual in the carrot family. It grows 12 to 24 inches tall, with bright lime-green, finely divided, lacy leaves that look a little like flat-leaf parsley but stay softer and more delicate. The plant sends up a small white umbel flower in late spring, sets seed, and finishes its life in a single season.
It is grown almost entirely for its leaves. Once the plant flowers, the foliage turns bitter and the season is essentially over. That makes timing more important than any other choice you make along the way.
When to plant chervil
Chervil thrives in cool weather between about 40 and 70°F. Sow seeds in early spring as soon as the soil can be worked, and plant a fresh round in late summer for a fall harvest that often outlasts the first one. In mild climates, an autumn sowing will sit through winter under a light row cover and pick up again in early spring. Chervil will sometimes overwinter as a young plant under cover and set seed the following spring, even in colder zones.
A chervil plant needs a steady supply of moisture-retentive, well-drained soil and a planting window that stays cool. Chervil needs cooler nights too, and tends to keep producing leafy growth when the days are short and the soil stays evenly moist. Get those things right and the rest is mostly patience.
Skip midsummer sowing. Soil temperatures above about 75°F tend to cause plants to bolt, and the chervil leaves you get will be small, sparse, and quick to turn bitter.
Where to plant chervil
This herb wants the same conditions as lettuce and spinach: morning sun, afternoon shade, and rich, moist soil that holds moisture without staying soggy. A spot on the east side of a fence, behind a row of taller crops, or under the dappled shade of a small tree is ideal for any home gardener planning a cool-weather bed.
Work a couple of inches of compost into the top 6 inches of soil before sowing. Aim for a pH between about 6.0 and 7.0. The plants are not fussy about soil, but they respond to loose, humus-rich ground with fuller growth and longer picking windows. If you are still sketching out a wider herb bed, the basics of growing an herb garden lay out the site, soil, and spacing decisions that apply here too.
How to sow chervil seeds
Chervil has a long, brittle taproot and resents being moved, so direct sow the seeds where they will grow rather than trying to transplant them later. Press them about a quarter inch deep and 2 inches apart in rows 12 inches apart, or scatter in a 6-inch-wide band. Cover seeds lightly, water gently, and keep the surface moist until germination.
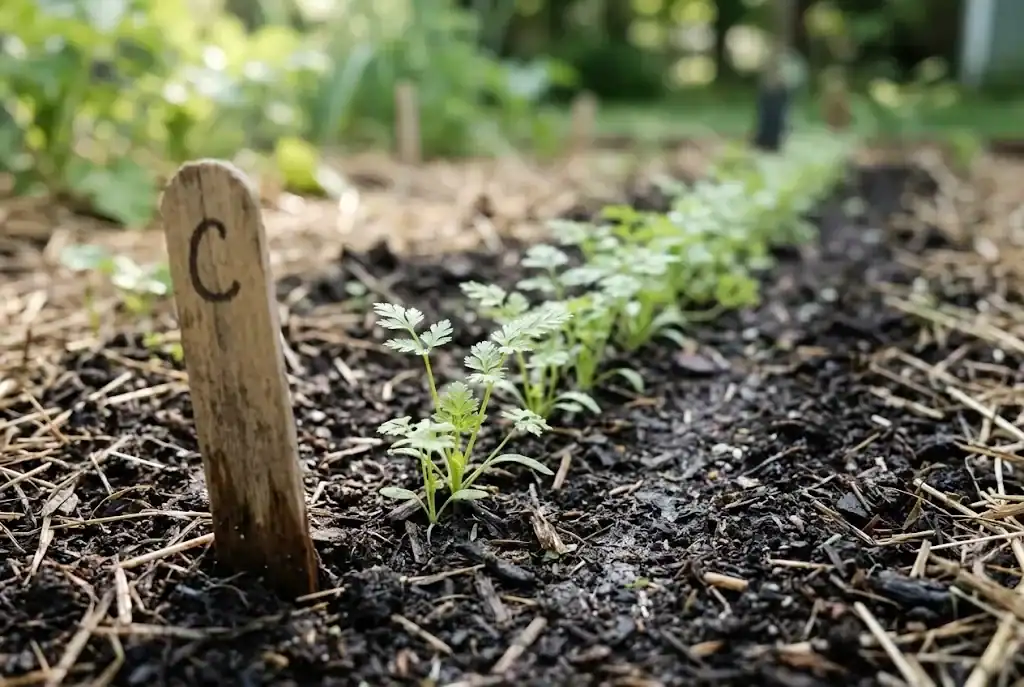
Most seeds germinate within 7 to 14 days. The seed loses viability quickly, so use fresh stock each season and plant more thickly than you would for most herbs. Thin seedlings to 6 to 8 inches apart once they have two true leaves. The thinnings are tender enough to toss into a salad or finish a soup.
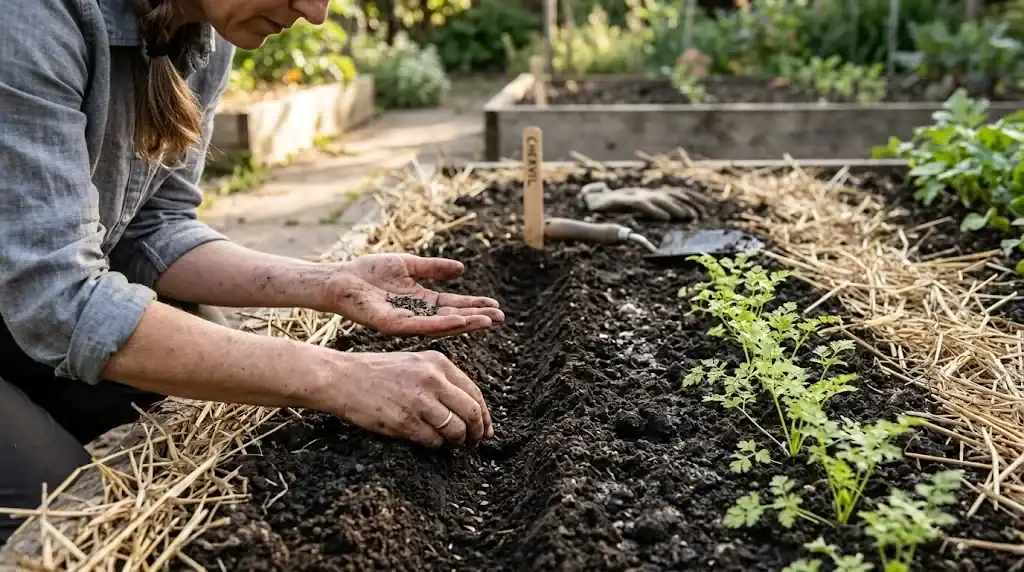
For a continuous supply, sow seeds every 2 to 3 weeks during the cool months rather than one big planting. This keeps a fresh plant coming along as earlier ones start to bolt.
Watering and feeding
The plants like steady, even moisture. Water when the top inch of soil dries out, and aim the water at the base of the plant rather than over the foliage to keep leaves clean and reduce disease pressure. Healthy plants respond with steady, leafy growth when the soil stays consistently moist. A 1- to 2-inch layer of straw mulch keeps the plant roots cool and slows bolting as the weather warms.
Feed lightly. Plants grown in compost-amended soil need little extra fertilizer. If growth looks pale or slow, a half-strength liquid feed every three weeks is plenty. Too much nitrogen produces leafy growth with weak flavor and hastens flowering.
This herb is most often grown from seed, and that is by far the cheapest way to keep a steady supply. Buy new seed each spring from a supplier that lists a recent lot date; old stock is one of the more common reasons a row simply does not come up.
Growing chervil in containers
Chervil grows well in pots as long as the roots have room and the soil does not dry out. Use a container at least 8 inches deep with drainage holes, fill it with a quality potting soil blended with a little compost, and sow three to four seeds in the center. Thin to the strongest seedling, or leave a small cluster if you plan to harvest cut-and-come-again.
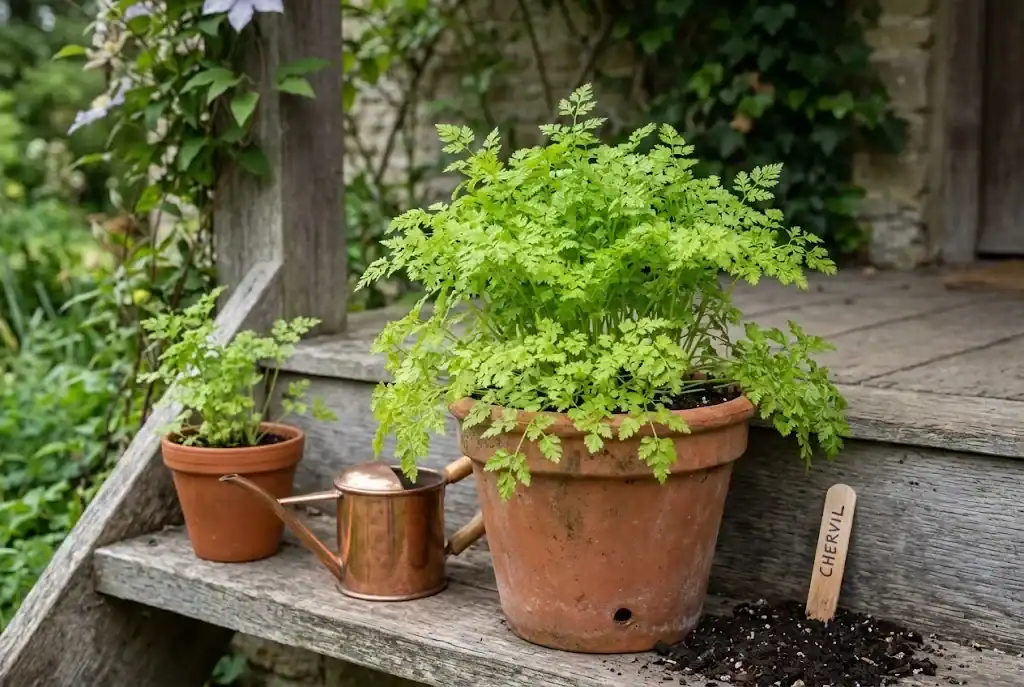
Move the pot to a shaded porch in late spring so the soil stays cool. A container grown in full sun in May will bolt weeks earlier than the same plant in a partly shaded bed.
Growing chervil indoors
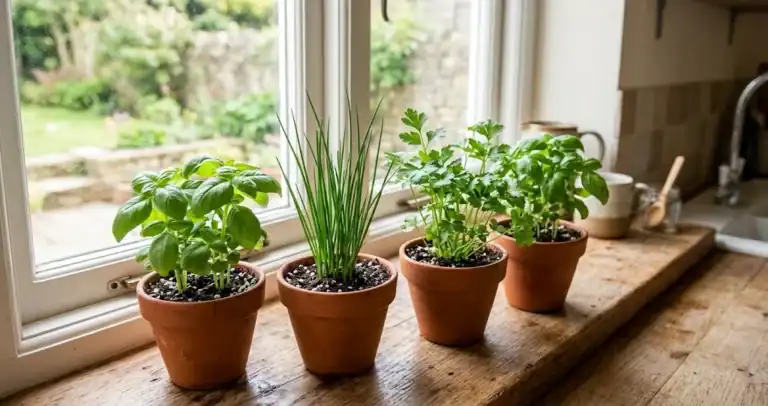
Chervil will grow on a bright windowsill through fall and winter, which is useful because fresh leaves are hard to find in grocery stores and lose their character within a day or two of harvest. Use a 6-inch pot, fresh seed, and a cool room between 55 and 65°F. A north or east-facing window usually gives the best light without overheating the foliage.
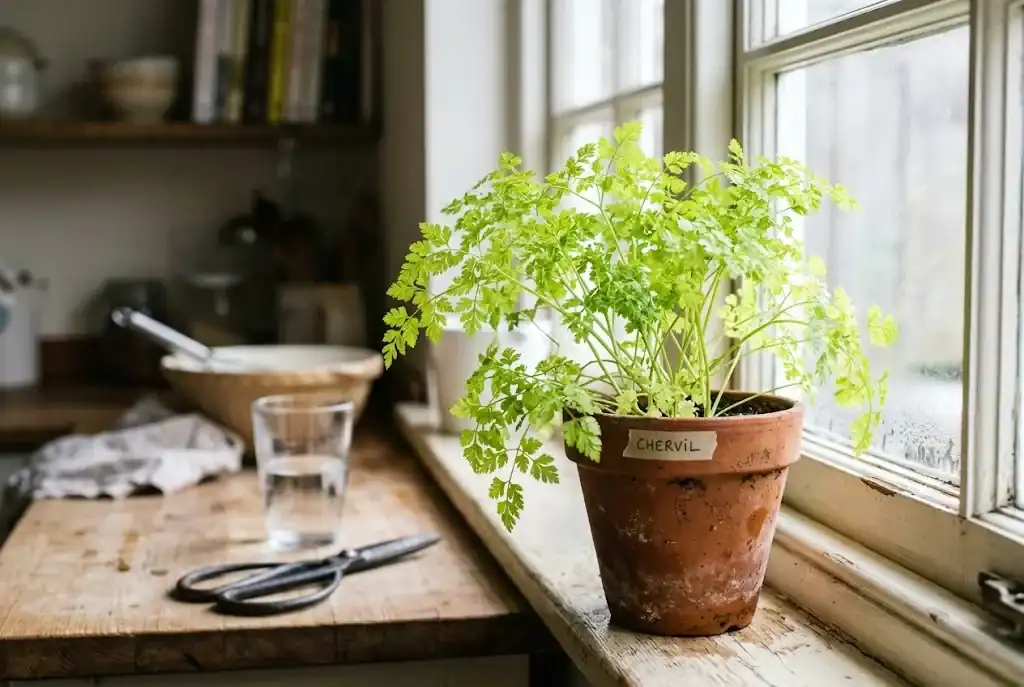
Successive indoor pots every six weeks keep a small supply going through the cold months, especially if you keep the room cool and snip regularly to delay flowering.
Companion planting and crop rotation
It pairs naturally with brassicas, lettuce, and radishes, and many gardeners set it near tomatoes to bring in beneficial insects. The plant also grows well alongside other cool-season herbs such as cilantro and dill, though each of those will set seed on its own schedule.
Rotate these plants away from last season’s carrot-family beds to reduce the buildup of soil-borne pests and diseases. A three-year rotation is enough.
Common chervil problems
Bolting is the main issue and is driven by heat, dry soil, and long days rather than by anything you are doing wrong. Mulch, shade, succession sowing, and steady moisture all delay it. Once plants start to flower and send up a stalk, pull the affected plant and rely on the next succession.
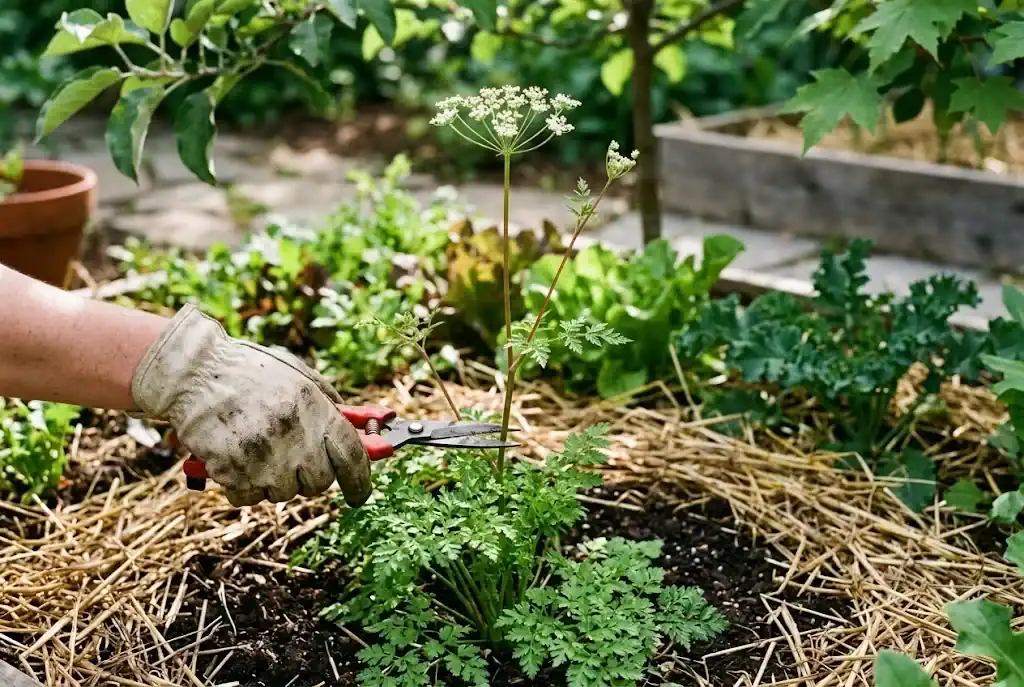
Aphids occasionally cluster on the tender new growth. A sharp spray of water in the morning knocks them off without harming the leaves. Slugs can be a problem in damp, shady beds; handpick in the evening or set out a shallow dish of beer at soil level.
Yellowing lower leaves usually point to either overwatering or a nitrogen shortage. Let the surface dry slightly between waterings and side-dress with compost if growth looks thin.
Chervil varieties to try
Common chervil is the form most gardeners grow and the one sold as seed in most catalogs. Brussels Winter and Vertissimo are two slightly more cold-tolerant selections worth seeking out for fall and winter sowings. There is also a curly-leaved type that looks attractive on the plate but has the same flavor and growth habit as the standard form.
Frequently asked questions about growing chervil
Is chervil hard to grow?
No, this herb is easy once you match it to its season. Treat it like a cool-weather green rather than a heat-loving Mediterranean plant, sow it in place, and keep the soil evenly moist.
Does chervil come back every year?
Chervil is an annual, so each plant finishes in one season. It self-seeds lightly if you let one or two flower, and the volunteers often appear in better spots than the original sowing.
Can I grow chervil in full sun?
In spring or fall, full sun is fine as long as the soil stays cool and moist. In late spring and summer, afternoon shade is the difference between a productive plant and one that bolts in a week.
Why is my chervil turning yellow?
Yellowing usually traces back to wet feet, dry soil, or a nitrogen shortage. Check drainage first, then watering, then feed lightly if growth is also slow.
What to do once chervil is established
Chervil rewards steady picking over heavy harvests. Snip outer stems just above a leaf pair and the plant will branch back from the cut. When the season winds down and plants start to bolt, let a couple go to seed for next year’s volunteers and pull the rest.
Pick leaves in the cool of the morning, before the plant puts its energy into a flowering stalk. The harvest time for chervil is a long, gentle window of a few weeks rather than a single rush day. Pick a few sprigs every few weeks rather than stripping a plant, and the row will keep producing through the cool season. A clear harvesting chervil guide walks through the cut-and-come-again method, the right growth stage for peak flavor, and how to know when a plant is finished.
Use the leaves the same day if you can. Most cooks use the foliage raw, stirred into a finished dish just before serving, because heat knocks out the delicate flavor quickly. The plants bruise easily and the leaves fade once a leaf is cut, bruised, or washed ahead of time.
For longer storage, treat the harvest the way you would treat any tender leaf herb: keep it cool, unwashed until you are ready to use it, and move any surplus into the fridge or freezer the same day. The steps for keeping that flavor past the season are covered in how to store chervil without losing its flavor. A short row of chervil tucked into a partly shaded bed is one of the easiest ways to round out a kitchen garden, and a fall sowing often carries a cook through to the first spears of spring asparagus.