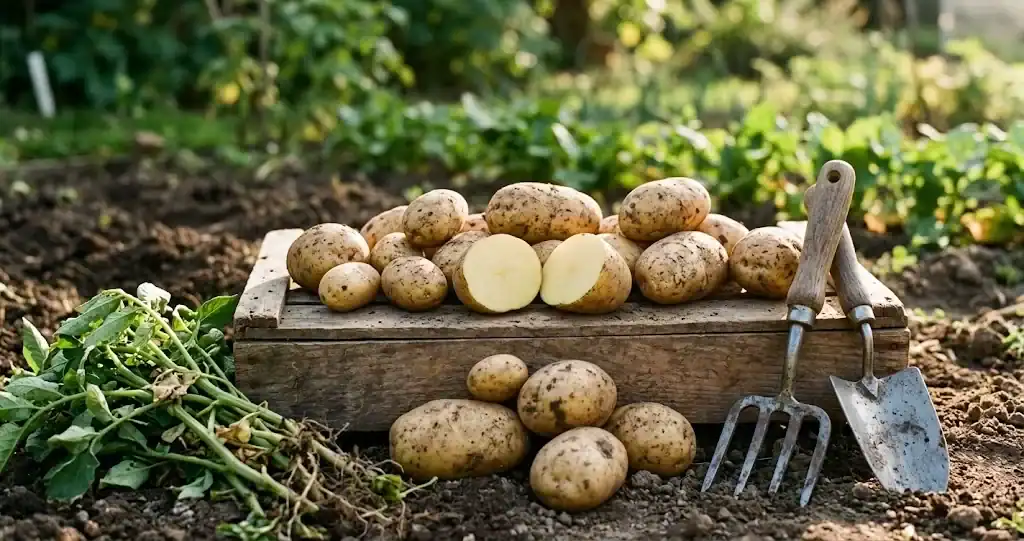
Pulling fresh taters from your own ground is one of the most satisfying moments in any garden. The potato tops quietly work below the surface for months, then give back a generous yield once the harvest time arrives. The trick to a clean lift is knowing when the potatoes are ready, choosing the right tool, and handling the tubers gently so the skins stay intact for the pantry. Most home gardeners can expect a return of two to four pounds of potatoes for every pound of seed they put in, so even a small patch pays back generously.
This guide walks through every step of bringing in a homegrown potato harvest, from spotting the first sign of readiness through curing your pick for the cellar. Whether you grow in raised beds, rows, grow bags, or straw towers, the principles below apply. For the broader framework of timing and technique across the herb and vegetable garden, see the general guide to harvesting herbs without setting the tops back.
How to tell when potatoes are ready
The answer depends on which kind of pick you want. Potatoes have two distinct windows, and the variety you grew sets the clock.
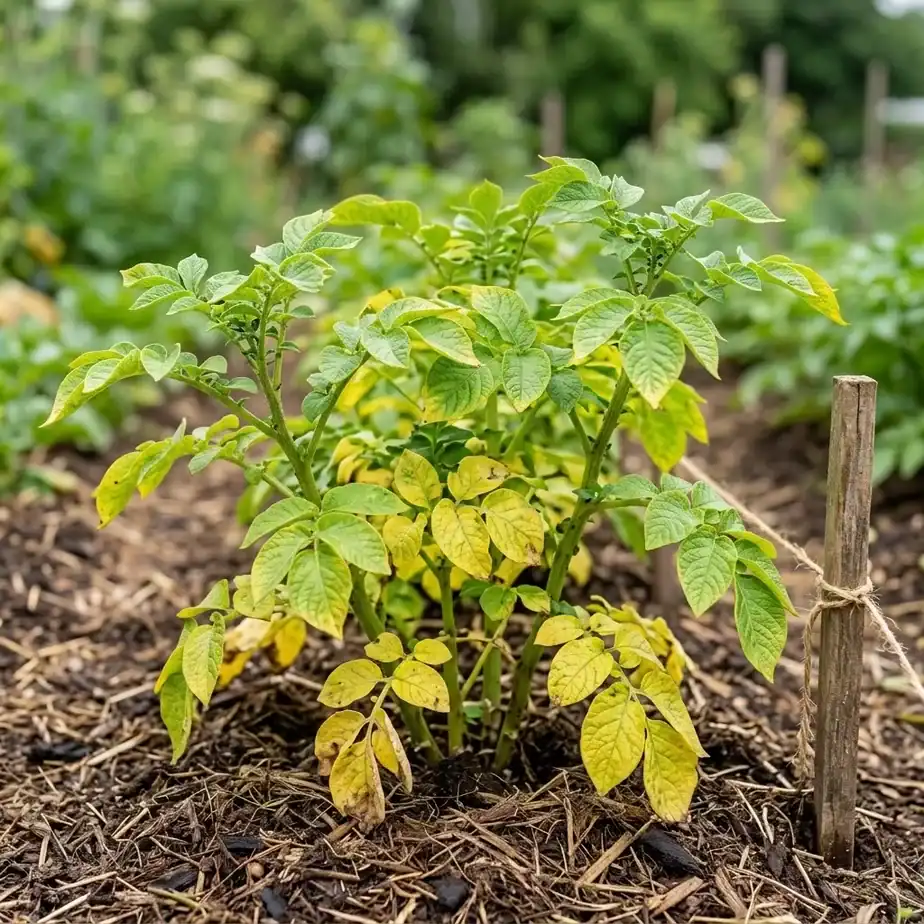
New potatoes are the small, thin-skinned tubers you lift about 8 to 10 weeks after sowing, just as the foliage begins to flower. At this stage, the skins rub off easily with a thumb, the flavor is sweet, and the pick is best eaten within a few days because they will not hold for the pantry. The vine stays vigorous after this early rob, so the tops can keep sizing up tubers underground for the main pick later in the season.
Mature potatoes are what most gardeners picture when they picture a long-keeping tuber. They are ready 90 to 120 days after sowing, once the tops have yellowed and the lower leaves have started to die back on their own. By this point the skins have thickened enough to handle brushing, washing, and a several-month storage life in the cellar. Stop watering two to three weeks before the planned lift. The soil dries back, the skins firm up, and the tubers separate more cleanly from the roots.
A few quick tells confirm the timing:
- Flowering tops with vigorous leaves still have time to set more tubers; resist the urge to lift too early.
- Yellowing lower leaves with the upper canopy still partly colored is the sweet spot for main-season picks.
- Fully brown and collapsed foliage means the tubers have stopped sizing up and are waiting in the earth.
The home gardener who plans a single dry stretch before picking almost always ends up with cleaner, longer-keeping potatoes than one who pulls right after a rain.
Tools you need for a clean lift
The right tool makes the difference between a basket of clean tubers and a pile of punctured ones. Choose based on your growing method.

- Hand trowel or your fingers: Best for containers, grow bags, and small raised beds where the tubers sit in loose, friable earth.
- Digging fork (also called a garden fork or potato fork): The workhorse for in-ground beds. The flat tines slide under the tops and lift without cutting the tubers.
- Spade or shovel: Useful for very loose ground, but the curved blade cuts tubers easily. Reserve for areas you have already loosened.
You will also want a basket or crate for collecting the pick, a soft brush for knocking off loose dirt, and a shaded spot to spread the yield out for the curing step. Avoid plastic bags, which trap moisture and bruise the skins. A hessian sack or an open wooden crate is ideal.
How to lift potatoes without damage
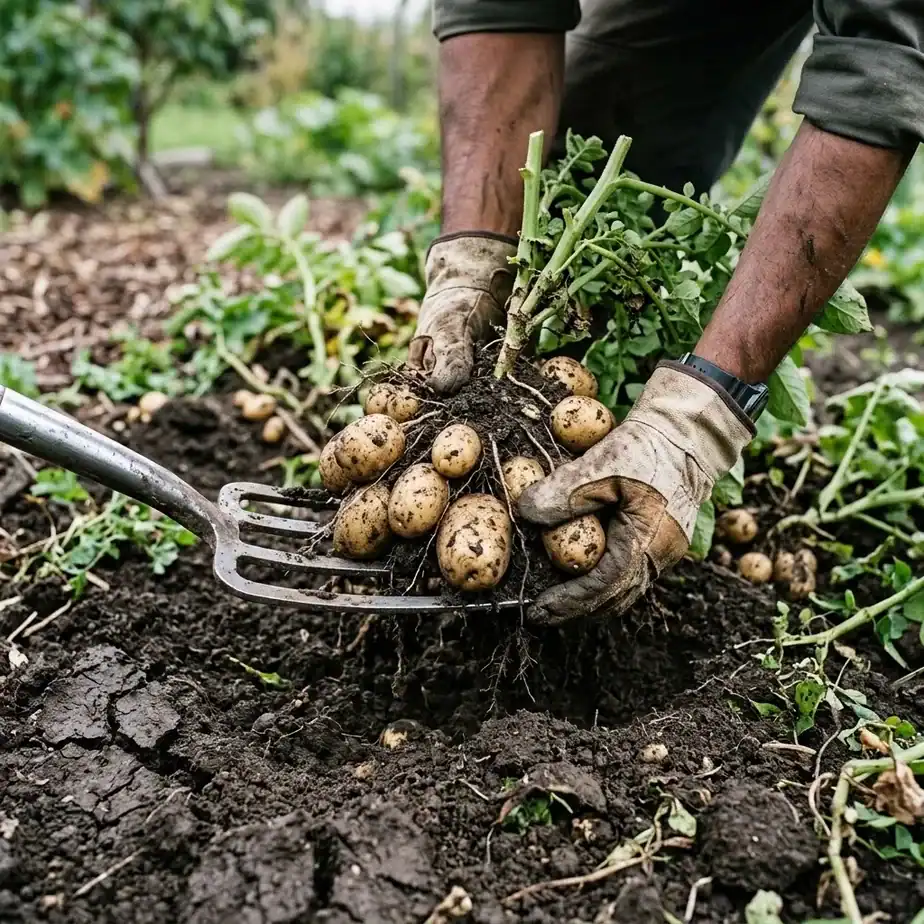
Patience and a wide margin protect the yield. Tubers can sit 4 to 8 inches below the surface and spread a foot or more from the main stem, so always work from the outside in. Use the fork to loosen the earth around the base of the tops rather than plunging straight down, which is how most minor cuts happen.
- Cut back the foliage to about 4 inches above the ground if you are lifting the whole top. Leave the stumps in place as visible markers.
- Start your fork or spade at least 8 to 12 inches away from the stem to avoid driving into the tubers.
- Pry the earth upward in a slow, lifting motion rather than chopping down. The idea is to crack the bed open from below.
- Once the ground loosens, use your hands to sift through and gather the potatoes by feel, lifting without damaging the tubers.
- Brush off loose dirt but do not wash. Moisture left on the skins invites rot during the holding period.
- Set damaged or cut tubers aside for the kitchen within a day or two. Do not mix them with sound potatoes meant for the curing step.
Digging up potatoes in cool weather is far easier than in wet heat, so most experienced gardeners wait for an overcast morning. Any spuds you miss will sprout next year’s volunteers. Either lift them out before winter or leave them to come up as bonus growth the following spring.
Harvesting new potatoes without killing the tops
Many gardeners want a few tender new potatoes weeks before the main pick, without sacrificing the later yield. The technique is called robbing and it works well on vigorous foliage.
Reach into the earth at the edge of the hill and feel for golf-ball-sized tubers. Gently work them free by hand, taking only two or three per stem. Replace the ground and water the tops back in so the foliage can keep producing. New potatoes lifted this way are at their sweetest within an hour of the kitchen door.
Curing potatoes for storage
Curing is the step that separates a good pick from a great one. It heals small nicks in the skin and sets the tubers up for months in the pantry. Curing potatoes for ten days before you bag them roughly doubles the storage life compared with putting them straight into a sack.

- Spread the unwashed yield in a single layer on newspaper or cardboard in a cool, dark, well-ventilated spot.
- Keep the temperature around 55 to 65 degrees Fahrenheit with high humidity for 10 to 14 days.
- During this period the skins will dry, minor cuts will scab over, and the tubers will lose some of their field moisture.
- After the curing window, brush off any remaining dry dirt and discard any that are soft or visibly damaged.
For detailed guidance on long-term holding conditions, see the companion guide to storing taters and potatoes once the curing window is done.
Harvest and store: a short checklist
Once the cycle feels familiar, a single page checklist helps keep the steps in the right order. The full version can live in a notebook or on a taped-up card in the shed.
- Pick a dry stretch. Stop watering two to three weeks before the planned lift.
- Wait for the tops to die back on main-season varieties. For new potatoes, lift when the tops begin to flower.
- Loosen the bed from the outside in. Pry and lift; never chop straight down.
- Brush, do not wash. Cure in a single layer for 10 to 14 days.
- Sort sound tubers into a paper or hessian sack. Move to a dark, cool pantry.
Common mistakes when lifting potatoes
A handful of recurring errors shorten the holding life of the yield or damage the foliage mid-season.
- Lifting too early. A small new potato is delicious, but if you pull the whole top before the foliage has died back, you will end up with thin-skinned tubers that will not last in the pantry.
- Watering right up to lift day. Wet ground sticks to the skins and hides cuts. Hold back irrigation for two to three weeks so the bed dries and the tubers firm up.
- Forcing the bed with a spade. Chopping down into the row with a spade slices through tubers you cannot see. Always pry and lift from the side.
- Leaving potatoes in the sun. Light turns the skins a pale color and builds solanine, which gives the tubers a bitter taste. Cover the pick as you collect it.
- Holding damaged tubers with sound ones. One bad potato will spoil the crate within a couple of weeks. Cull ruthlessly at lift and again after curing.

Putting the harvest to work in the kitchen
Once the yield is cured and stored, the next pleasure is on the plate. Taters hold their own in stews and roasts, hold together in gratins, and crisp beautifully when sliced thin and pan-fried. For ways to turn a stored pick into weeknight dinners, the cooking with tater recipe collection rounds out the cycle from earth to supper.
Frequently asked questions
Can I harvest potatoes without killing the tops?
Yes. On a healthy main-season top you can rob a few new potatoes from the edges of the hill and leave the rest to keep growing. Stop robbing once the foliage begins to yellow.
How do I know when it is time to harvest potatoes?
Watch the foliage. New potatoes are ready when the plants flower, about 8 to 10 weeks after sowing. Mature potatoes are ready when the tops die back, usually 90 to 120 days after sowing.
What happens if I lift potatoes too early?
The skins are thin and the tubers will not last long in the pantry, so they shrivel or rot within days. They are still good to eat, just plan to use them right away.
Is it okay to lift potatoes by hand?
Absolutely. Hand-lifting is the safest way to gather tubers without puncturing them. It works especially well in raised beds, grow bags, and containers where the earth is loose and shallow.
How should I store potatoes after lifting them?
Cure them in a single layer in a cool, dark, well-ventilated spot for 10 to 14 days, then move sound tubers to a dark pantry or cellar at 38 to 45 degrees Fahrenheit. Keep them away from light, which can discolor the skins.
Can I leave potatoes in the ground over winter?
In mild climates with well-drained earth, yes. In colder regions, the tubers will freeze and rot. Either lift the pick before the first hard frost or plan to bring them up in early spring before new growth begins.
How do I save tubers for next year?
Set aside a few of the smallest, healthiest tubers from your main pick. Cure them with the rest, then store them in a paper bag in a cool, dark place until spring. Each saved tuber becomes one new start.