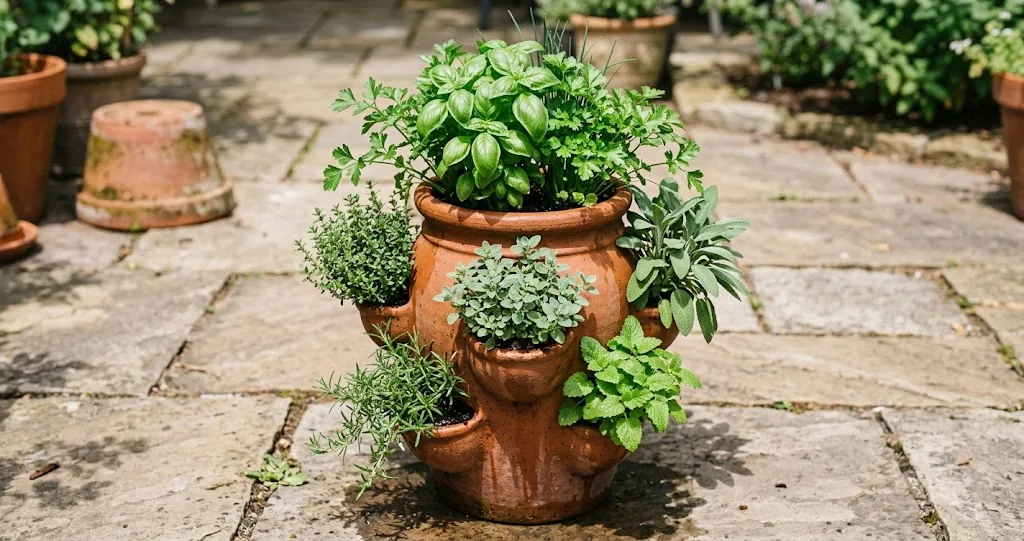
A strawberry jar solves a specific problem in small gardens and on patios: you want a lot of culinary plants in a small footprint, with the greens stacked vertically so each one gets its own root run and its own light. The pockets in the side of a strawberry jar let you tuck trailing varieties between the upright Mediterranean plants on top, which is why the format has stuck around long after terracotta fell out of fashion in the rest of the garden. Done right, a single container will feed a kitchen from late spring through the first frost, season long.
This guide covers what to look for in a strawberry pot, which plants actually thrive in one, how to plant it so the lower pockets do not dry out, and how to keep it producing once the heat of July shows up. If you grow herbs in containers at home, this design lets you grow more varieties in a smaller footprint than almost any other container gardening format.
If you are still choosing the kind of container that suits your space, see our guide to getting the container right for the tradeoffs among terracotta, glazed, and plastic options.
Why strawberry pots work for herbs
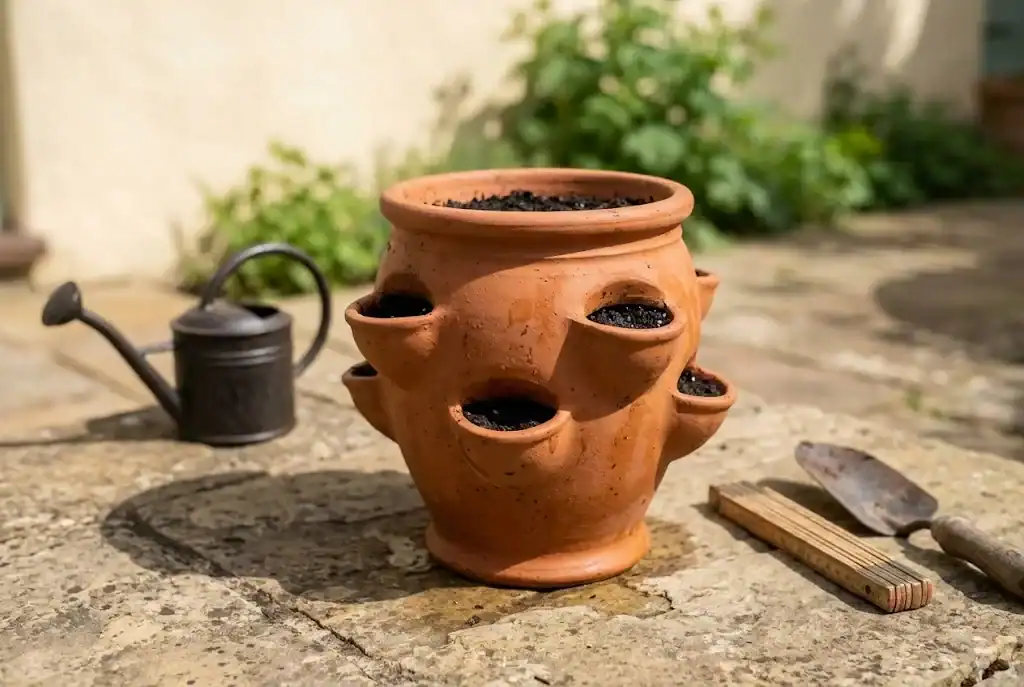
The shape is older than most of the plants people grow in it. A traditional pot is a tall, slightly tapered cylinder with planting pockets staggered up the sides and an open top. The original use was strawberries, which send out runners and fruit best when their crowns stay dry and their roots have somewhere cool to run. Culinary plants respond to the same setup, especially the drought-tolerant Mediterranean ones that hate wet feet.
There are three real advantages over a regular container or a window box.
You can grow eight to twelve plants in the space of one. A central clump at the top opening that uses the full depth of the pot’s soil. Compact Mediterranean varieties in the middle and upper side pockets, where the mix drains faster and a trailing stem can spill over the edge. Moisture-loving greens in the lower pockets, where the soil stays damper.
Water finds its own way out. Each pocket has its own rim of soil, and water that runs through the top has to pass through the lower pockets on its way out. As long as you do not drown the container, the design keeps individual plants from sitting in saturated soil, which is the most common cause of failure.
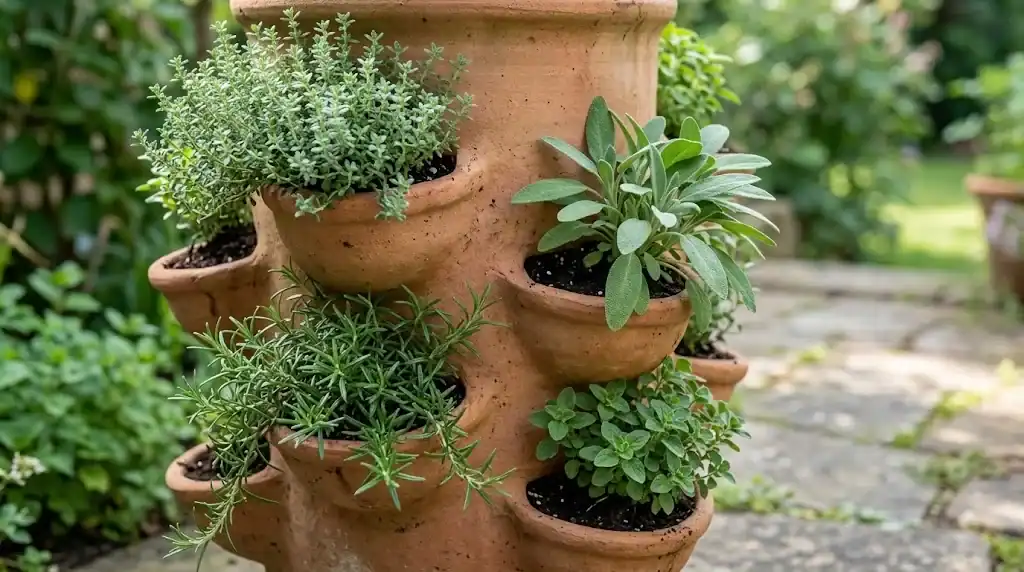
You can rearrange the layout year to year. Because each pocket is its own little root zone, you can swap out an annual that has bolted for a fresh green without disturbing its neighbors. Few other containers give you that flexibility.
Choosing the right pot
The two features that matter are good drainage and pocket size. Everything else is style.
Terracotta breathes, which is good for plants that dislike wet soil and bad for anyone who does not want to water twice a day in August. Glazed ceramic holds moisture longer but is heavier. Plastic containers are lightweight and cheap, but they heat up in the sun and have fewer pockets in the standard sizes. If you can lift a full pot without help, plastic is fine. If you want a permanent feature on a sunny patio, terracotta is worth the weight.
Look for a planter with at least five side pockets, ideally staggered so each is offset from the one above it. Crowded pockets mean each plant has only a few cubic inches of soil, which dries out fast and starves the roots by midsummer. A strawberry pot 18 inches tall with five to seven pockets is a workable starter size. Larger containers up to 24 inches tall with nine pockets will support a more ambitious mix, but they are heavy when wet, so put them where they will live before you fill them. Pick a large pot over a small one if you want to grow many herbs in a single container, since a larger volume of soil holds moisture longer between waterings.
The drainage hole at the bottom is small on purpose. The pockets are the main way out for excess water. If your container does not have a central core, water has to travel down through the side pockets to escape, which means the lowest pockets stay wetter than the top. The fix is to plant moisture-loving greens in the lower pockets and the drought-tolerant Mediterranean herbs in the middle and upper side pockets. We will come back to that in the planting section.
If the pot does not have a lip or rim, consider one with one. The rim shades the soil at the top opening, slows evaporation, and gives you something to grip when you need to move it a few inches to chase the sun.
The best herbs for a strawberry pot
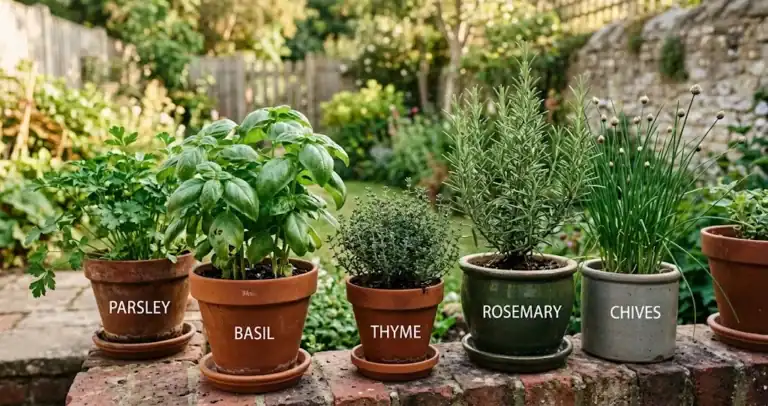
The format works best for herbs that stay compact, do not mind a small root run, and tolerate the dry side of moist. Tall plants like dill and fennel get top-heavy and snap in wind. Mint spreads so aggressively it will take over the whole pot within a season. Basil does well in the top opening where it has room to spread.
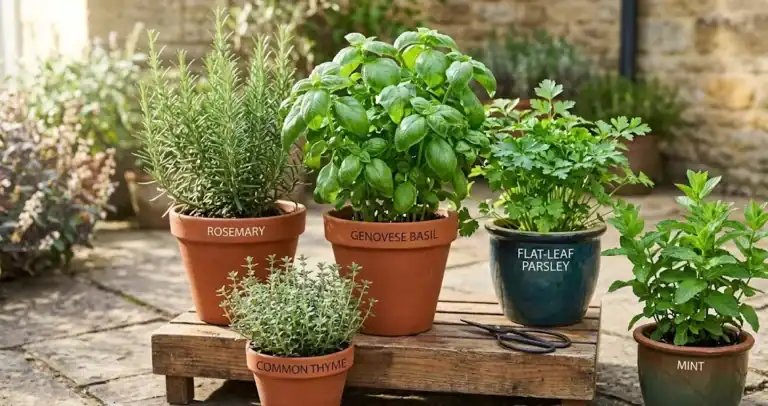
For the top opening: basil. It sends up a central clump and benefits from a deeper root run. Plant one per opening, or two if the opening is wider than eight inches across.
For the middle and upper side pockets: oregano, marjoram, savory, sage, rosemary (prostrate or trailing varieties), and creeping thyme. These Mediterranean varieties tolerate the dry pockets, stay compact, and recover quickly from regular cutting.
For the lower pockets: parsley, cilantro, chives. These tolerate wetter soil and the cooler conditions near the base.
Avoid planting mint unless you are prepared for it to dominate. Mint roots spread aggressively through any shared soil, and within a season you will have it in every pocket and nothing else. The same caution applies to lemon verbena, which grows too large for the format.
How to plant, step by step
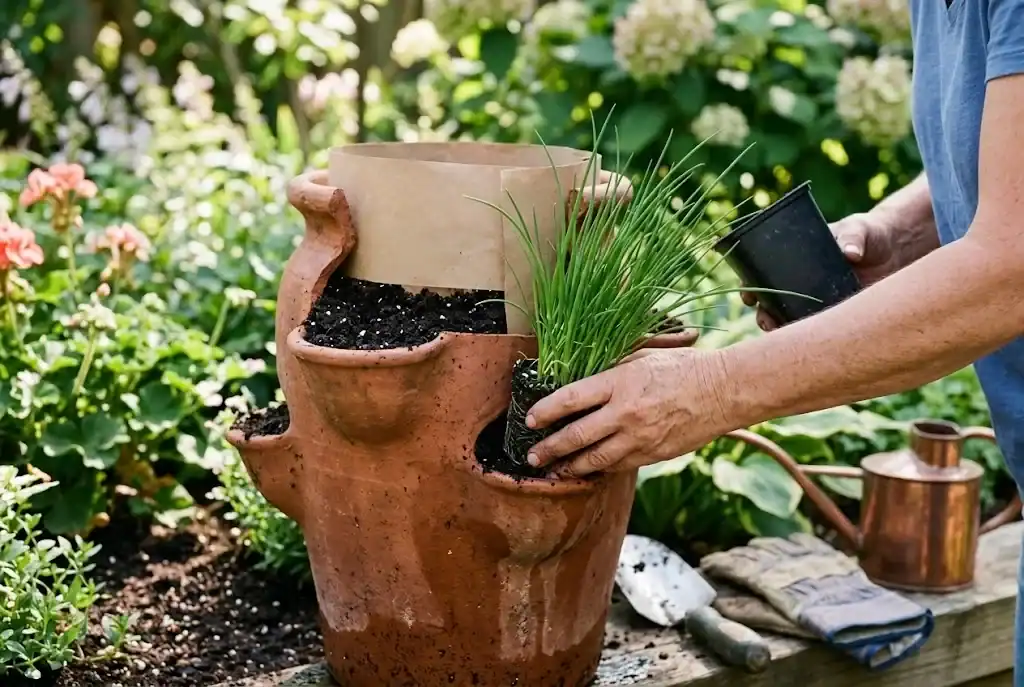
The order matters. If you fill the container with soil first and try to push herbs in from the outside, you end up with broken stems, compacted soil, and a mess. Plant from the bottom up, and use a paper collar to keep soil from washing out of empty pockets while you work.
Step 1: Set up the pot and pre-soak the soil
Place the strawberry pot where it will live. A full container of wet soil is heavy enough that you do not want to move it again. Choose a sunny site that gets at least six hours of direct sun for most herbs, with afternoon shade if you are in a hot-summer climate.
Mix your potting soil ahead of time. A standard potting mix works for most. For the Mediterranean varieties you choose for the top pockets, blend in a few extra handfuls of coarse sand or perlite to improve the way water moves through where they will live. Pre-moisten the mix in a separate bucket until it is damp but not soggy. Dry mix poured in settles unevenly and leaves air pockets.
Step 2: Plant the bottom pockets first
Fill the pot with soil up to the level of the lowest pocket. Tuck a small herb through the pocket from the outside, holding the root ball in place. Add more soil to cover the roots and firm it gently so the plant stands upright on its own. Repeat for each pocket on the lowest row.
A common mistake is to stuff the soil too tightly. Roots need air pockets. Press the soil firmly enough to hold the plant, but no harder.
Step 3: Continue up the pot
Add soil to the level of the next row of pockets, then plant those. Repeat until you reach the top opening. By the time you finish, each pocket should have its own small root ball, and the soil should fill the container up to within an inch of the rim.
If you are working alone, an old trick is to roll a sheet of stiff paper into a tube, drop it down the central column, and pour soil down the tube. The paper keeps soil from collapsing the empty pockets before you get to plant them. Pull the paper up slowly as you plant each row.
Step 4: Plant the top opening
The top opening is the easiest place to grow basil. Plant one depending on the diameter of the opening. It will grow faster than the side pockets because its roots have the full depth of the pot to work with, so plan to harvest from it first.
Step 5: Water thoroughly
Water from the top until water runs out of the hole. This settles the soil around all the roots and eliminates air pockets. The side pockets may look dry after watering. That is normal. They will wick moisture from the central column over the next day.
Some gardeners run a length of 1-inch PVC pipe down the center before filling, with holes drilled along its length. Water poured down the pipe reaches the lower pockets first, which prevents the top pockets from drowning while the bottom ones go dry. The PVC is optional. It is a good idea if your bottom-pocket plants need even moisture while the upper pockets get the drier Mediterranean varieties.
For a step-by-step season-by-season schedule once the pot is established, our tips on growing herbs well in containers cover the ongoing feeding and pruning routines that keep the harvest going.
Watering and ongoing care
The single biggest mistake is uneven watering. The top dries out fast. The bottom stays wet. Most of the failures people blame on the pot are actually watering mistakes.
Check the pot daily in summer. Stick a finger into the top opening. If the soil is dry an inch down, water. If a side pocket feels dry when you press it, water. The pockets and the top dry out on different schedules, and a pot that feels wet on top may be bone dry two pockets down.
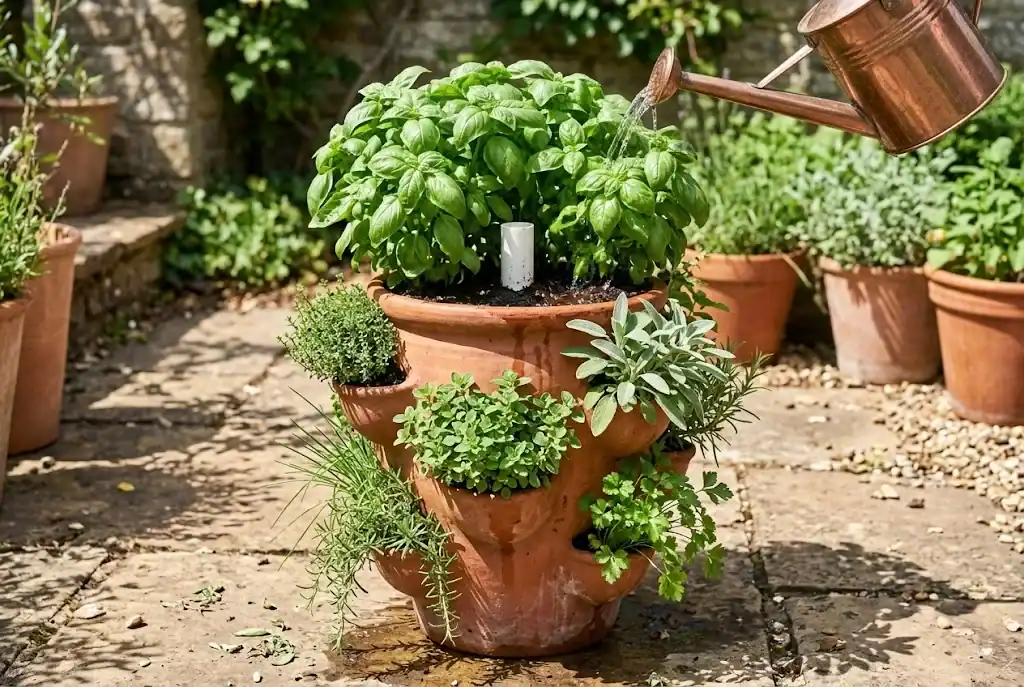
Water slowly. A full stream from a hose washes soil out of the pockets and erodes the rim around each plant. Use a watering can with a rose attachment or a hose on the gentlest setting. Pour over the top opening in a circle so the soil around every herb gets wet.
Fertilize lightly. Herbs grown for their leaves do not need much. A diluted liquid fertilizer (fish emulsion or a balanced organic blend) every three to four weeks during the growing season is plenty. Heavy feeding produces lush foliage with weak flavor, which is the opposite of what you want from a kitchen herb.
Pinch the growing tips regularly. The more you harvest the leafy top-of-pot herbs, the bushier they grow. Letting any of these flower signals the herb to stop producing leaves. The flowers are edible but the leaf quality drops once the plant has bolted. Cut fresh herbs in the morning for the brightest flavor, and use them the same day.
What to do when the season ends
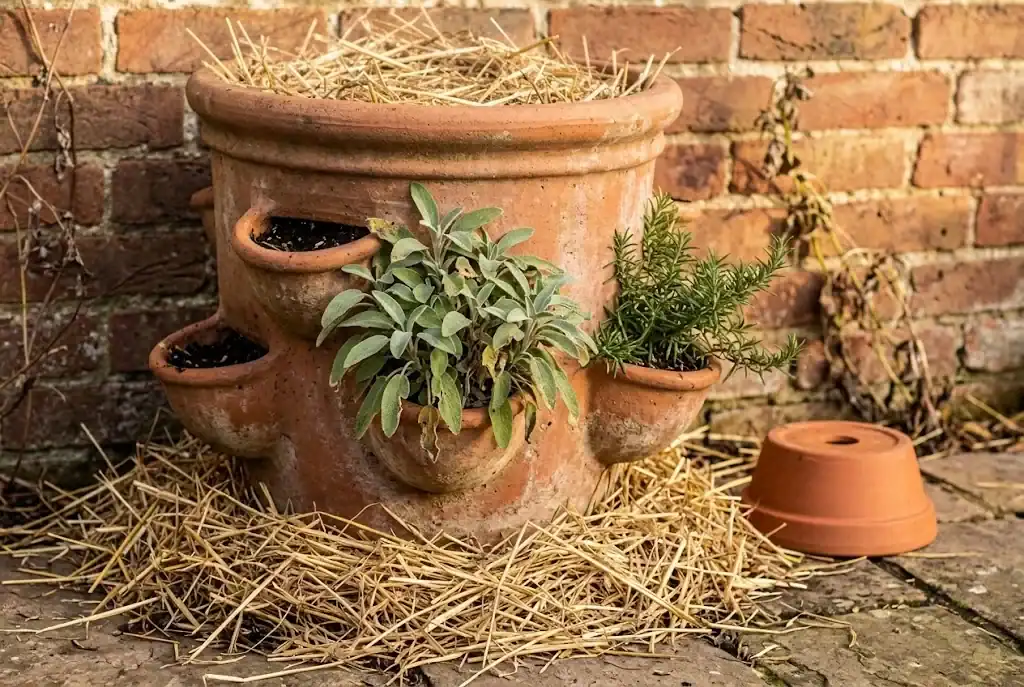
In mild climates, a strawberry planter of hardy herbs will overwinter outside if moved against a wall and mulched around the base. Cut back long stems to reduce wind damage and keep the plant focused on root growth. In colder climates, the terracotta pot itself is at risk of cracking in freeze-thaw cycles. Empty the container, store it in a shed or garage, and plan to replant in spring.
Annuals like basil are finished at the first frost. Pull the herbs, empty the pot, and store the soil in a bucket over winter. Fresh soil every year or two keeps the container productive. Old mix compacts, loses structure, and harbors the spores of fungi that cause root rot.
Troubleshooting common problems
If the lower pockets stay soggy and the herbs there yellow or rot, the drainage hole at the bottom is probably clogged. Tip the container on its side and clear the hole. Reposition so it is not sitting in a saucer of standing water.
If the upper pockets dry out within hours of watering, the soil has pulled away from the inside of the pot. Lift the plant, add fresh soil to fill the gap, and water slowly the next time. The soil will rehydrate and the air channel will close.
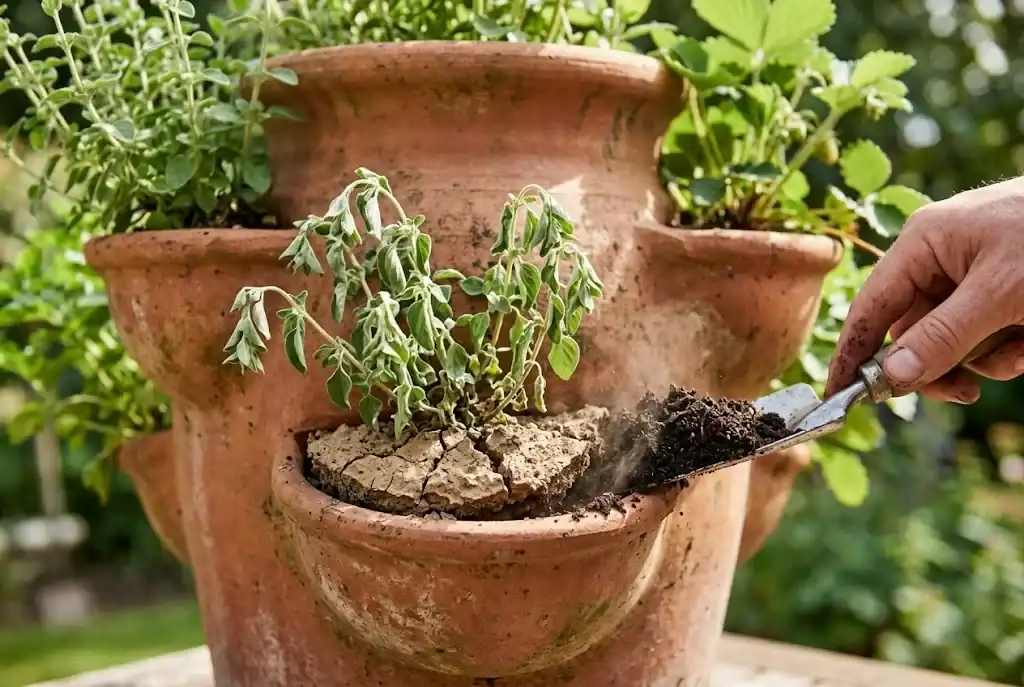
If the greens in the side pockets wilt in the afternoon sun even when the soil is moist, the pot is probably too small for the plants it holds. Either thin the herbs out, or move to a site with afternoon shade.
If the leaves look pale and are smaller than they should be, the container has probably been in the same soil for more than a season. Refresh the soil in spring before the new growth starts. A handful of balanced fertilizer mixed into the top six inches gives the herbs a clean start.
Quick answers to common questions
How many herbs can I plant in a strawberry pot? A five-pocket pot holds five side plants plus one or two in the top opening, so seven total. A nine-pocket container holds nine side plants plus two or three in the top, so up to twelve. Smaller numbers are better than crowded ones. Each herb needs its own root run.
Can I grow mint? You can, but mint spreads aggressively through any shared soil. Plant mint in its own pot unless you want it to take over the strawberry pot.
What is the best soil? A standard potting mix works for most herbs. For Mediterranean varieties like oregano and sage, add coarse sand or perlite to improve the way water moves through the pockets.
How often should I water a strawberry pot? Daily in summer, less in spring and fall. Check the soil in the top opening and in a middle pocket. Water when either feels dry an inch down.
Does the pot need a saucer? No. A saucer traps water under the strawberry pot and keeps the soil at the bottom saturated. Set the pot directly on the patio, deck rail, or a stand that lets water drain freely.
For a fuller picture of what to plant once the strawberry pot is set, see our guide to setting up an herb garden that lasts for the broader season-by-season calendar.