Fresh chives bring a crisp texture and a mild oniony taste to any dish. Because their slender, hollow green leaves contain over ninety percent water, learning how to store chives correctly is the key to preserving their flavor and crispness. Left on the counter, cut chives wilt within hours; sealed carelessly in a plastic bag with trapped moisture, they quickly turn into dark, unusable slime.
Whether you harvest chives from your garden or bring home fresh herbs from the market, selecting the right way to preserve chives depends on how quickly you plan to use them. Short-term refrigeration keeps them fresh for several days, while freezing locks in their bright color and aromatic oils all winter long. For wider harvesting guidance across your garden, explore our complete guide on harvesting herbs the right way.
Preparation and How to Wash Chives Before Storing
Proper preparation directly determines the storage life of any fresh chive harvest. When bringing stems in from the garden or unpacking store-bought bundles, handle them gently to avoid bruising the delicate hollow leaves. Crushed stems release alliinase enzymes that accelerate breakdown and degrade their clean aroma.
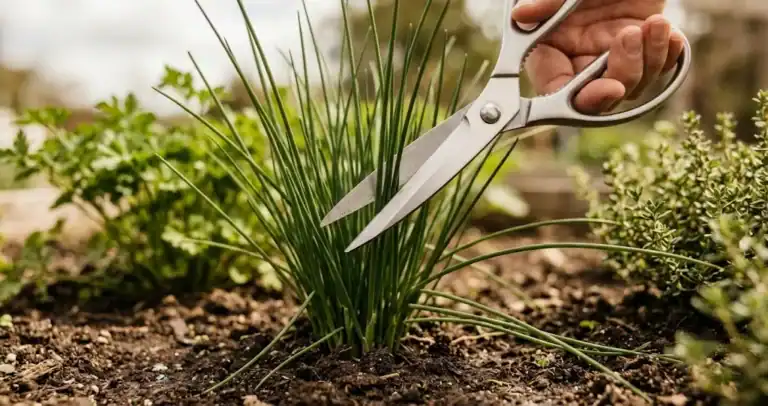
If you are cutting fresh stems at home, using the right manner of harvesting chives ensures you cut clean leaves an inch or two above the crown without tearing the plant root.
Moisture is the primary enemy of stored herbs. Follow these preparation rules before placing your harvest in storage:
- Hold off on washing if possible: If the stems are clean and dry, store them unwashed. Wash chives only right before chopping them for a recipe.
- Rinse gently in cool water: If your garden chives have soil or garden dust, rinse them quickly under cool water.
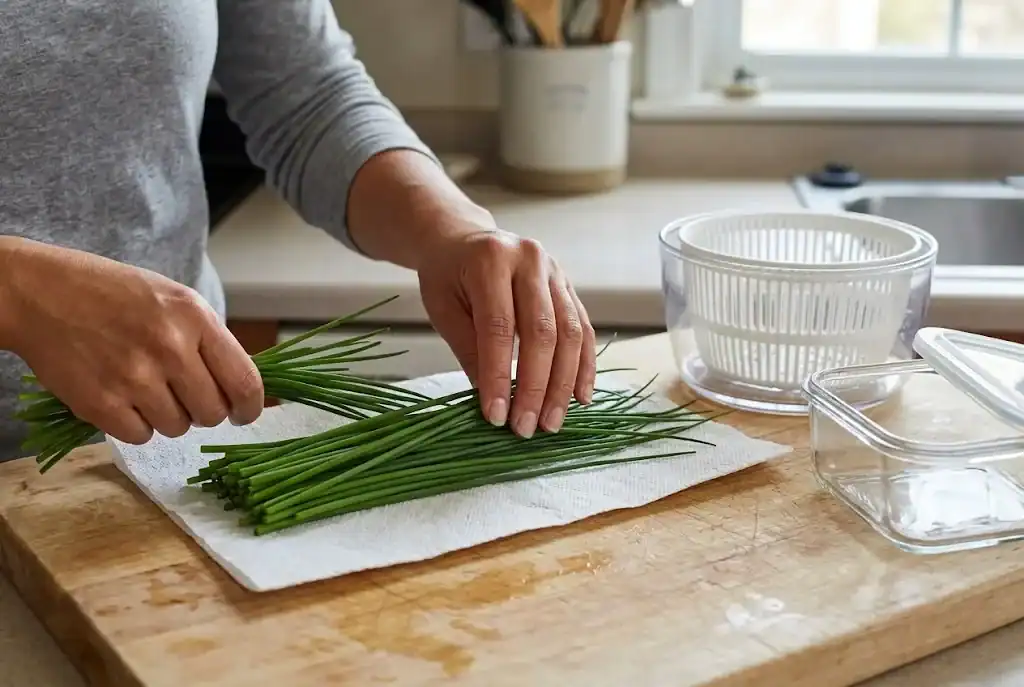
- Remove all surface water: Use a salad spinner to spin off excess water droplets without crushing the hollow leaves.
- Pat thoroughly: Spread the stems on a clean cloth or paper towel and pat them dry completely. Let them dry on the counter for ten minutes until zero surface moisture remains.
How to Store Chives in the Refrigerator
Refrigeration is the best approach when you plan to use your harvest within a few days. The refrigerator crisper drawer provides a stable, cool environment that slows down respiration while preventing wilting. As University of Maine Cooperative Extension guidance on fresh herbs recommends, storage conditions and moisture control dictate how long delicate culinary herbs retain their quality.
The paper towel wrap method is the most reliable technique for home cooks:
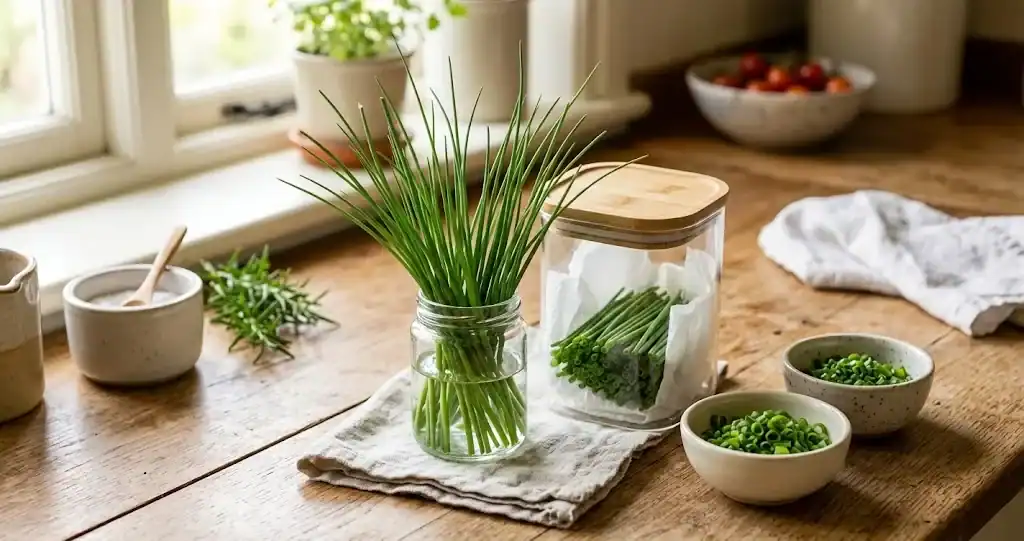
- Take clean, dry chives and wrap them loosely in a slightly damp paper towel. The towel must be barely moist, never dripping wet, to maintain humidity without causing rot.
- Slide the wrapped bundle into an airtight container or sealable plastic bag.
- Place the container in a cool crisper drawer of your refrigerator. For best quality and texture, plan to use chives stored with the damp paper towel method within about two to three days before moisture causes them to soften.
Alternatively, you can store fresh chives like cut flowers. Trim a quarter-inch from the stem bases, stand the bunch upright in a small glass or mason jar filled with an inch of clean water, and drape loosely in plastic wrap over the top. Keep the jar in the refrigerator and change the water daily. When given fresh water each day, this bouquet method can keep chives crisp for about five to seven days.
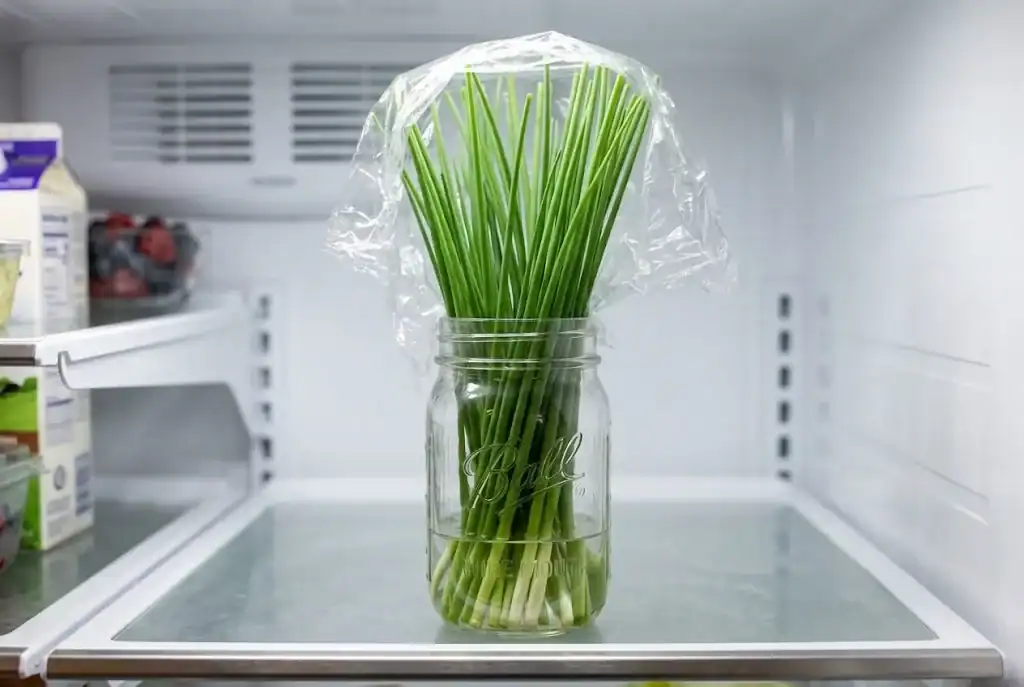
How to Freeze Chives for Long-Term Flavor
When you have an abundant summer harvest that you want to enjoy all year round, freezing is the gold standard method to preserve chives. Unlike delicate heat-sensitive methods, freezing preserves the volatile aromatic sulfur compounds that give chives their distinct oniony character.
Flash Freeze Chopped Chives on a Baking Sheet
Flash freezing individual pieces prevents chopped stems from clumping together into an unmanageable block. This technique lets you scoop out only the exact amount a recipe calls for without thawing the entire container.
- Use kitchen scissors or a sharp chef knife to finely chop the chives into neat rings.
- Line a flat cookie sheet or baking sheet with parchment paper.
- Spread the chives in a single layer across the tray so individual rings do not touch.
- Chill the tray in the freezer for one to two hours until the cut chives are frozen solid.
- Transfer the frozen rings into an airtight freezer bag or glass mason jar. Label with the date and return immediately to frozen storage.
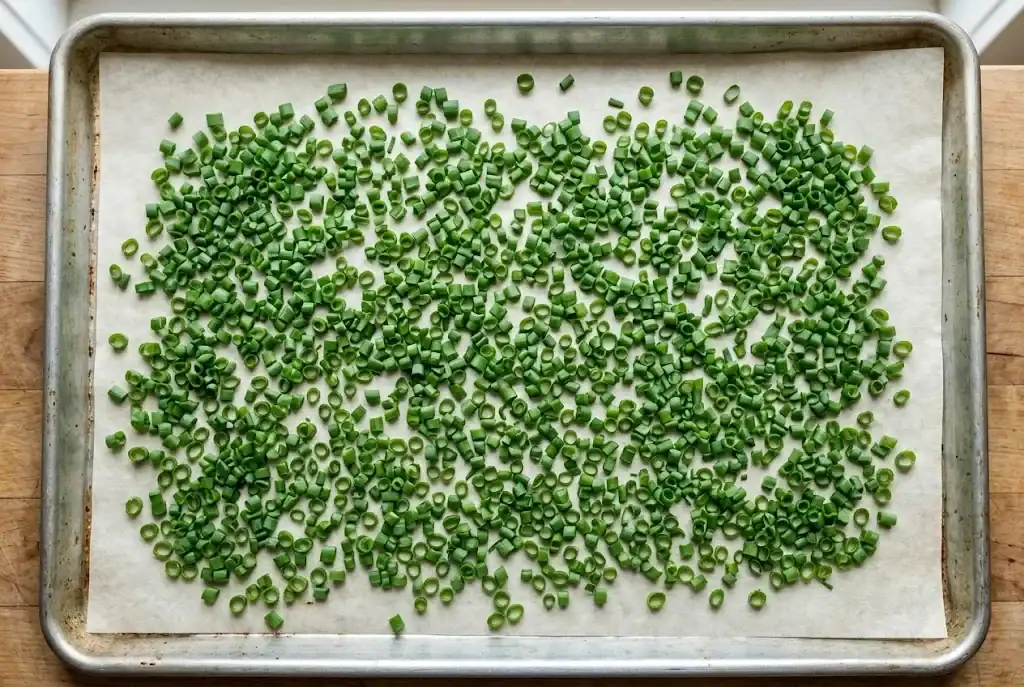
Because flash freezing locks the pieces individually, they will not freeze together into a solid lump. Whenever you need a spoonful for baked potatoes or creamy scrambled eggs, simply open the container and sprinkle them straight into your cooking.
Freezing Chives in Ice Cube Trays with Oil or Butter
Another excellent way to freeze chives is packing them into portioned cubes with oil or melted butter. This method shields delicate plant cells from freezer burn and creates ready-to-use flavor bombs.
- Distribute your chopped chives evenly into the compartments of silicone ice cube trays.
- Pour just enough extra-virgin olive oil or melted unsalted butter into each compartment to coat and cover the herbs.
- Place the tray on a level shelf until solid.
- Pop the frozen herb cubes out and pack them into an airtight container for storage.
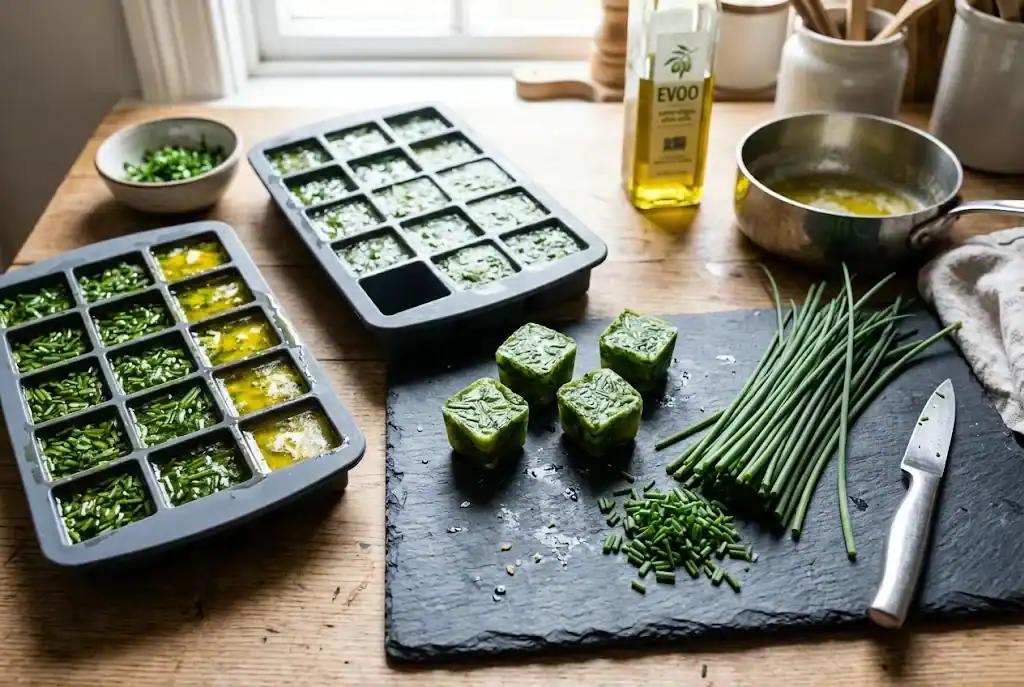
These savory cubes melt effortlessly into warm pan sauces, hearty stew bases, and savory vegetable soups without requiring any prior thawing.
Making Chive Butter and Preserving Chive Blossoms
Compound chive butter is a classic culinary preparation that captures fresh garden flavor in a rich, versatile spread. Soften half a cup of unsalted butter at room temperature, then blend in three tablespoons of finely minced chives, a pinch of sea salt, and a dash of lemon zest. Roll the seasoned mixture into a neat log inside parchment paper or plastic wrap, twisting both ends to seal. Store in an airtight container in the refrigerator for two weeks, or freeze the wrapped log for up to six months. Slice rounds over warm grilled meats, crusty sourdough bread, or steamed garden vegetables.

If your growing chives have produced purple spring flower heads, do not let them go to waste. Chive blossom vinegar is an easy, beautiful way to capture mild allium aroma when prepared with proper food-safety methods. Following safe herbal vinegar protocols from University of Maine Cooperative Extension guidelines on preserving herbal vinegars, always check the product label to select vinegar labeled at least 5% acidity. Wash the fresh flower heads thoroughly in cool water, sanitize them in an Extension-recommended sanitizing solution of one teaspoon household bleach per gallon of water for one minute, rinse thoroughly, and pat them dry before placing them into a sterilized glass canning jar. Heat the vinegar to 190°F to 195°F (just below boiling) before pouring it over the blossoms, leaving a half-inch of headspace, and seal tightly. Allow the mixture to steep in a cool dark place for two to four weeks until it turns a bright pink. Once infused, strain out all botanical solids through cheesecloth or a coffee filter, pour the clear vinegar into a clean sterilized bottle, and store it in the refrigerator. Consume refrigerated herbal vinegar within three months for peak safety and quality.
Can You Dry Chives or Use a Dehydrator?
Many gardeners ask whether they can dry chives alongside other dry herbs. While it is technically possible to dehydrate chives, honest culinary experience shows that air drying and oven drying often yield disappointing results. High heat and extended air exposure cause the delicate leaves to lose their volatile sulfur oils, turning them pale, papery, and flavorless.
If you prefer dried herbs for your spice rack and own a dedicated food dehydrator, follow these precautions:
- Spread finely sliced rings in a single layer on fine mesh dehydrator trays.
- Set the temperature to 95°F (35°C), the lowest gentle setting.
- Run the machine for two to four hours until the rings crumble crisply between your fingers.
- Transfer the dried herb immediately into an airtight jar and store in a cool dark cupboard.
Compared to heat drying, freezing or freeze-drying preserves far superior flavor, aroma, and vibrant green color.
Creative Ways to Use and Enjoy Stored Chives
Having preserved chives ready in your kitchen makes everyday meals effortless. Because chives are tender and fragile, add preserved chives near the end of cooking or sprinkle them over finished plates so their delicate flavor stays bright.
- Breakfast classics: Whisk frozen or cut rings into morning omelets, soft scrambled eggs, or savory cheddar cheese scones.
- Comfort toppings: Top sour cream on baked potatoes, swirl into mashed potatoes, or garnish chilled cucumber soup.
- Dips and spreads: Fold chopped rings into cream cheese, mayonnaise, or Greek yogurt for quick vegetable dips.
- Savory dinners: Stir herb cubes into roasted chicken pan juices, pasta sauces, or savory grain bowls.
For more inspiration on pairing this versatile allium with other ingredients in your kitchen, explore delicious ways to cook with chives.
Frequently Asked Questions About Storing Chives
How long do refrigerated chives stay fresh?
Wrapped in a slightly damp paper towel inside an airtight container or plastic bag, chives should be used within two to three days for peak flavor and crispness. If stored upright in a jar of water with the liquid changed daily, they can last five to seven days in the refrigerator.
Do you need to blanch chives before freezing?
No, you should never blanch chives before freezing. Blanching exposes the hollow leaves to boiling water, which destroys their delicate texture, leaches out flavor compounds, and leaves them waterlogged and mushy. Simply wash, dry completely, chop, and freeze raw.
Can you freeze whole chive stems?
Yes, you can freeze whole stems by laying them flat in a freezer-safe container. However, chopping them before freezing is much more convenient because frozen whole stems become brittle and hard to cut evenly after freezing.
How can you tell if stored chives have gone bad?
Spoiled chives turn dark green to brownish-black, feel soft and slimy to the touch, or emit a sour, moldy odor. If you notice any yellowing, mold growth, or slime, discard the affected stems immediately.