Chives bounce back fast from cutting, but only if you cut them the right way. Cut a clump today and it pushes up new growth within a week when you get the technique right. Get it wrong, cutting too low, pulling instead of snipping, or taking the whole patch at once, and you can set the chive plant back for the rest of the season. Here is how to harvest chives so the clump keeps producing from spring through fall.
How do you know chives are ready to harvest?
Chives are ready to cut once the grassy leaves reach about 6 inches tall. For a first-year clump, that usually happens within 30 to 60 days after you planted chives as a transplant or division. Seed-grown chives usually need closer to two or three months to reach the same height. An established patch wakes up in early spring and is often ready for its first trim within a few weeks of new growth appearing. After that, a healthy clump keeps sending up fresh blades all season, so it’s time to cut again every two to three weeks rather than waiting for one big cutting.
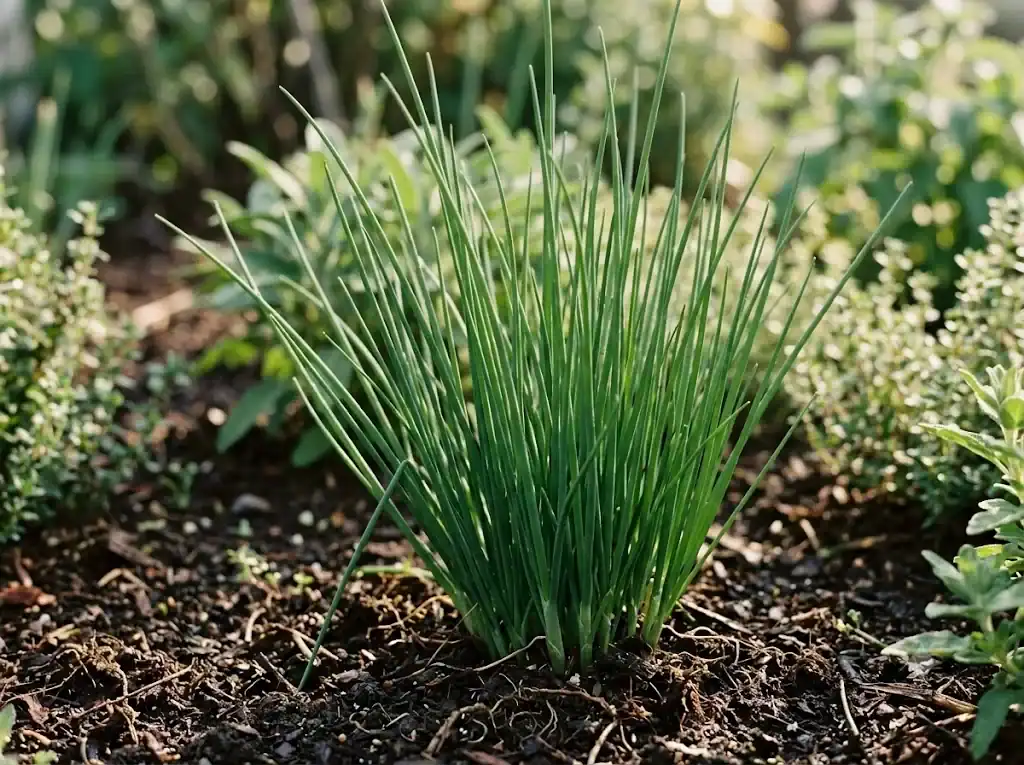
Whether you’re growing chives indoors on a sunny windowsill or chives outdoors in a sunny spot in the garden, raised bed, or pot, the readiness signs are the same: leaves that are firm, deep green, and standing upright. Thin, pale, or floppy growth usually means the plant needs more sun, water, or a light feeding before it can handle another cut.
The right way to cut chives
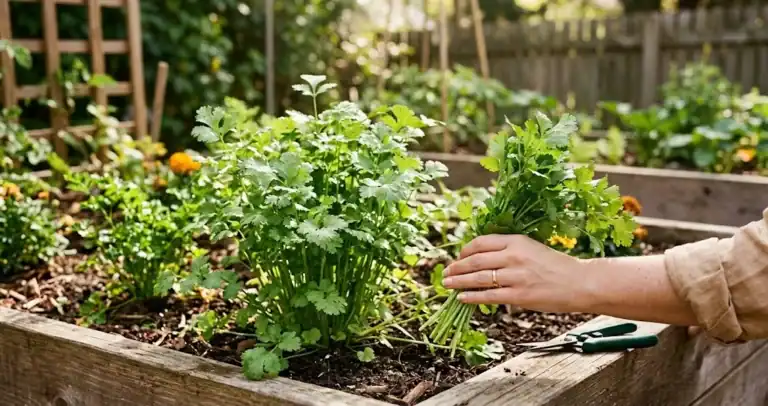
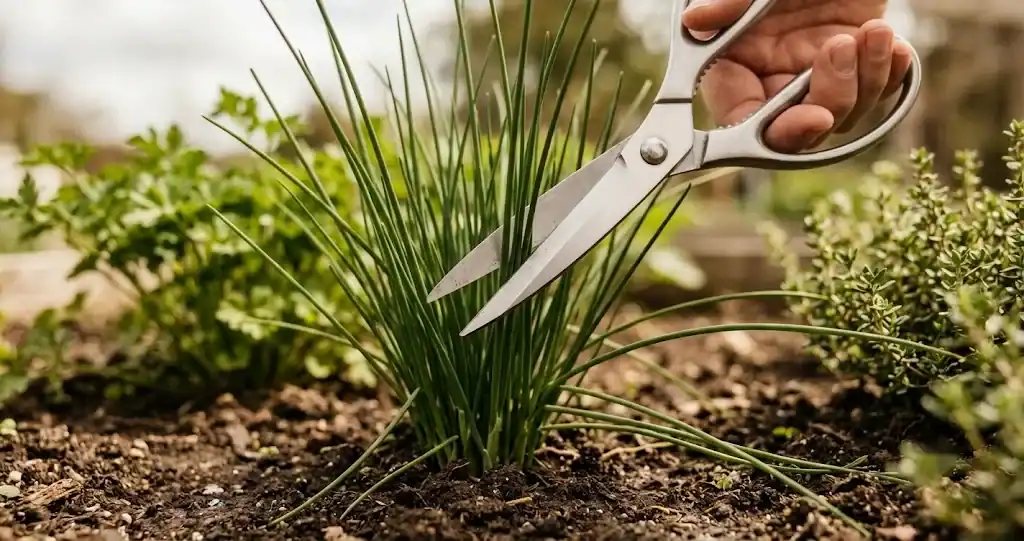
Use a pair of scissors, kitchen shears, or garden snips rather than pulling. Chives grow from small underground bulbs, and yanking a handful can drag the bulb loose or tear the plant’s shallow root system along with it. Wipe the blades clean before you start, since dirty tools can spread disease from one plant to the next. Gather a small bunch of leaves in one hand, then snip straight across about 1 to 2 inches above the soil surface.
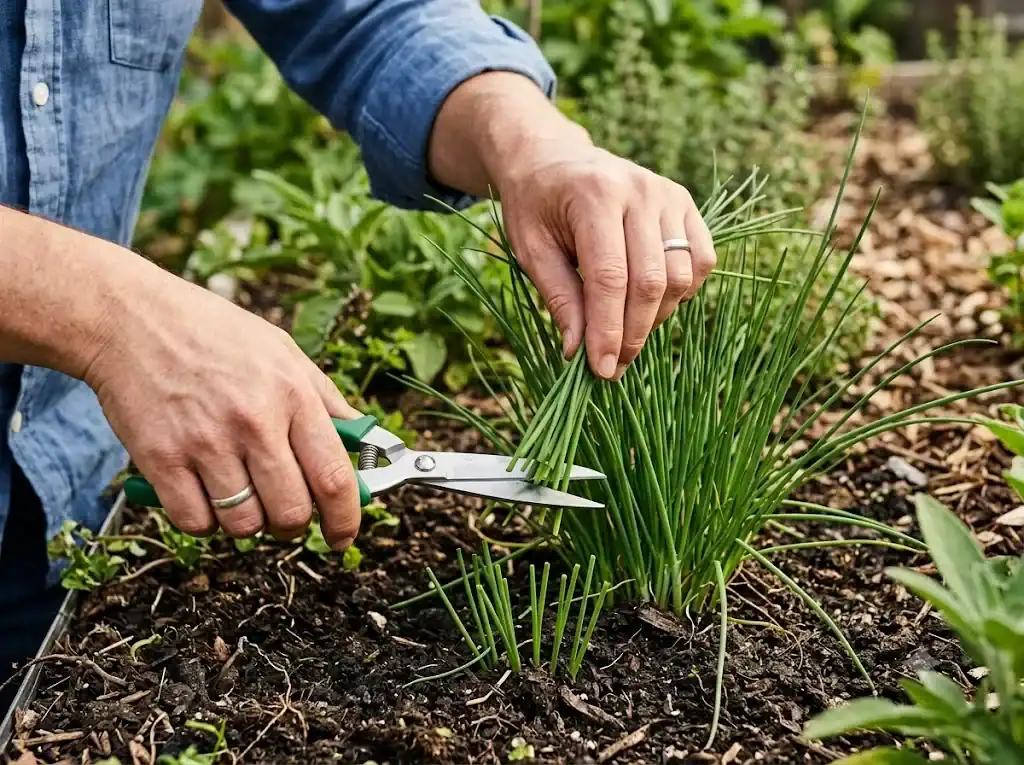
Leaving that inch or two of leaf tissue lets the chive plant keep making food through photosynthesis and recover quickly. Cutting down to the base, or scalping the clump at soil level, removes the plant’s ability to fuel new growth and slows the next flush considerably. A clean, level cut across the whole bunch also looks tidier in the garden than a ragged one-leaf-at-a-time approach.
How much can you take at once?
A good rule for an established clump is to take no more than a third of the visible growth in a single harvest. On a young plant in its first few months, cut even less, just enough for a garnish or a light seasoning, so the roots have time to build up reserves before you want to harvest more heavily.
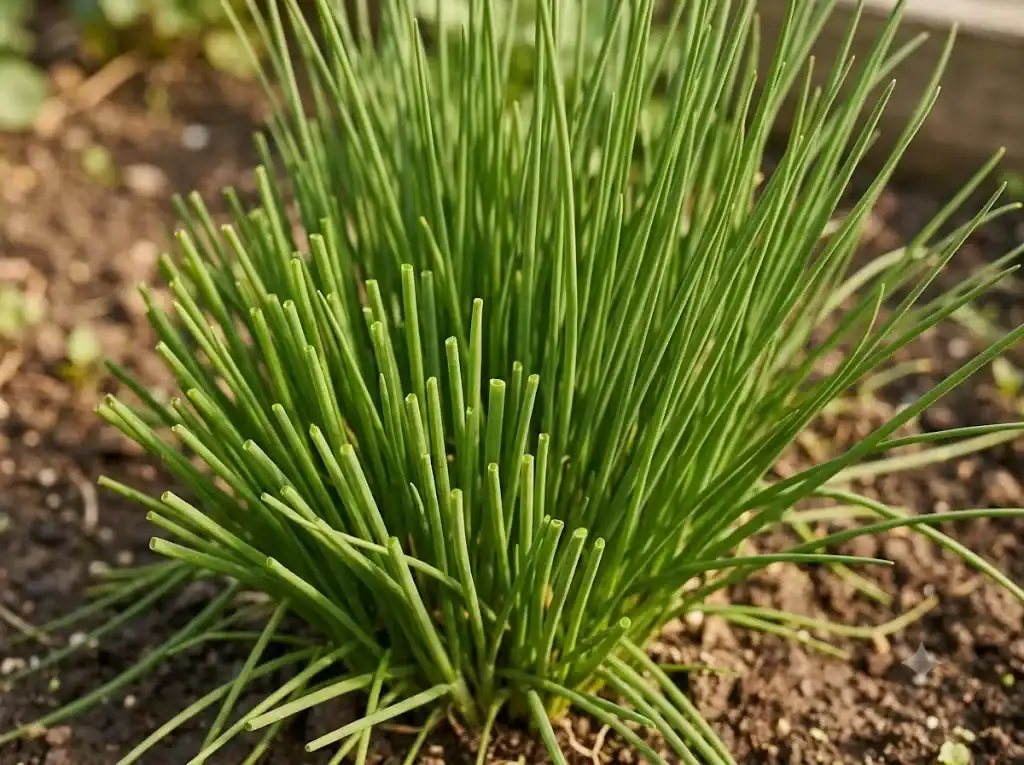
Once a clump is a year or two old and well established, you can be more generous. Many gardeners cut back an entire established patch to that 2 inch stub two or three times over a growing season for freezing or drying, then let it regrow fully between cuttings rather than snipping constantly at the edges.
That same trade-off between light, frequent cutting and one big harvest applies to other fresh herbs too, not just chives. This complete herb harvesting guide walks through timing and technique herb by herb.
Will chives grow back after you cut them?
Yes. Chives are a hardy perennial, and a well-fed clump growing in full sun regrows reliably year after year. Expect visible new growth on the chive plant within five to ten days of a proper cut, with leaves back to full harvest height in two to three weeks under good conditions.
Regrowth slows if you cut too frequently without giving the plant a rest, if the clump is crowded and needs dividing, or if it is growing in poor soil or too much shade. Dividing an overcrowded clump every three to four years, in spring or early summer, keeps the bulbs from competing for space and speeds up regrowth after each harvest, in the ground or in a pot. Lifting and splitting an established clump is also the easiest way to get new plants for another bed for free.
In cold-winter regions, chives naturally die back and go dormant once cold weather sets in. A last light harvest in late autumn before the frost is fine; just let the plant rest through winter so it has energy for a strong return the following spring.
Harvesting chive blossoms
The purple pom-pom flowers that chives send up in late spring are edible and have a milder, sweeter onion flavor than the leaves. Pick a chive blossom by snipping its stem near the base just as the flower opens fully, before the color fades and the head turns papery. Pull the individual petals apart to sprinkle over salads, deviled eggs, or soft cheese, or steep whole blossoms in vinegar for a pale pink, onion-flavored infusion. Some gardeners also dehydrate spent blossoms and grind them into a mild onion powder for seasoning blends.
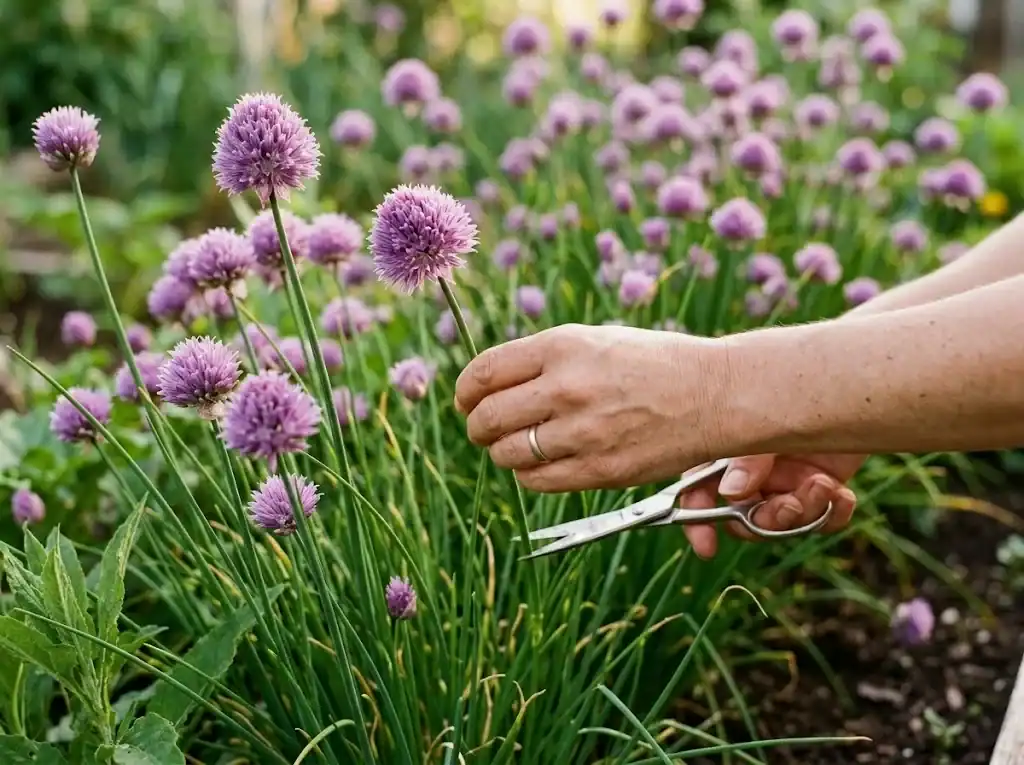
Removing spent or unwanted blossoms also redirects the plant’s energy back into leaf production instead of seed. If you want to harvest leaves rather than flowers all summer, trim the flower stalks as soon as they appear.
Garlic chives versus common chives
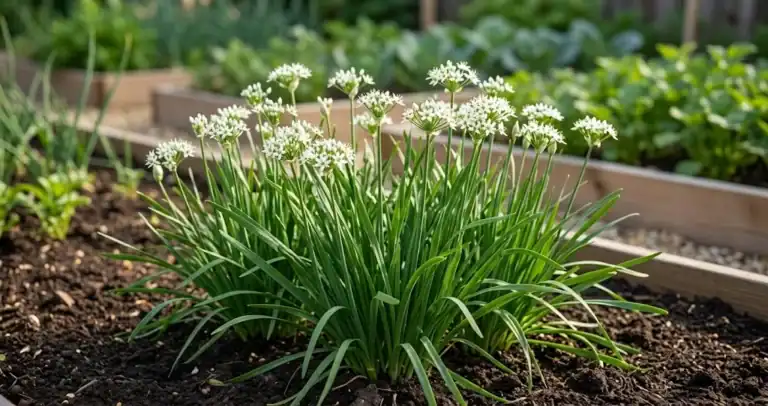
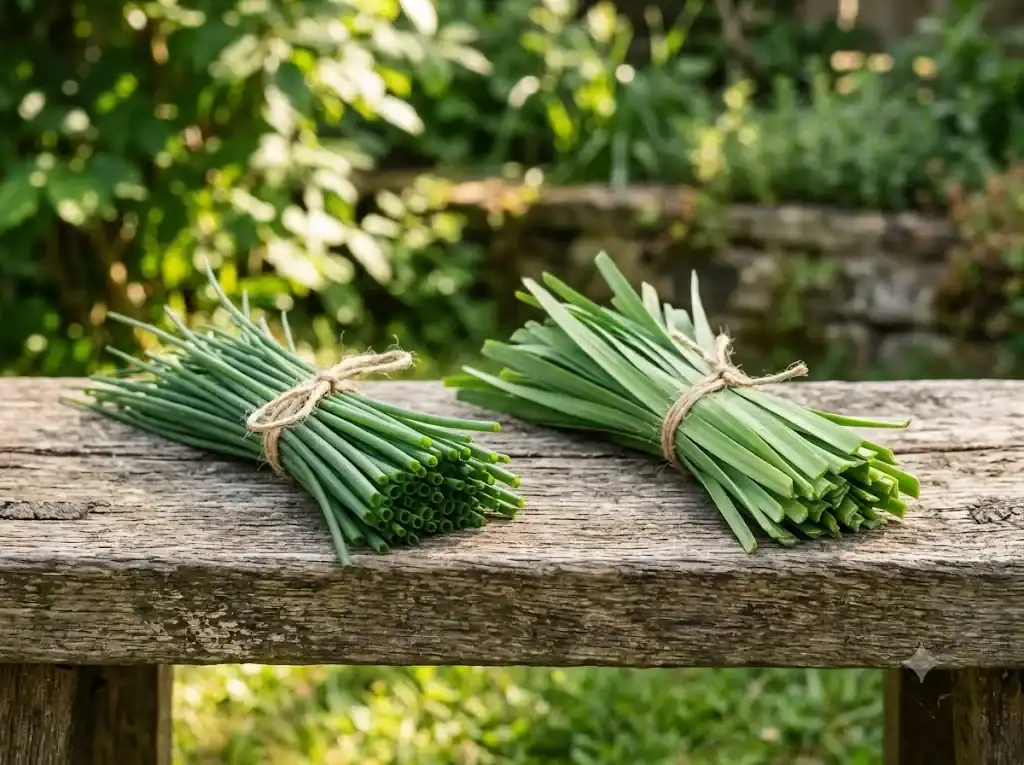
Common chives have round, hollow leaves and a mild onion flavor, while garlic chives, also called Chinese chives, have flat leaves and a distinct garlic taste. The harvest approach for garlic chives is nearly identical: cut both about 1 to 2 inches above the soil with clean snips, take less from young plants, and let the clump regrow between cuttings. The main difference is timing of the flowers, since garlic chives typically bloom later in summer with white flowers rather than purple blossoms.
What to do with your harvest
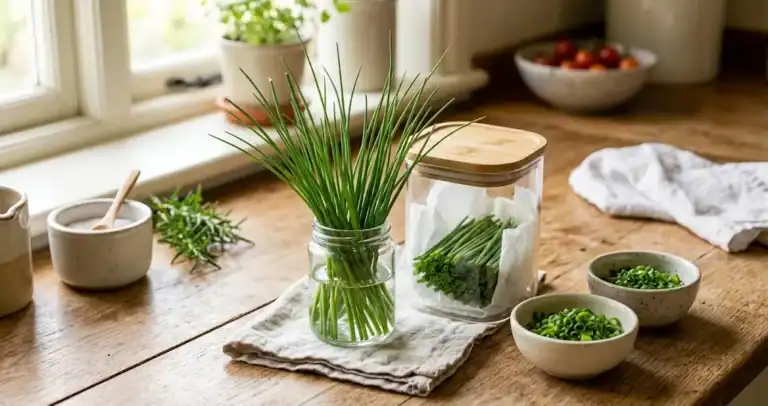
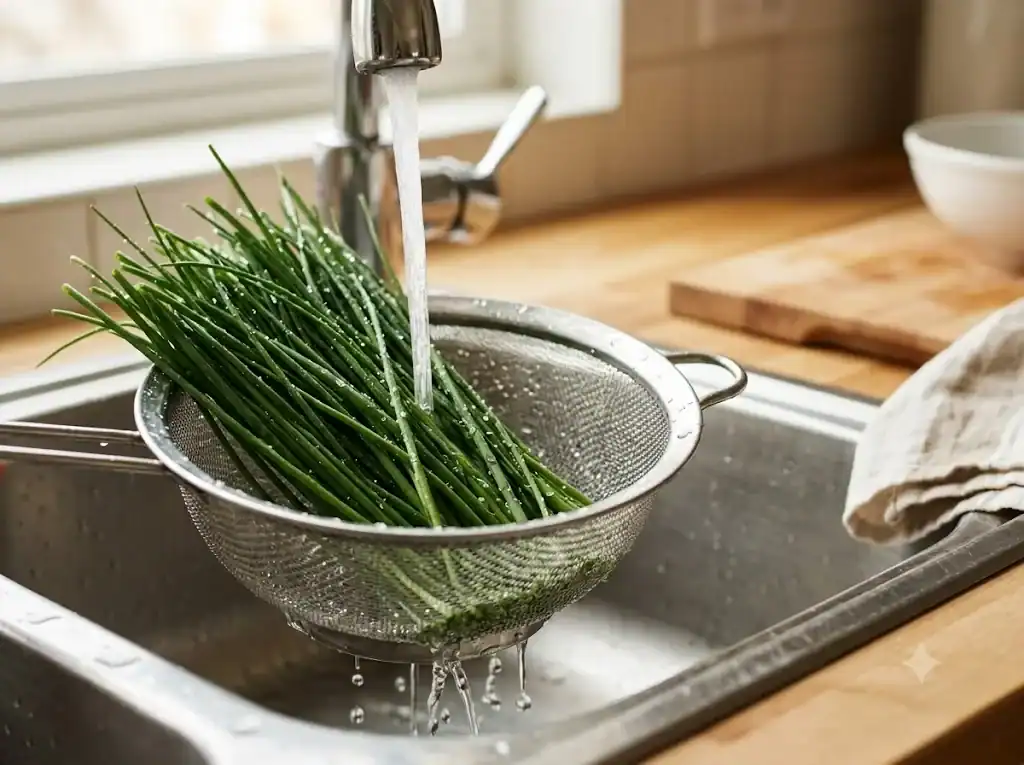
Rinse cut chives in cool water and pat them dry before use, since trapped moisture speeds up wilting and mold. Fresh leaves keep their flavor and color for only a few days in the refrigerator. If you have more than you can use right away, chop them and freeze the pieces flat on a tray for future use, or pack them into ice cube trays with a little water or oil for pre-portioned cubes you can drop straight into soups later. Keep those oil portions frozen until you use them: herbs stored in oil at room temperature or in the refrigerator carry a botulism risk.
For the full range of drying, freezing, and refrigerator storage options, along with how long each method keeps its flavor, see this guide on how to store chives once you have brought the harvest inside.
Put your fresh chives to work
A fresh handful of chives does more than garnish a baked potato. There are plenty of ways to use chives beyond that: snipped leaves brighten scrambled eggs, potato salad, and creamy dips, and they hold their color and bite better than most herbs when added at the very end of cooking rather than during it. For recipe ideas and pairing tips, browse these ways to cook with chives for inspiration on turning today’s harvest into tonight’s dinner.