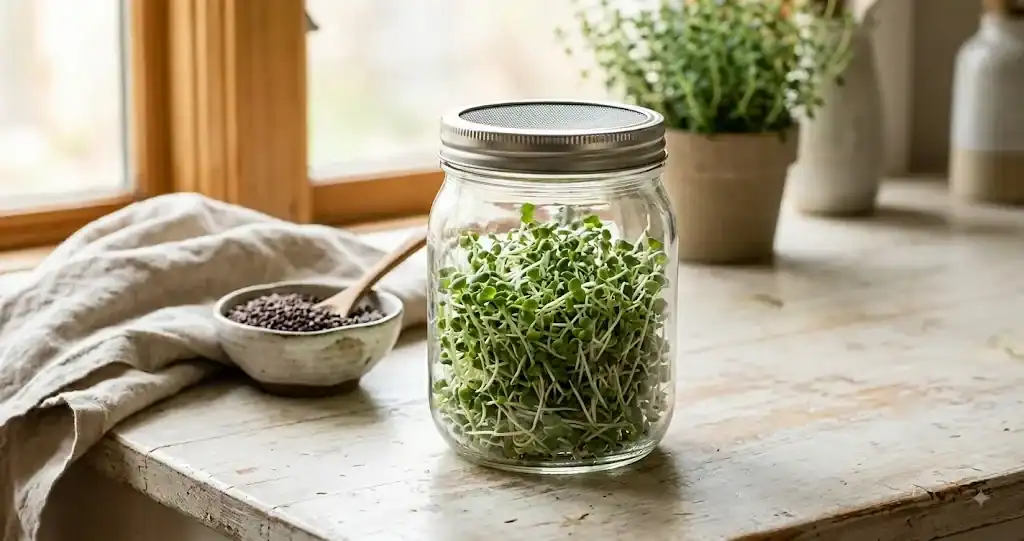
Broccoli sprouts are one of the simplest crops to grow indoors: a jar, clean water, broccoli sprouting seeds, and a few minutes of rinsing each day are enough. Most batches are ready in about five to seven days, with no soil, grow lights, or outdoor space required.
This guide explains a reliable rinse-and-drain routine, how to tell when the sprouts are ready, and the small details that help keep a home batch fresh and tidy. If you are building confidence with indoor growing more broadly, our beginner’s guide to growing an herb garden gives the wider framework.
What you need to grow broccoli sprouts
- Broccoli seeds sold specifically for sprouting
- A clean wide-mouth glass jar, about 1 litre or quart size
- A sprouting lid, fine mesh screen, or clean breathable cover secured with a band
- Fresh drinking water
- A bowl or rack that lets the jar drain at an angle
A mason jar with a sprouting lid is an easy starting setup. Use fresh water for every rinse, and choose broccoli sprouting seeds from a supplier that identifies them for food sprouting. Unlike broccoli plants or soil-grown microgreens, this is a countertop germination project: the tiny seeds grow in the jar, then turn green near harvest.
Use seeds intended for sprouting rather than packets treated for garden planting. If you choose organic broccoli sprouting seeds, look for the same clear food-sprouting label. Filtered water is optional when your normal drinking water is suitable. Read the supplier label, follow its storage guidance, and begin each batch with a thoroughly washed jar and lid.
How to sprout broccoli seeds step by step
1. Measure and rinse the seeds
For a standard quart jar, start with 1 to 2 tablespoons of broccoli sprouting seeds. Add the seeds to the jar, cover with cool water, swirl gently, then pour away the water. This first rinse clears away fine seed dust before soaking.
2. Soak overnight
Cover the rinsed seeds with plenty of cool water and leave them to soak for 8 to 12 hours at room temperature. The seeds will swell as they take up water. Leave enough empty space in the jar because the sprouts expand quickly over the following days.
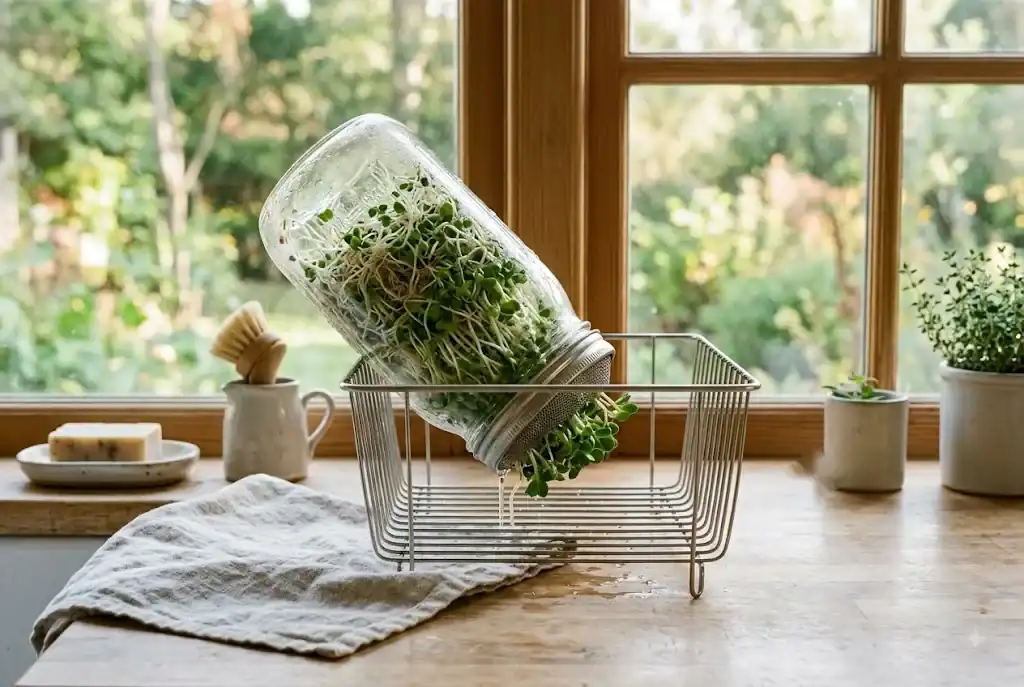
3. Empty the jar thoroughly
After soaking, empty the jar completely. Set it mouth-down at a slight angle so air can circulate and remaining water can escape. A jar that stays wet at the bottom is more likely to develop an unpleasant smell or slimy seeds.
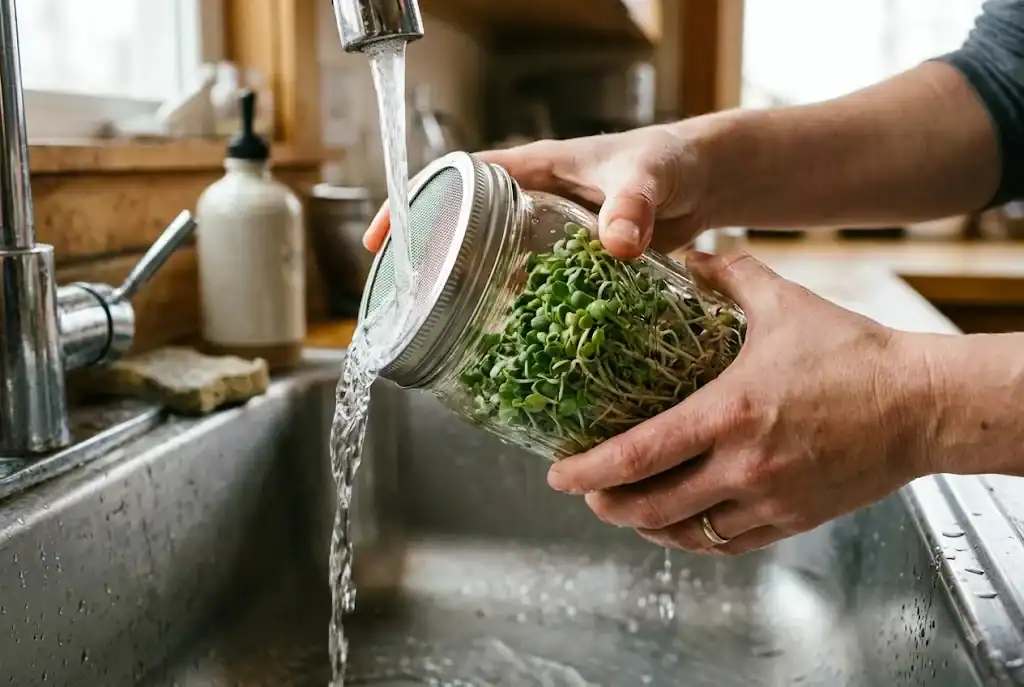
4. Rinse and drain twice a day
Morning and evening, fill the jar with cool water, swirl the sprouts gently, and pour it away completely. Return the jar to its angled position. Consistency matters more than elaborate equipment: the goal is to refresh the sprouts and leave them damp rather than sitting in water.
5. Give the sprouts light near the end
Keep the jar out of direct sun while the seeds first germinate. Once the sprouts have formed small leaves, place them in bright indirect light for a day or two. This helps them green up without overheating the jar.
6. Harvest, dry, and refrigerate
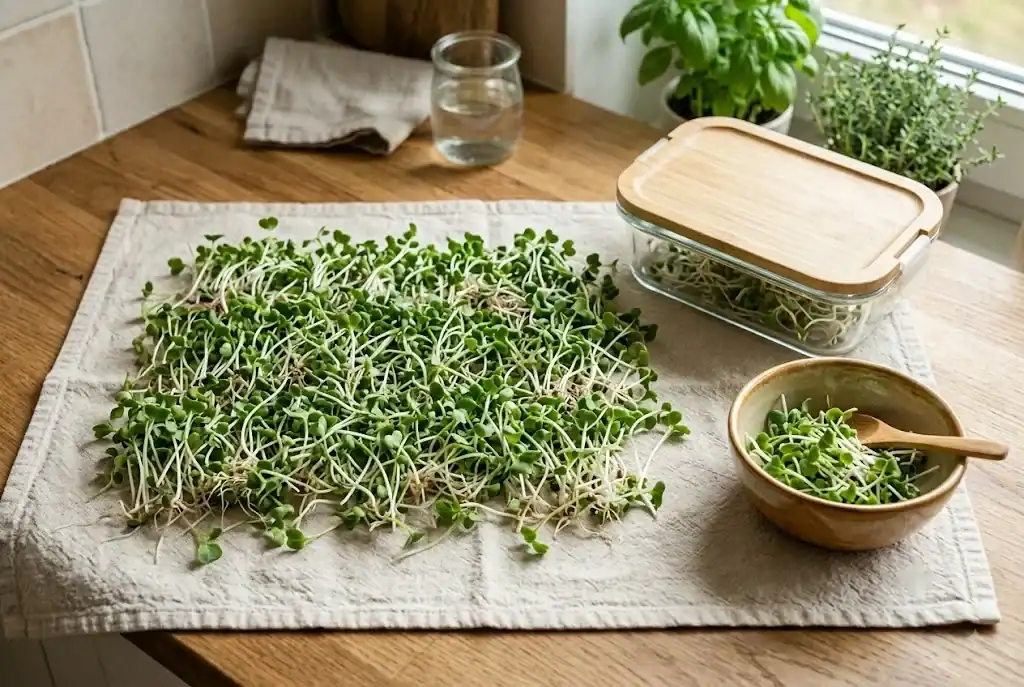
When the sprouts are roughly 2 to 5 cm long with open green leaves, give them a final rinse. Pour away as much water as possible, then spread them briefly on a clean towel or spinner so surface moisture can dry. Store the dry sprouts in a clean container in the refrigerator and use them while they are crisp.
A simple broccoli sprout growing schedule
| Day | What to do | What you may see |
|---|---|---|
| Day 1 | Rinse and soak for 8 to 12 hours; empty the jar. | Seeds swell. |
| Days 2 to 4 | Rinse twice daily and empty the jar well. | White roots and small shoots emerge. |
| Days 5 to 7 | Continue rinsing; use bright indirect light near the end. | Green leaves open and the jar fills. |
Room temperature changes the pace. A warm kitchen may move faster; a cool room may add a day. Judge the batch by its appearance and freshness rather than treating the calendar as exact.
Why choose this simple jar method?
Growing sprouts at home is easy to repeat because it uses a small amount of seed and no potting mix. Sprouted broccoli adds a crunchy texture to a salad, sandwiches, smoothies, and a variety of dishes. Some readers encounter terms such as sulforaphane, glucosinolates, myrosinase, and enzyme activity when researching broccoli, but those topics are outside this practical growing guide. The focus here is a clean, reliable method for producing food at home.
How to prevent common broccoli sprout problems
A quick food-safety note
Clean handling matters, but harmful bacteria can multiply during sprouting. The FDA advises people at higher risk of foodborne illness to avoid raw or lightly cooked sprouts, or to cook sprouts thoroughly. See the FDA guidance on selecting and serving produce safely for the full advice.
Sprouts smell sour or feel slimy
Discard a batch that smells off or has a slimy texture. For the next batch, clean the jar more carefully, use fewer seeds, rinse on schedule, and make sure water can escape freely. Crowding and trapped water are common causes of trouble.
The jar is packed too tightly
It is easy to overfill a jar because dry seeds look small. Reduce the starting amount next time. More room means better airflow and makes rinsing easier.
The sprouts stay pale
Pale stems are normal early on. When leaves appear, move the drained jar to bright indirect light for the final day or two. Avoid a hot windowsill or direct midday sun.
There are fuzzy white root hairs
Fine white fuzz close to the roots can be normal root hairs, especially when the sprouts are due for a rinse. Rinse the sprouts and look again. If the growth remains web-like, spreads through the jar, or comes with an off smell, discard the batch.
Ways to use a fresh batch
The fresh shoots have a peppery taste. Add a handful to sandwiches, wraps, grain bowls, salads, or a finished soup just before serving. Their delicate texture works best when they are not cooked for long.
Once you enjoy the jar method, you may want to try a broader seed-starting project. This guide to how to grow herbs indoors from seed covers the next step, including containers, light, and young plants that will need soil.
Frequently asked questions
How long do they take to grow?
Most home-grown batches are ready in about five to seven days. Temperature, the amount of seed in the jar, and how freely the jar empties can make the process a little faster or slower.
Do they need soil?
No. For jar sprouting, the seeds germinate and grow with water, drainage, airflow, and a little indirect light near harvest. Soil is not part of the method.
How often should I rinse the sprouts?
Rinse them twice daily after the initial soak. Empty the jar thoroughly each time so the sprouts are not left standing in water.
Can I grow them in a mason jar?
Yes. A clean wide-mouth mason jar with a sprouting lid or fine mesh cover is a practical choice. The important part is a lid that allows thorough draining and airflow.
The easiest way to start
Start small with one jar and a modest spoonful of sprouting seeds. A clean jar, an overnight soak, and a dependable twice-daily rinse-and-empty routine will teach you the whole method in a single week. Once that rhythm feels easy, repeat it whenever you want a fresh batch for everyday meals.
