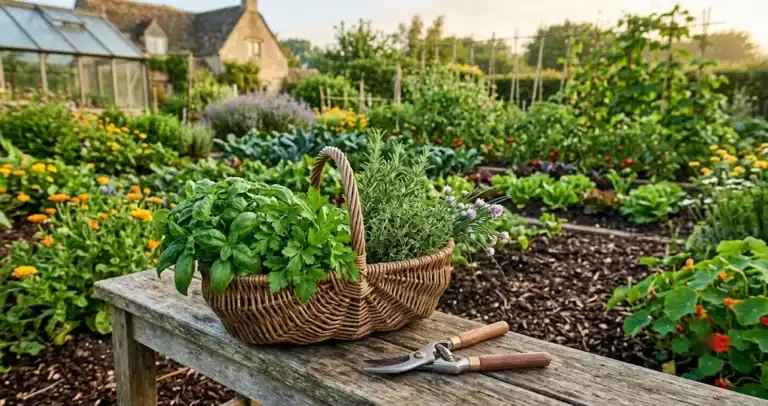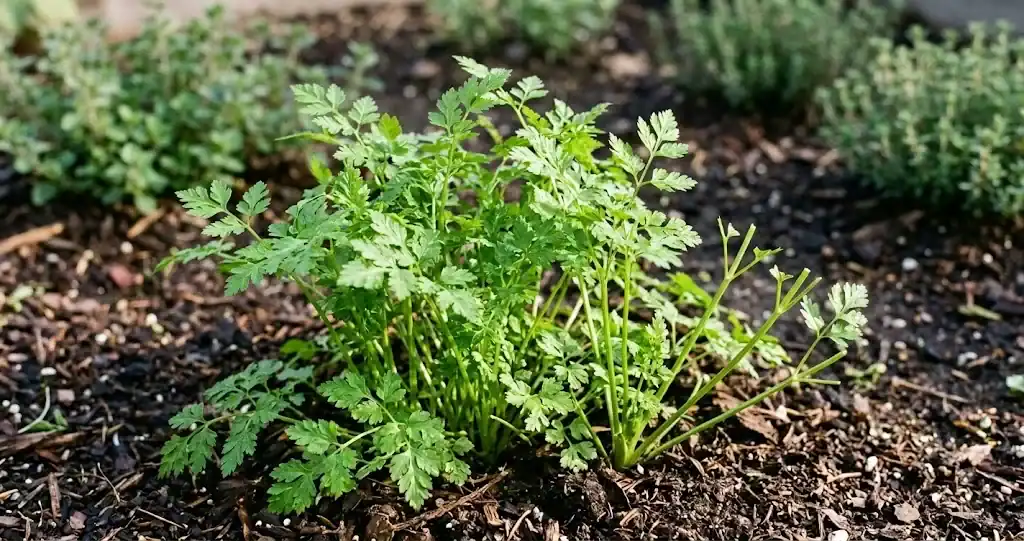
Chervil is one of the easier herbs to harvest because the leaves regrow quickly when you cut them the right way. Snip the outer stems just above a leaf joint, leave the central crown alone, and the plant keeps pushing out new leaves for several weeks. Pick in the morning after the dew dries, work from the outside of the clump inward, and stop picking once the plant sends up a flower stalk, because the foliage turns bitter once chervil goes to seed.
Chervil is a delicate annual herb with a mild licorice note similar to parsley, and it is one of the fines herbes of French cooking. Knowing when to pick and how much to take keeps a small clump productive from early spring through fall.
This guide covers timing, technique, and what to do with the harvest. If you are still at the planting stage, the short version is below; for the full picture, see the broader guide to harvesting herbs.
When to start harvesting chervil
A chervil plant is ready for its first light cutting about six to eight weeks after sowing, once it has put on at least three sets of true leaves and stands roughly 6 inches tall. Picking earlier than that sets the plant back; waiting too long lets it bolt.
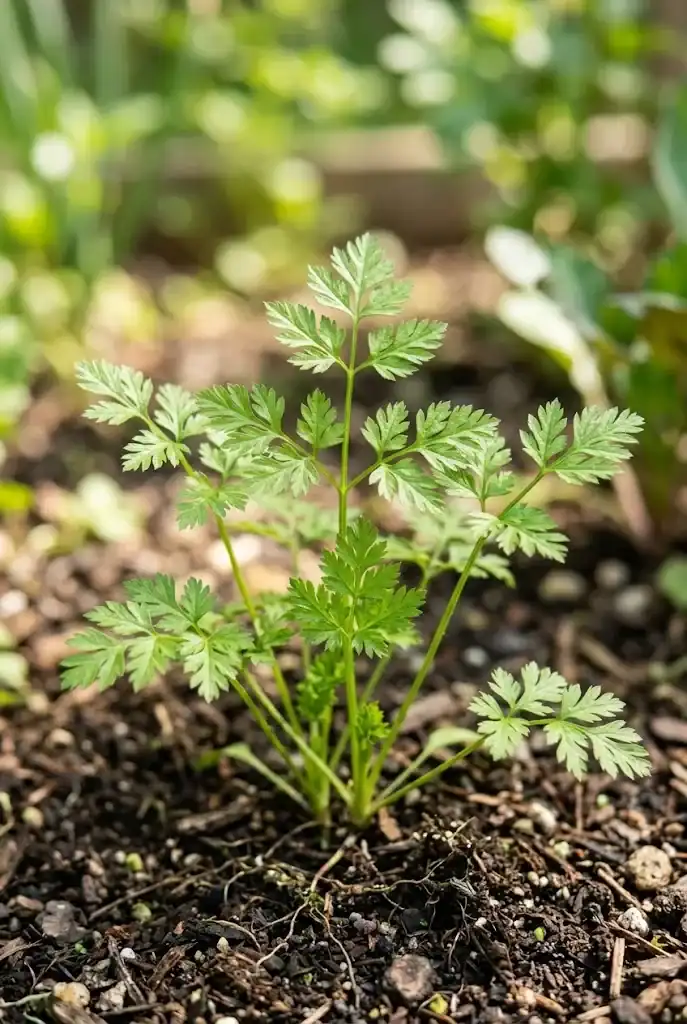
The best window for flavor is right before the plant flowers. Chervil leaves picked just as the tiny flowers begin to form carry the cleanest anise note. After pollination, the foliage turns coarse and the mild parsley-like flavor fades.
Chervil is a cool-season herb, so plan your main picking for spring and again in early fall. In hot weather the plant rushes to flower, which shortens the harvest window. In mild climates you can sow chervil seed directly every three to four weeks from early spring through late summer to keep a steady supply.
Chamomile is a similar cool-season herb; if you have one of those in your garden, chervil slips into the same patch with little fuss.
How to harvest chervil the right way
Use the cut-and-come-again method: pinch or snip a stem about half an inch above where two side leaves meet the central stalk. The plant branches at the cut and grows two new stems in its place, which is how a small clump becomes a generous cutting within a few weeks.
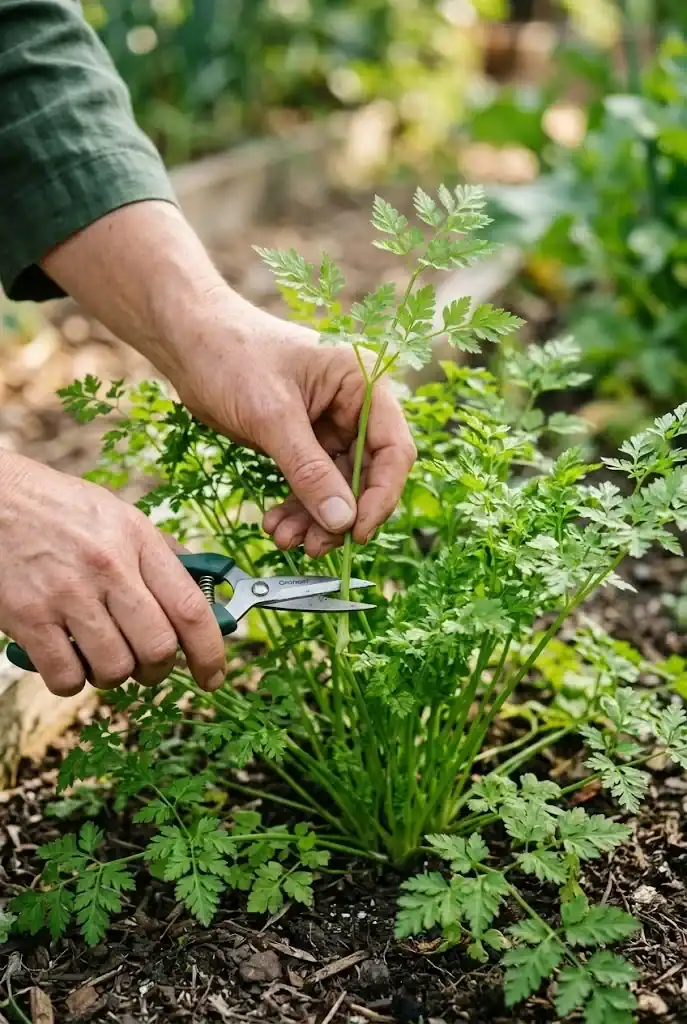
- Pick the outer stems first. Leave the inner crown and any young center growth untouched.
- Take no more than a third of the foliage at any one cut. The plant needs leaves to keep photosynthesizing.
- Stop picking individual plants once a flower stalk appears, and let a few plants go to seed if you want a self-sown patch next year.
- Cut in the morning, after the dew has dried and before the sun gets hot. Cool leaves keep their flavor longer in the fridge.
For a continuous harvest through the season, succession sow every three to four weeks. Older plants bolt faster than young ones, so a rolling planting gives you a steady stream of fresh leaves rather than one glut and then nothing.
Chervil goes to seed quickly once the weather warms, so a small sowing each month beats one large one in spring. The seed ripens in late summer; let a few plants stand and shake the dried seed heads over the bed in early fall to renew the patch for next year.
What to harvest: leaves, stems, or whole sprigs
For the kitchen, the soft upper leaves and the tender top two inches of stem are the best part. The lower stems get fibrous quickly and are best left on the plant or composted. Whole sprigs of chervil are useful as a garnish for salads, soups, and broths, and they keep their shape better than loose leaves.
If you only want the leaves, run the cut stems through a salad spinner after rinsing. The fine leaves bruise easily, so a gentle spin and a single pat with a towel is enough; do not rub them dry.
How to grow chervil: starting from seed
Chervil does not transplant well, so direct sow chervil seed where you want it to grow. Sow seeds shallowly, about a quarter inch deep, and keep the soil evenly damp during germination, which usually takes two to three weeks. Chervil seeds germinate slowly compared to many herbs, so be patient with empty spots and re-sow any gaps. Once each seedling has its first true leaves, thin the clumps to about 12 inches apart so each plant has room to branch.
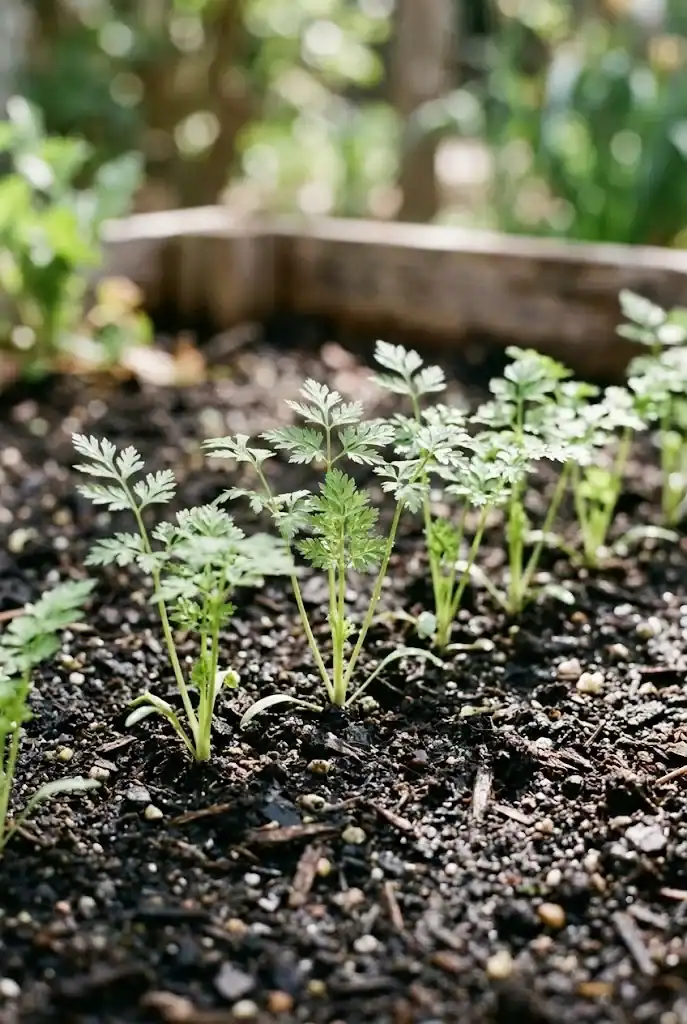
Chervil grows happily indoors on a cool windowsill, which extends the season in hot summers and gives you a winter supply where winters are mild. Use a pot at least 6 inches deep, place it where it gets gentle morning light, and water often enough that the soil never dries out. Sowing in individual pots keeps the taproots undisturbed, which matters more than it does for most kitchen herbs.
How to store fresh chervil after picking
Fresh chervil is delicate and wilts faster than heartier herbs like parsley or thyme. Treat it like a cut flower.
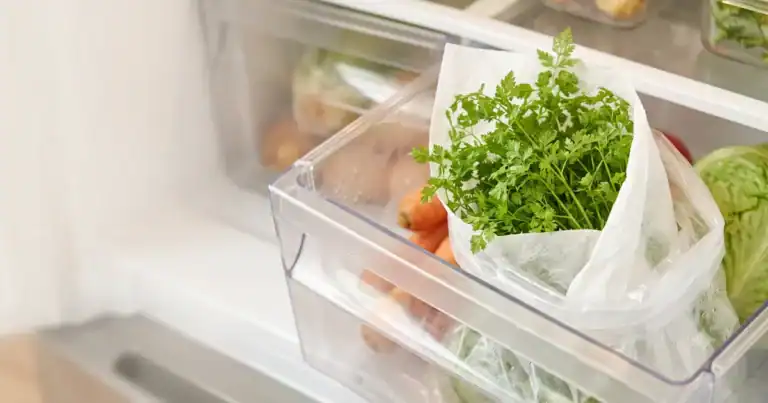
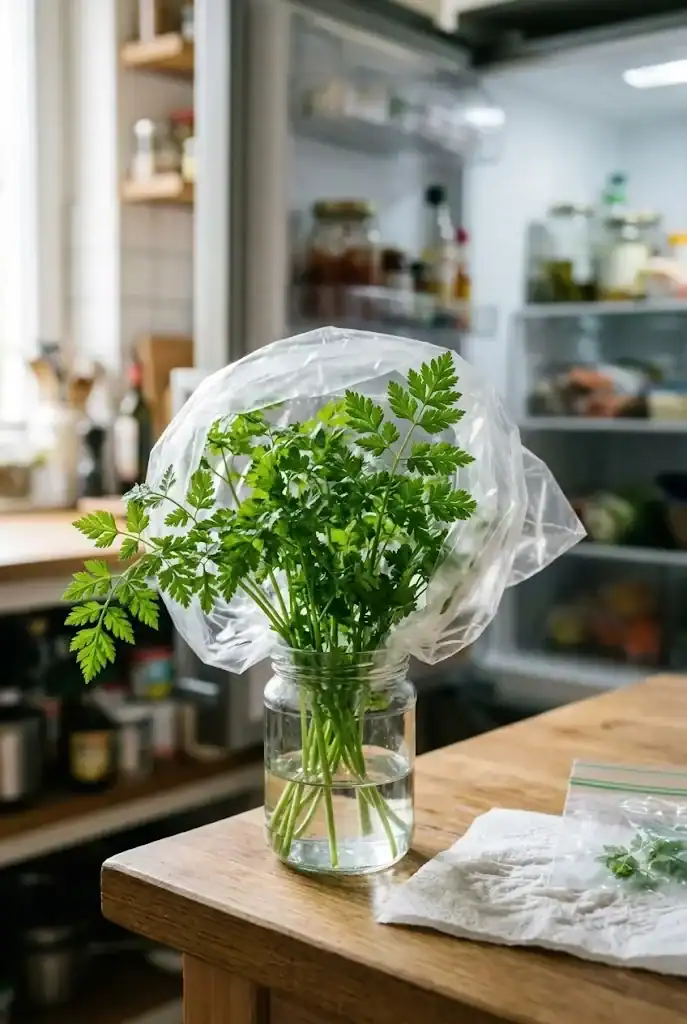
- Stand the cut stems in a jar with an inch of cool water, cover loosely with a plastic bag, and refrigerate. Change the water every other day. The chervil stays usable for up to a week.
- Wrap unwashed leaves in a barely damp paper towel, slide into a zip bag, and store in the crisper drawer. Use within three to four days.
- Do not wash chervil until you are ready to use it. Wet leaves brown and rot quickly in storage.
For longer keeping, freezing holds flavor better than drying. Dried chervil loses much of its aroma and is best treated as a background herb rather than a finishing one.
How to preserve chervil for longer
To freeze, chop the leaves finely, pack into ice cube trays with a little water or olive oil, and freeze. Pop the cubes out and store them in a freezer bag. Drop a cube directly into a warm sauce or sauté in the last minute of cooking.
To dry, tie small bunches and hang them in a warm, dark, well-ventilated spot, or use a dehydrator on the lowest setting. Crumble the dried leaves and store in an airtight jar. Dried chervil is best in long-simmered dishes where the herb has time to rehydrate; expect the flavor to be softer than fresh, so plan to use a little more in cooked dishes.
For longer-term storage without losing much flavor, blend chervil with a neutral oil, a squeeze of lemon, and a pinch of salt, then freeze the mixture in small containers. This herb butter base keeps for several months and works well with fish, eggs, and roasted vegetables.
How to use chervil in the kitchen
Chervil is one of the four fines herbes of French cooking, and it shines when added at the end of cooking so the fresh flavor stays bright. Stir it into softened butter for steak or steamed potatoes, fold it into an omelet just before folding, or whisk it into a simple vinaigrette with lemon and shallot.
The flavor pairs naturally with mild foods: eggs, cream sauces, white fish, potatoes, and spring vegetables. It loses its character quickly in heat, so add it in the last minute or use it as a raw garnish. For a fuller set of recipes and technique, see ways to cook with chervil.
Troubleshooting: chervil bolting and going to seed
Chervil bolts fast in heat, dry soil, or long days. The first signs are tall, thinner stems and a cluster of tiny white flowers at the top. Once flowering starts, the leaves turn bitter within days. The fix is to cut the whole plant back to the base, water deeply, and let it try to regrow, or to pull it and start a fresh succession.
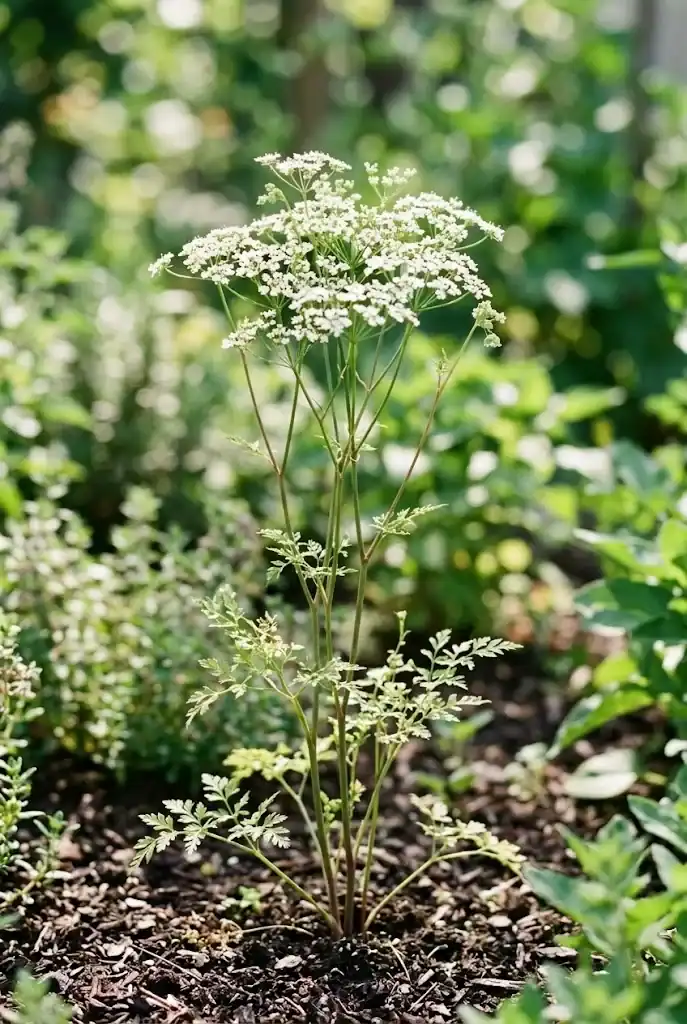
Bolting is partly genetic: chervil is an annual that wants to complete its life cycle before summer. Sowing in dappled light, keeping the soil evenly moist, and starting new plants every few weeks all delay the rush to flower.
Chervil varieties to know
Common chervil, often sold as plain chervil or French parsley, is the workhorse for the kitchen and the one most gardeners grow. There is also a curly-leaf form, which looks decorative on the plate but has a milder flavor. Brussels winter chervil tolerates cooler weather and is a good choice for late-fall and early-spring sowings where winters are mild.
If you are growing chervil for the first time, plain chervil is the easiest seed to find and the most useful in the kitchen. Save specialty varieties for a second season once you know how the plant behaves in your soil and climate.
Chervil growing conditions at a glance
Chervil wants cool roots, partial shade in summer, and soil that stays evenly damp. Direct sow directly in the garden where you want it to grow, because chervil does not transplant well. Thin seedlings to about 12 inches apart, water regularly, and pick often to keep the plant branching. As a culinary herb it asks for very little once it is established.
In a small garden or on a windowsill, chervil grows well in a container at least 6 inches deep. Keep it out of direct afternoon sun, and refresh the pot with a fresh sowing every month or so for a steady supply of new leaves. Garden chervil sown in early fall often overwinters in mild climates and gives the first picking before anything else in the herb bed.
Frequently asked questions
How do you know when chervil is ready to harvest?
The plant is ready when it has at least three sets of true leaves and stands about 6 inches tall, usually six to eight weeks after sowing. Pick before any flower stalk forms, because the leaves turn bitter once chervil bolts.
Can you harvest chervil after it flowers?
You can, but the flavor drops sharply. If a plant has bolted, the best move is to let it set seed for next year and start a fresh sowing in a cooler spot.
How often can you pick chervil?
With the cut-and-come-again method, pick every week or two from a healthy clump, taking no more than a third of the foliage at a time. Sow every three to four weeks during the cool months for an unbroken supply.
Does chervil come back every year?
Chervil is an annual, so a single plant finishes its life cycle in one season. It self-sows readily, though, so a patch often comes back from fallen seed the following spring.
What is the best way to store picked chervil?
Stand the stems in a jar of water in the fridge, loosely covered, and use within a week. For longer storage, freeze chopped leaves in water or olive oil; drying loses more flavor than freezing.