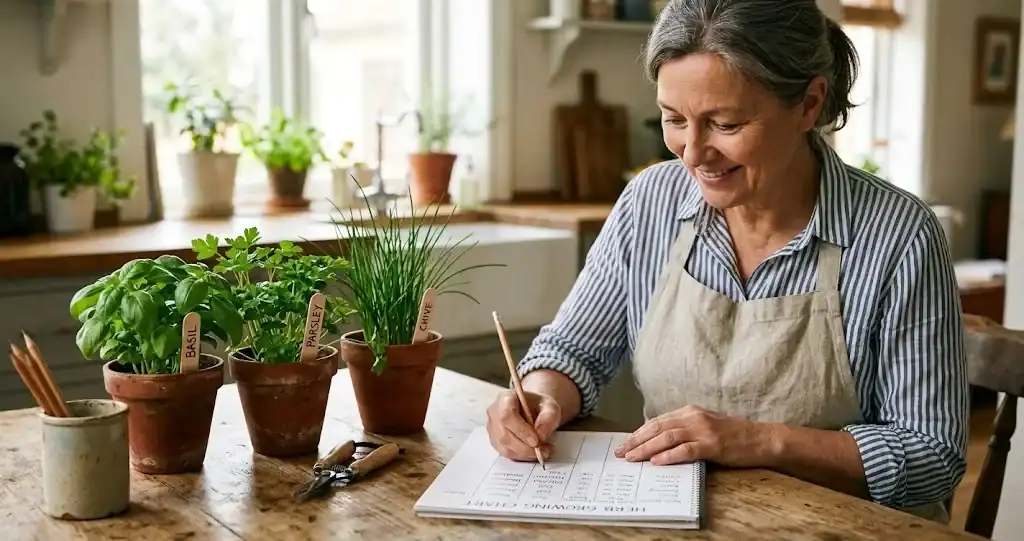
An herb growing chart turns a long list of wish-list plants into a real planting plan. Instead of guessing when to start basil or when the rest of your cooking herbs will be ready, you write the answers down once and the chart does the remembering for you. Most home gardeners who keep one say the same thing: the second season is easier than the first because the chart carries forward what they learned.
A good chart answers the questions every plant asks of you, from seed starting inside to setting out, in one place. It also shows at a glance which varieties prefer full sun, which need partial shade, and which pairs work as companions. This guide covers what to include, how to build one, and a sample chart you can adapt for your own garden.
What Is an Herb Growing Chart?
An herb growing chart is a simple reference you build for your own plot. At its most basic, it lists the herbs you want to grow alongside the timing and conditions each one needs. At its most useful, it adds columns for sun, water, soil temperature, planting depth, room between plants, last frost, when to bring in leaves, and companions. Print one for the shed wall or keep a spreadsheet on a tablet in the kitchen.
The chart is not a planner you buy; it is a planner you make. That is the point. A store-bought guide covers the average region and the average plant. Your chart covers your zone, your microclimate, and the varieties you actually cook with. Once you have built it, you tweak it each season as you learn what works and what does not. For the bigger picture on putting the wider garden together, see a step by step overview of putting an herb garden together.
What to Include on an Herb Growing Chart
A complete chart has enough information to take an herb from seed packet to kitchen without guessing. The columns below are the ones most home gardeners actually use.
Plant name and lifecycle
Write the herb at the top of each row, then note whether it is an annual, a two year plant, or a perennial. Basil and dill are annuals that finish in one season. Parsley is a two year plant that often bolts the second year. The Mediterranean varieties such as oregano and thyme are hardy perennials that come back for several years when sited well, as are mint, chive, and lemon balm. Knowing the lifecycle tells you whether to plan a replacement or expect regrowth.
Planting time and method
Note whether the herb should be started inside, direct sown, or set out as a young plant. Tender varieties such as basil are best started six to eight weeks before the last frost and moved outside after the soil has warmed. Hardy choices like dill can be direct sown a couple of weeks before the last frost. Perennials are often bought as established plants rather than grown from seed.
Include the soil temperature each herb needs to germinate. Most culinary varieties prefer soil between 60 and 70 degrees F. Dill germinates well at the cool end of that range. Basil waits for true warm soil and sulks below 60 degrees.
Sun, water, and soil
Most culinary herbs prefer full sun, meaning six or more hours of direct light. A few, including mint, parsley, and lemon balm, tolerate partial shade, especially in hot summer climates. Mediterranean varieties want well-drained soil and do better on the dry side. Mint spreads aggressively in moist beds and is best contained in a pot.
Note the soil pH range your herbs prefer. Most culinary varieties grow best in a slightly acidic to neutral soil around 6.0 to 7.0. Outside that range, nutrient uptake drops and the plants struggle even with regular water.
Spacing, depth, and companions
Write down the planting depth and room between plants for each row. Basil likes about twelve inches between plants; sage needs two to three feet because it grows into a small shrub. Closer planting looks full but reduces airflow and invites fungal problems.
Add a column for companion planting. Basil is traditionally paired with tomatoes in the garden, although the effect on flavor is more folklore than science. Chives sit well next to many kitchen herbs because they share the same sun and water needs, and their mild onion flavor does not compete with the plants around them. Mint is best kept away from other herbs because its roots spread aggressively and can take over a bed within a season.
Pick timing notes
The last column on the chart is for picking. Note when you should start pinching leaves, how often to cut so the plant keeps producing, and the best stage for cutting. Basil is most flavorful before it flowers. Mint is best cut in the morning after the dew dries. Regular pinching keeps plants bushy and delays bolting, the moment a leafy plant shifts to setting seed and the leaves turn bitter.
Match the chart to your zone and conditions
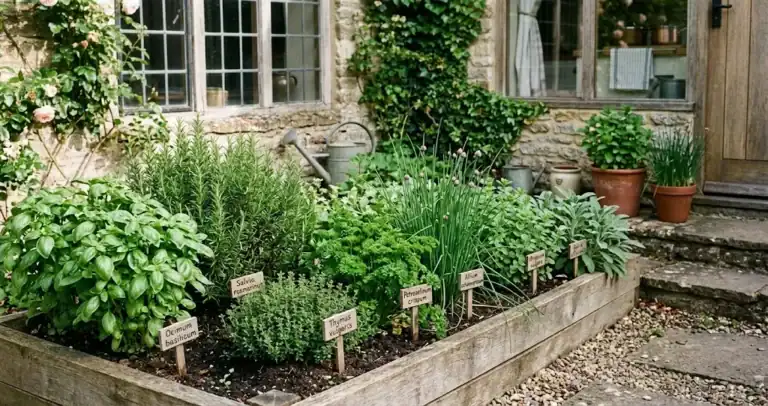
Hardiness, soil conditions, and the length of your growing season matter too. Most herbs prefer soil that drains well and a spot with full sun, but the right variety for your zone is often different from what a generic guide suggests. Sage plants tolerate and even prefer dry summers and lean soil. Tender herbs such as basil sulk in cold springs and need a long warm season for the best results. Many herbs include a few perennial herbs that come back for years and a few annual herbs that you replant each season. The chart captures these differences row by row, so your plan reflects what actually grows in your garden rather than what grows in the average one. If you are growing in pots or a small balcony, container gardening works well for almost everything on this chart; if you have a yard, raised beds extend what you can fit and warm up faster in spring.
How a Chart Makes Herb Gardening Easier
The first season of growing herbs is mostly observation: when did the last frost actually arrive, when did the fast growers bolt, when did the slow growers finally take off. The chart captures those notes, and the benefits show up the second year.
You stop guessing at planting time
Seed packets give a window, but the chart tells you the specific dates for your zone. Last frost in early April in one zip code can be late April ten miles away. Once you have logged last frost dates for two or three years, you have a real number to plan around rather than a generic range.
You spread the picking window across the season
A chart shows you what is ready to cut in May, what comes on in July, and what carries into October. That makes cooking with fresh herbs from your own garden easier, because there is always something ready. Succession plantings, made every few weeks, keep the harvest window open without a glut.
You keep track of companions and antagonists
Some herbs are easier to manage with a little space. Mint is the obvious one, because its roots spread aggressively and it can take over a bed within a season. Fennel can be a strong self seeder and grows tall enough to shade smaller neighbors, so giving it its own corner keeps the rest of the bed simple. A column for companions on the chart stops you from repeating the wrong pairing each spring.
You catch problems early
When aphid damage shows up on the dill, you can note it on the chart and watch for it next year at the same time. The same is true for spider mites on indoor plants, powdery mildew on crowded basil, and thrips on chives in late summer. A simple log column turns scattered memory into a usable record. Once you have grown a season of your own, the real payoff of keeping an herb garden at home starts to show up in the kitchen.
Common beginner mistakes the chart helps you avoid
Most first year herb gardens lose plants to a handful of common mistakes. Planting times get pushed too early, so tender herbs sit in cold soil and never germinate. Seedlings started indoors get hardened off too fast and suffer transplant shock. Spacing is set by what fits the bed rather than what each herb actually needs, and the resulting tangle invites powdery mildew and common pests. Overwatering kills more herbs than drought, especially for Mediterranean varieties that prefer dry conditions. Even careful gardeners forget to note which varieties bolt fastest and which hold their flavor longer, so the same patch of annual herbs like dill goes to seed before the cook has a chance to use it. The chart catches each of these on a single page: planting times on one row, hardening off on the next, proper spacing in a column, water needs beside sun, and a log column where notes about bolting and pests live. Read it before you plant and you skip the worst of the first year mistakes.
Building Your Herb Growing Chart Step by Step
Most home gardeners build the chart over a weekend in late winter, while the seed catalogs are open and the garden is still asleep.
- Pick a format. A notebook page is the simplest. A spreadsheet gives you sorting and filtering. A whiteboard on the shed wall works for the visual learners.
- List the herbs you cook with. Start small. Five to eight varieties will use more of your kitchen than twenty will, and a chart with too many rows stops getting used.
- Fill in lifecycle, sun, water, and soil pH for each plant. A good reference or your local extension service will give you reliable numbers for your zone.
- Mark the planting method for each row. Inside, direct sow, or buy as a plant.
- Note last frost date and count back the weeks for indoor seed starting. Most tender herbs want a six to eight week head start.
- Add companion notes. Mark anything that needs to be kept apart, like mint and fennel, and any pairs you want to try.
- Leave a column for picking notes. Update it through the season as you learn.
What a Finished Herb Planting Chart Looks Like
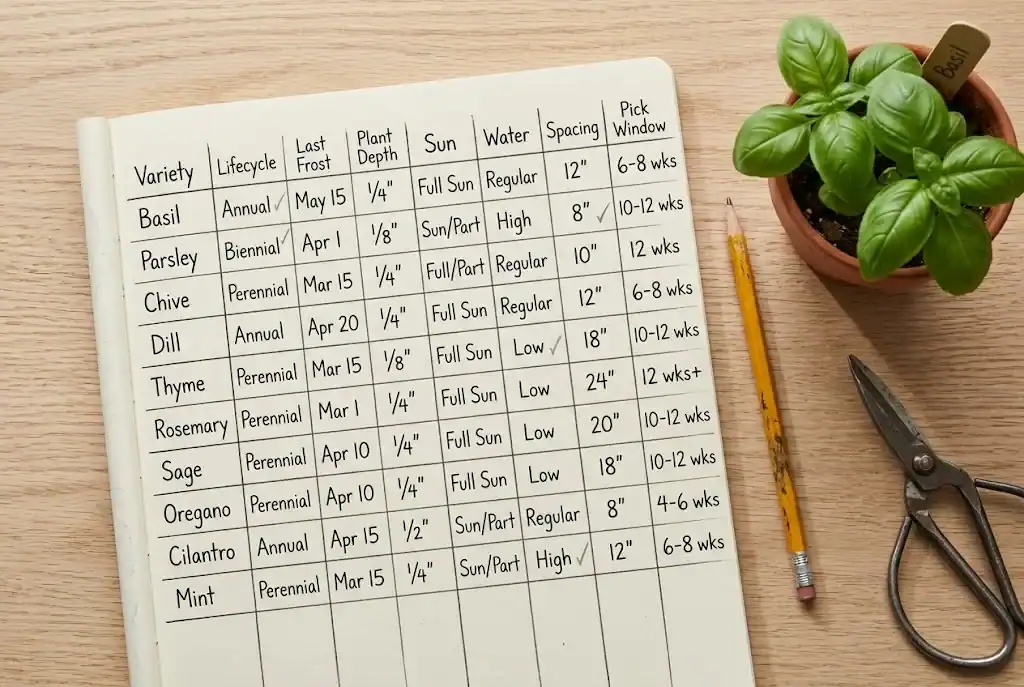
Once you have filled in the columns and added a notes section, you have what is essentially a one page herb planting chart tailored to your own garden. The chart looks more like a kitchen reference than a planting guide: each row is a single herb or variety, with the lifecycle, last frost date for your zone, planting depth, sun, water, and the room between plants marked clearly. Across the top is the kind of information a generic guide to growing herbs cannot give you: your soil conditions, your microclimate, the varieties you actually want for the kitchen. Different herbs sit on different rows, and the same chart covers herbs you start from seed indoors, herbs you buy as plants, and herbs you direct plant in late spring. Some gardeners add a column for herb seeds they want to try next season, or a small map of the bed layout with raised beds and pots marked in. The result is a thriving patch that works the second year because it carries your notes forward, and a small harvest of fresh flavors in the kitchen that justifies the chart.
Sample Chart for Common Kitchen Herbs
The list below covers the herbs most home gardeners reach for first. Use it as a starting point and adjust the timing column to your last frost date.
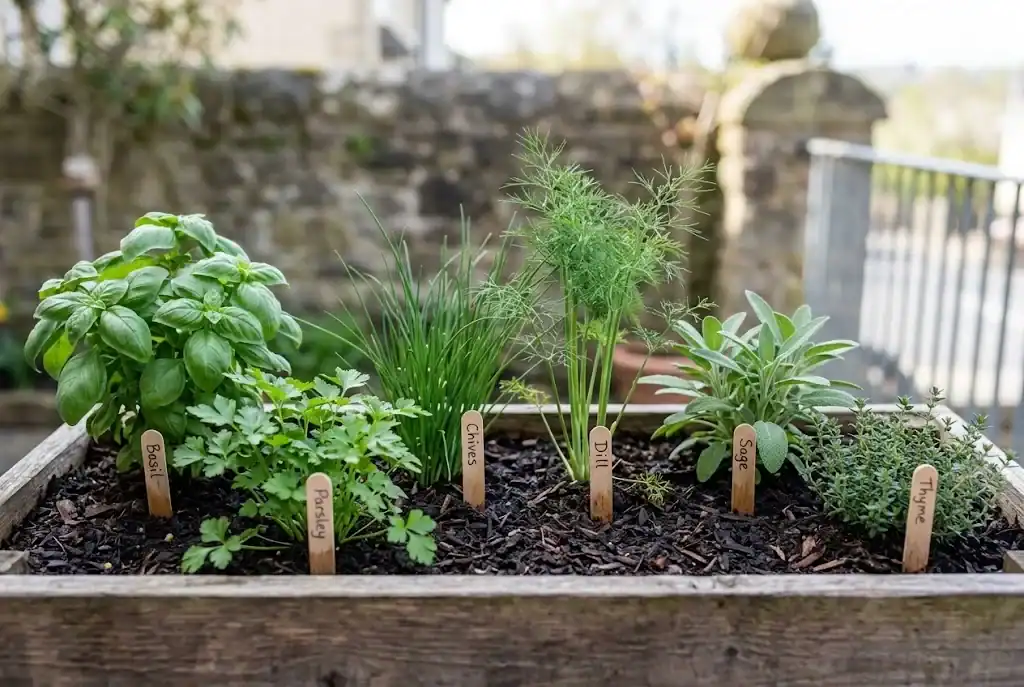
Basil: annual, full sun, started inside six weeks before last frost, set out after soil warms, twelve inches between plants, regular pinching delays flowering, pick leaves before the plant bolts.
Parsley: two year lifecycle, full sun to partial shade, started inside eight weeks before last frost or direct sown, eight to ten inches between plants, cut outer stems first, replace the plant the spring of year two.
Chive: hardy perennial, full sun, started from seed or division, eight inches between plants, mild onion flavor, cut to the base, flowers are edible.
Dill: annual, full sun, direct sown after last frost, twelve inches between plants, taproot means it does not transplant well, sow every few weeks for a steady supply.
Thyme: hardy perennial, full sun, well drained soil, started from seed or cuttings, twelve inches between plants, drought tolerant, cut lightly the first year.
Rosemary: tender perennial in cold zones, full sun, lean soil, started from cuttings or bought as a plant, two to three feet between plants, cut lightly and avoid cutting into old wood.
Sage: hardy perennial, full sun, well drained soil, eighteen to twenty four inches between plants, leaves are most flavorful before the plant flowers, replace every few years as plants get woody.
Oregano: hardy perennial, full sun, lean soil, twelve to eighteen inches between plants, pinch flowers to keep leaves tender, the cooking standard for pots and beds.
Cilantro: annual, full sun to partial shade in warm weather, direct sown, six inches between plants, bolts quickly in heat so sow every few weeks in spring and fall.
Mint: hardy perennial, partial shade, contained in a pot because it spreads aggressively, twelve inches between plants in the pot, pick before flowering for best flavor.
Using the Chart Through the Season
The chart earns its keep when you actually use it. A few habits help.
Starting seed inside
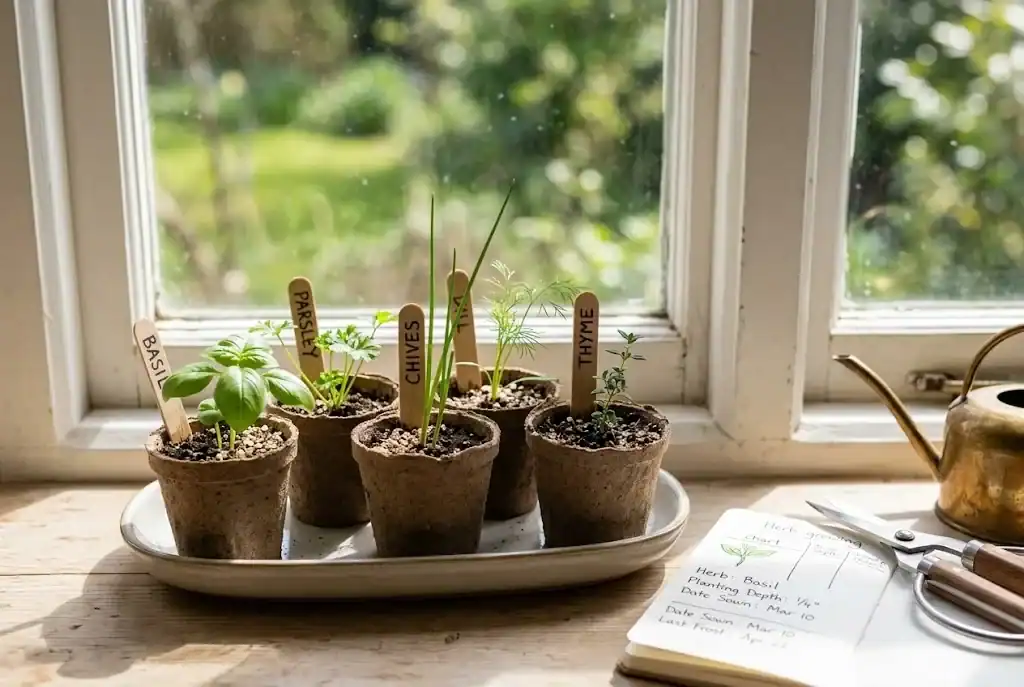
Six to eight weeks before your last frost, start the tender herbs inside under lights or in a sunny window. Basil, parsley, and slow growers all benefit. Use a sterile seed starting mix and bottom water until the seedlings emerge.
Hardening off and setting out
A week before moving plants outside, set the seedlings out for an hour the first day and add an hour each day after. This hardening off step prevents transplant shock, the wilting and yellowing that shows up when indoor plants meet outdoor wind and sun for the first time. Set plants out on a cloudy day and they settle in faster.
Direct sowing the hardy herbs
Dill, chive, and winter savory can all be direct sown once the soil can be worked. Sow every few weeks through spring and into early fall for a continuous supply of fresh leaves.
Pinching, pruning, and picking
Regular pruning is the single biggest driver of a productive herb bed. Pinch basil above a leaf pair as soon as the plant has three sets of leaves, and it branches into a bush. Cut chives to the base; they regrow quickly. Mint can be cut hard midseason and will return.
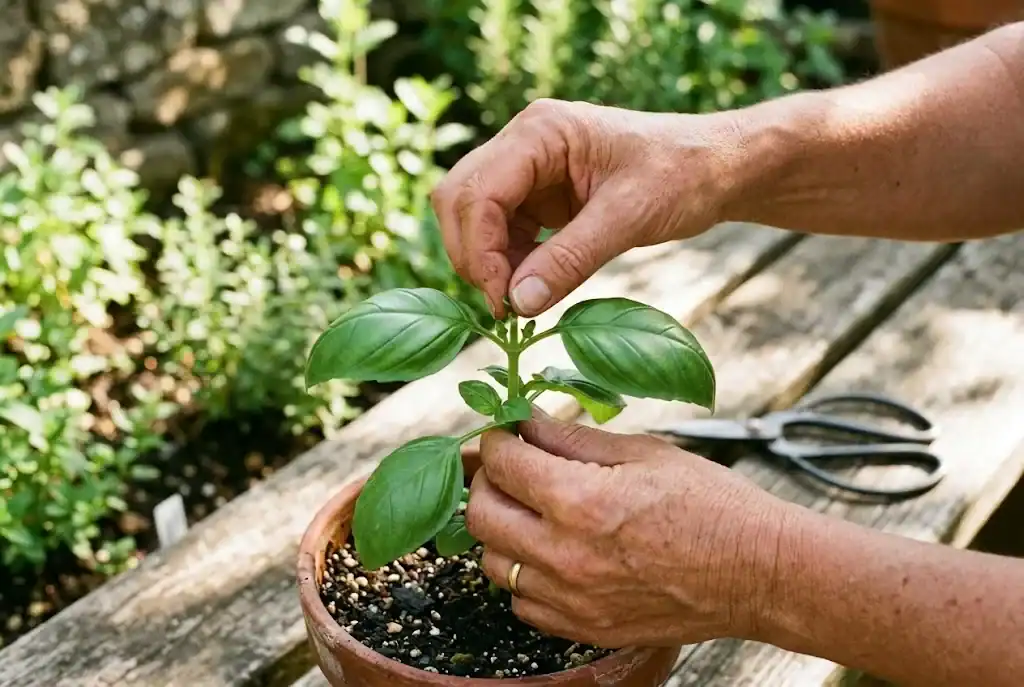
Track your pick dates on the chart. If you started cutting basil on June 12 last year and the first flowers showed on July 30, you have a real sense of the picking window for your garden this year.
A Quick Herb Growing Chart Checklist
For gardeners who want a one page printable, this checklist covers the essentials.
- Last frost date for your zone.
- First expected frost in fall.
- List of herbs to grow, with their lifecycle noted.
- Planting method: inside, in the ground, or as a young plant.
- Weeks before last frost to start each herb inside.
- Ground warmth needed for germination.
- Planting depth and room between plants.
- Sun requirement: full sun, partial sun, or partial shade.
- Water needs: regular, moderate, or drought tolerant.
- Companion notes and pairs to avoid.
- Picking window and the best stage to cut.
- Log column for pest and disease notes through the season.
Print one copy for the kitchen and one for the shed. Update both as the season goes on, and the chart you build this winter is the chart that makes next year easier.
Where to Go From Here
Once you have a chart that fits your garden, the next step is choosing where to put each plant. Most gardeners do best with a starter collection of five to eight herbs they already cook with, then add one new variety each season to keep learning. Long-lived Mediterranean perennials earn their place in a small garden because they ask for very little and keep producing for years. Basil and parsley are the workhorses of the kitchen and are worth a prime sunny spot. A simple herb growing guide is plenty for the first season, and the chart keeps earning its place each year as you try new varieties like tarragon and see which herbs at home thrive.
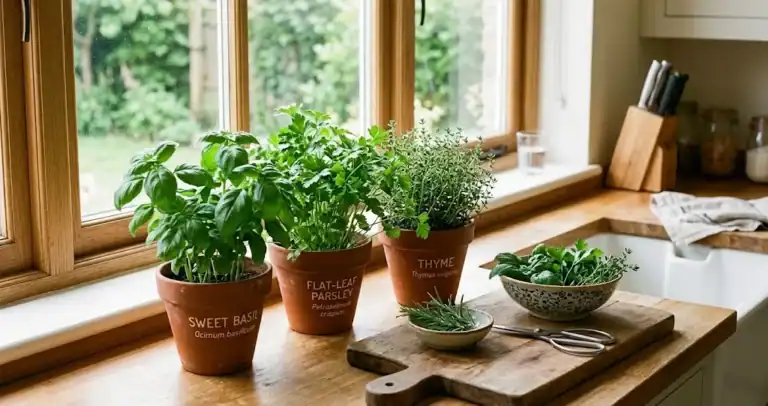
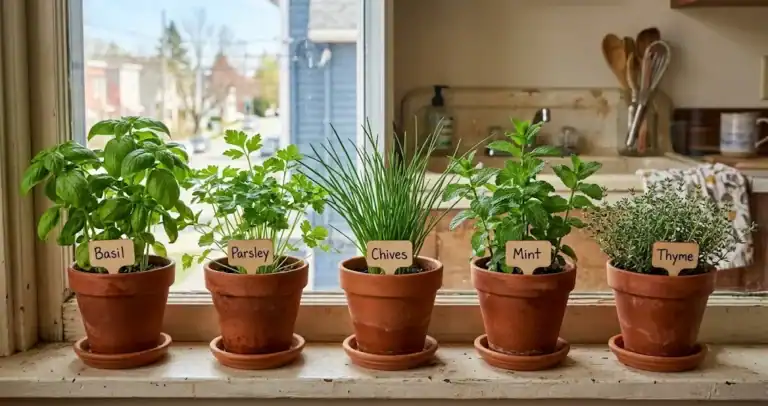
For anyone working with limited space, the simple case for keeping herbs within arm’s reach of the kitchen shows how even a windowsill patch adds fresh flavor to everyday cooking.