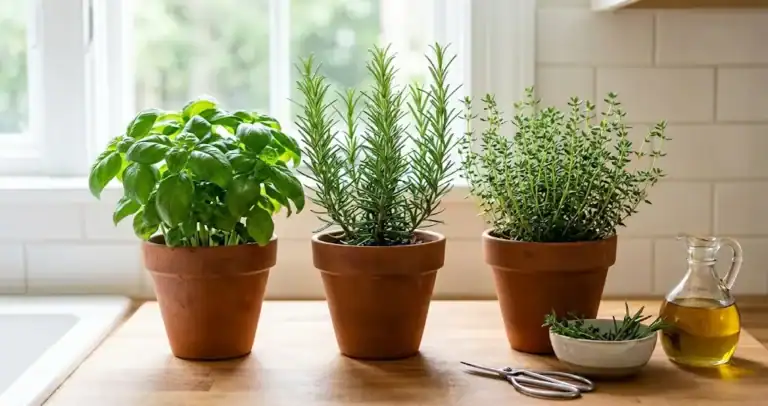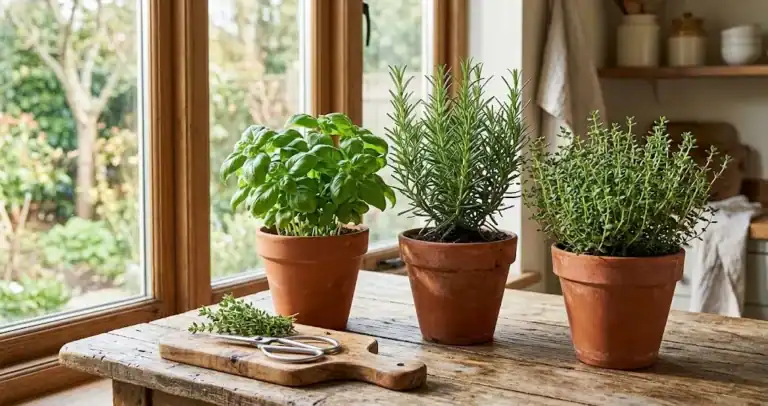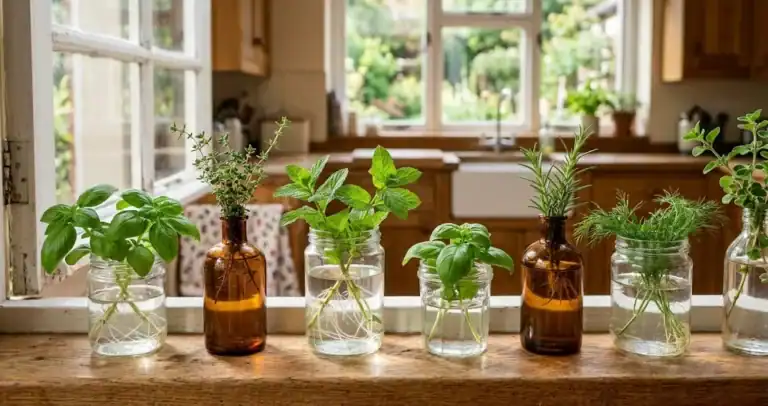
The shortest trip in cooking is from a pot on the counter to the pan. If you want fresh herbs within reach of the stove, the easiest way to grow a few herbs indoors is to match a few plants to the light your room already gets, then cut them often enough that they keep producing. It takes less of a green thumb than most people expect, and it is a fair place to start growing if you have never kept something edible alive before. A supermarket plant dies within three weeks for reasons that are easy to fix, and a kitchen herb garden that survives its first month usually keeps going for years. This guide covers what to grow, where to stand it, how much light and water it wants, and how to cut it so the plant keeps giving.
Light first: what a kitchen herb garden needs
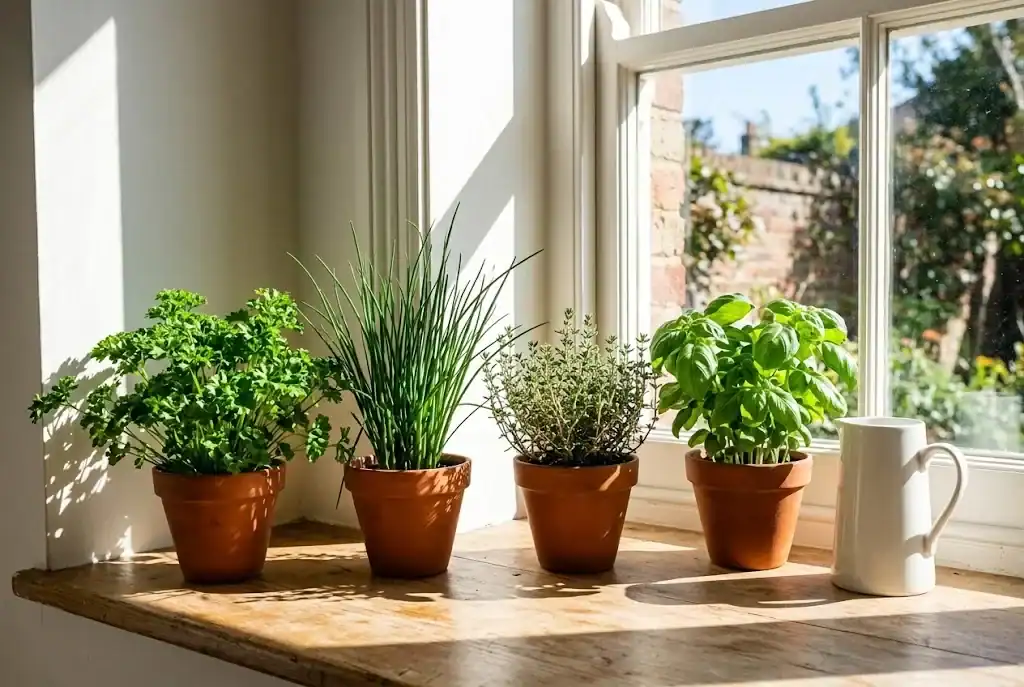
Light decides everything else. Before buying anything, watch your brightest window through one clear day and count the hours of sun that actually land on the sill. A south-facing window in most of the northern hemisphere gives six hours of direct sunlight a day or more, which is what the sun-loving group wants. East and west windows give three to five hours, which suits the softer leafy growers. A north window gives no direct light at all, and nothing culinary will thrive there unaided.
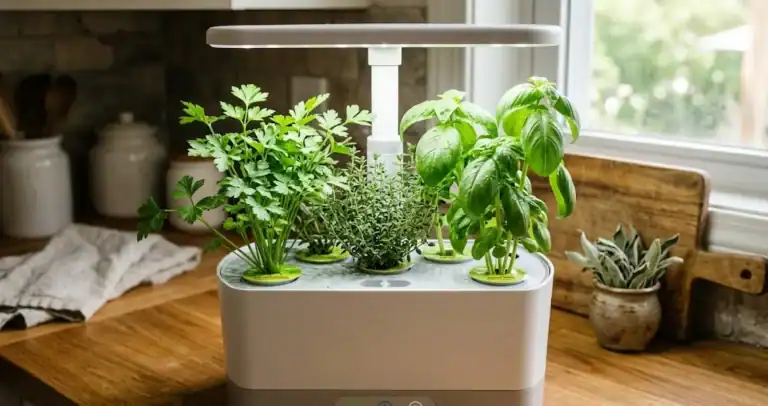
If your kitchen is dim, a grow light fixes it cheaply. One LED bar a foot above the foliage, run 12 to 14 hours a day, beats the amount of light most windows deliver and makes indoor growing predictable through winter. Plants that stretch upward with long bare stems and pale leaves do not have enough light, and no feeding or watering substitutes for it. Give them plenty of light and the same varieties that struggled will fill their pots.
One warning about the sunny windowsill everybody pictures. Glass magnifies summer heat and leaks winter cold, so a leaf pressed to the pane scorches in July and chills in January. Leave two inches of air between the plant and the window and a kitchen windowsill works all year. Herbs thrive on that kind of small adjustment far more than on anything you can buy.
The best herbs to grow, and which culinary herb suits your light
Choose by two questions: how much sun you have, and what you cook every week. Many herbs sold together on one shelf want quite different growing conditions, so it helps to think in three groups.
- Mediterranean herbs, for a bright hot sill: rosemary, thyme, oregano, marjoram, sage, and tarragon. All prefer full sun and drier soil, since they evolved on thin stony hillsides. Rosemary (Salvia rosmarinus) and sage (Salvia officinalis) are woody and evergreen, so one good plant lasts years.
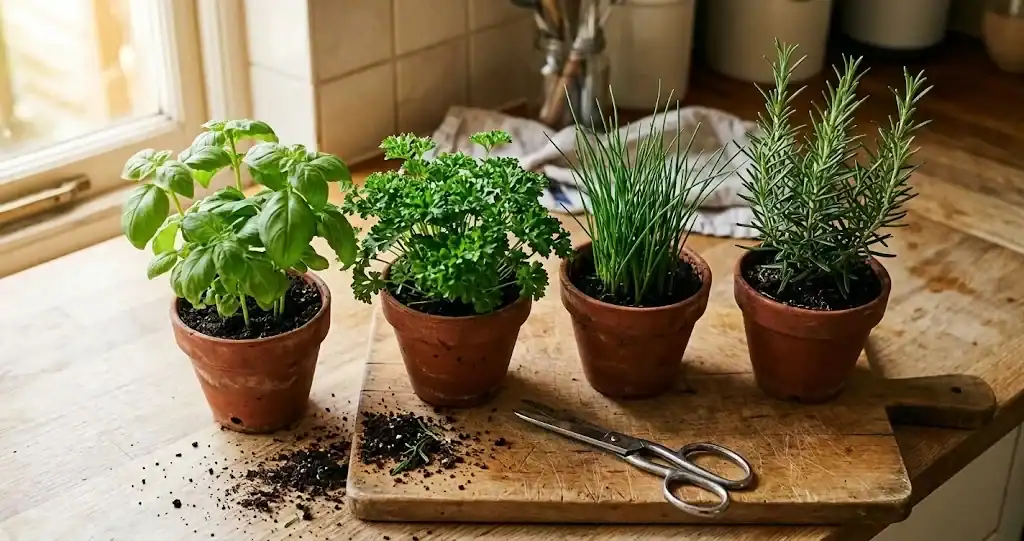
- The soft leafy group, for three to five hours of sunlight: basil, parsley, chives, and mint. Any of the Mentha family is the most forgiving thing here and the only one that tolerates a genuinely poor spot. These want steady moisture and wilt fast without it.
- The fast bolters, for repeat sowing: cilantro, sold as coriander across much of the world, plus dill and chervil. All three run to flower within weeks in a warm room, so sow a pinch of seed every three weeks rather than expecting one container to last the season.

Five plants you cook with beat twelve you admire. If you want the fuller case for keeping flavor within arm’s reach of the stove before you commit to a bigger setup, it is worth reading why a few pots by the cooker earn their space.
Seed, supermarket plant, or nursery pot
Basil, parsley, and the fast bolters are all easy to grow from seed, and germination takes one to three weeks on a warm sill. The woody group is slow and unreliable that way, so buy those as small plants from a plant nursery or garden centre and skip half a year of waiting.
A grocery store plant is a fine start as long as you treat it as raw material rather than a finished thing. It was forced under glass, packed with several seedlings in one small container, and shipped in peat that stays soggy. Split the clump into two or three pots the day you get it home, cut the whole plant back by a third, and it will settle into something far tougher than what you bought.

Pots, potting soil, and drainage
Every container needs a hole in its base. That one detail causes more failures than anything else, because water with nowhere to go rots the root system from the bottom while the leaves above still look healthy. Match size to plant: a 6 inch pot suits basil or a chive clump; mint and the woody shrubs want 8 to 10 inches; a window box holds three or four small growers if you keep the thirsty ones together. Indoor plants have far less space to grow roots than anything planted in the ground, so err toward the larger container.

Use a free-draining potting soil rather than garden dirt, which compacts into a brick indoors. For the Mediterranean group, blend in a third by volume of a gritty cactus and succulent mix to imitate their native ground. For the leafy group, ordinary multipurpose mix with a handful of compost is right. Skip gravel layers in the base, which only reduce the soil the roots can use.
Watering: one test that replaces a schedule
Push a finger an inch into the mix. If the soil feels dry at that depth, water until it runs from the base, then empty the saucer. If it feels damp, wait. That replaces every watering schedule, because the same plant drinks daily in an August heatwave and weekly in a cool November.
The two main groups differ between waterings. The woody shrubs sulk when they sit wet and would rather dry out slightly; the leafy growers want the mix consistently just moist. Herbs need less feeding than most houseplants: half-strength liquid feed once a month through spring and summer is plenty, and none at all in winter. Overfeeding produces big soft leaves with weak flavor, which defeats the point of growing them.
Pruning to keep your herbs productive
An untrimmed plant runs upward, flowers, and stops making leaves. Regular cutting is the whole trick, and it is the same job as harvesting.
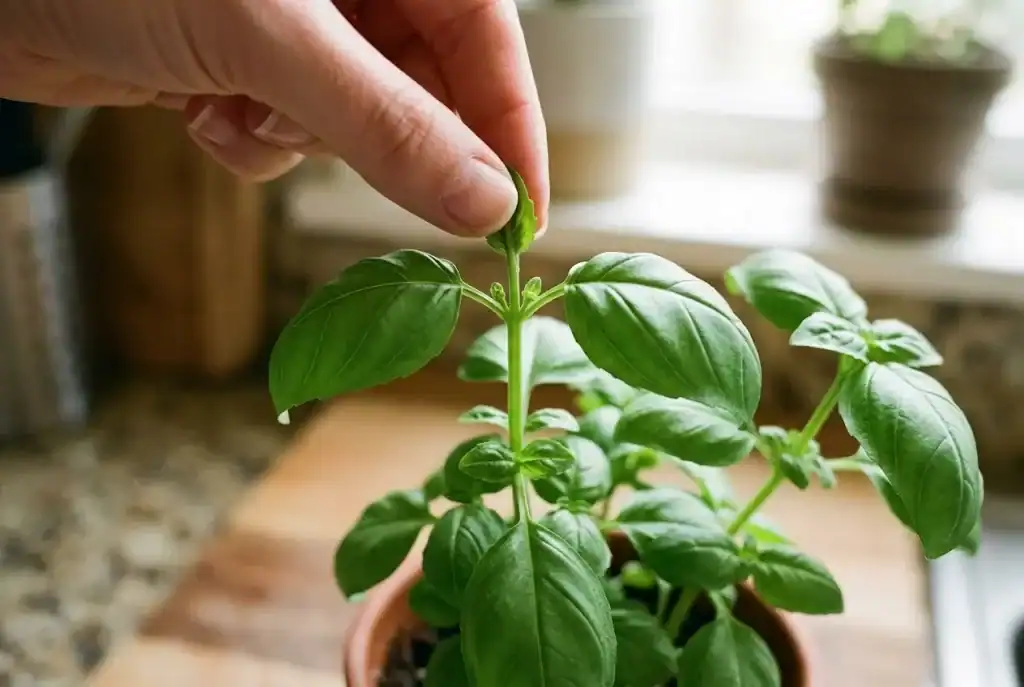
- Cut basil, mint, and the woody group’s soft tips just above a pair of leaves. Two shoots break from that point, which is how one stem becomes a bushy plant.
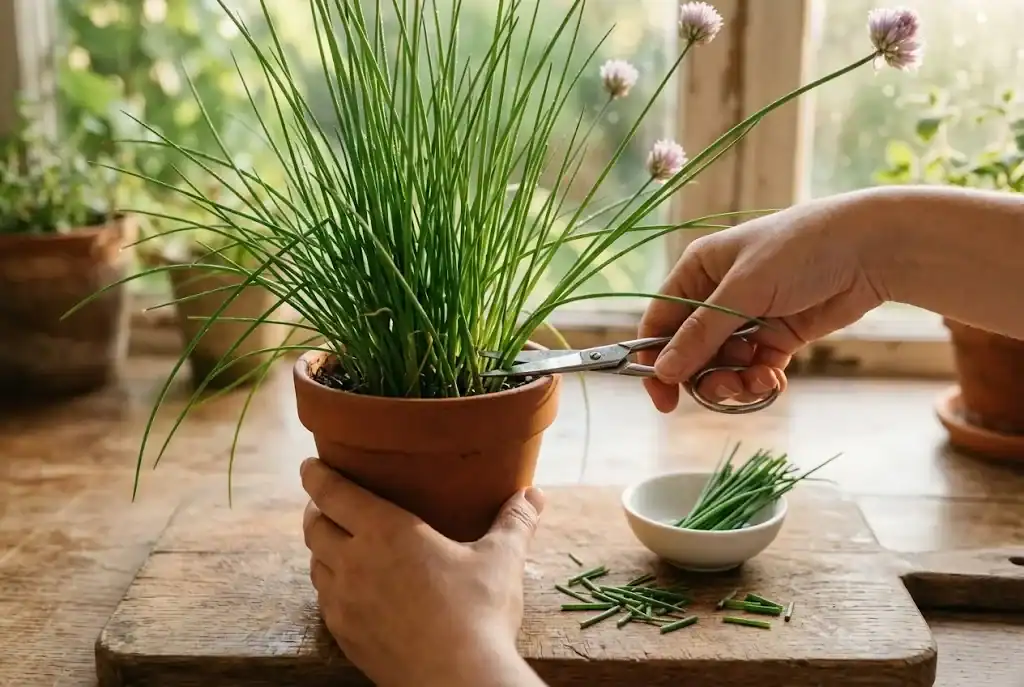
- Take chives and parsley from the outside of the clump at soil level, never as a haircut across the top.
- On mature rosemary and sage, prune green growth only and stay out of the bare brown wood, which rarely pushes new growth.
- Pinch flower buds out as they appear unless you want seed. Once a plant flowers, leaf production drops and the taste turns bitter.
- Never strip more than a third at once, and give it a fortnight before the next hard cut.
If your plants keep bolting or turning woody within weeks, the detail behind getting herbs established in a kitchen covers those early weeks more closely than there is room for here.
Harvesting, and using herbs fresh and dried
Snip in the morning, when leaves hold the most aromatic oil, and take what the meal needs rather than filling the fridge. A sprig cut at breakfast and used at dinner still carries fresh flavor that a packet cannot match, and having fresh herbs on hand is the whole advantage of the pots being there.
Timing in the pan matters as much as freshness. Use fresh basil, chives, and the fast bolters at the end of cooking or as a garnish, because heat drives their flavor straight off. The woody group goes in early instead, so its tougher oils have time to move into the dish, and a woody stem dropped into a stew at the start does more than a handful thrown in at the finish. A big August cut becomes pesto, and surplus oregano or thyme will dry well on a rack in a warm dark room, ready for a jar. Dried herbs are stronger by weight, so use roughly a third as much.
Fixing four common herb growing problems
- Yellow lower leaves in a soggy pot: too much water, or no hole in the base. Let it dry, then repot.
- Long bare stems and small pale leaves: too little light. Move it or add a lamp.
- Sudden flowering on coriander or dill: heat and age, not a mistake. Sow a fresh pinch and keep them cooler.
- Fine webbing or sticky leaves: spider mites or aphids, both common in dry indoor air. Rinse the foliage in the sink weekly and treat with insecticidal soap.
Everything you need to grow herbs well is usually already in the room. Herbs grow best when a gardener works with what is there rather than against it, which is why a sunny kitchen with four steady pots outperforms a dim one with a dozen, and why the aim is to grow fresh leaves you cut the same day rather than to grow something for show. Once yours are ticking over, the natural next step is more room, and if you want to grow an herb garden outdoors in a bed or a run of larger containers, start with the groundwork in planning the space properly from the start, then bring cuttings back indoors for winter.