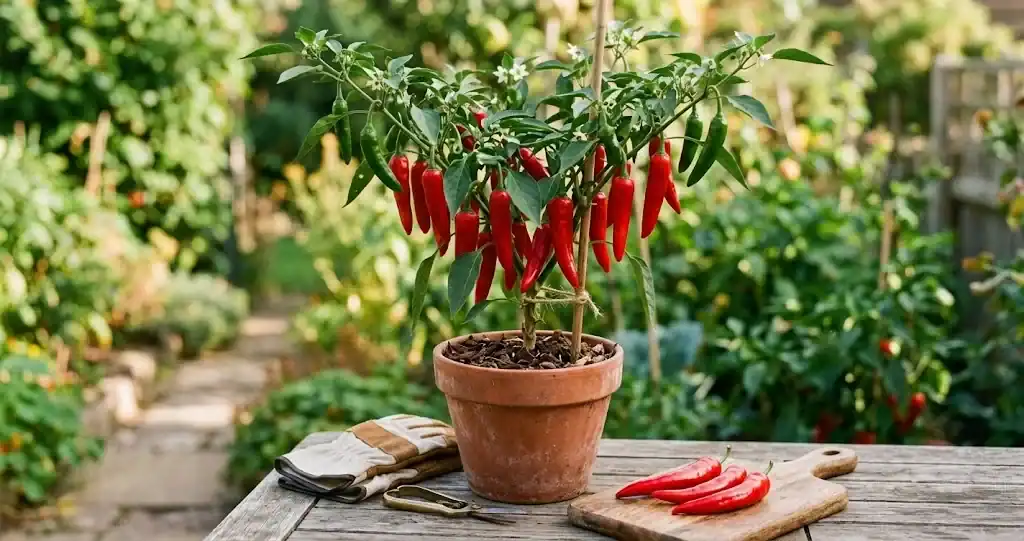
Red chili peppers earn a permanent place in the home garden because they give back far more than they take. A single healthy plant can produce dozens of ripe pods from late summer through the first frost, and the plants stay compact enough to fit on a sunny patio, a raised bed, or a windowsill. Growing your own means brighter flavor, better heat control, and a steady supply for drying, freezing, and fresh use throughout the year.
Growing chili peppers follows the same general calendar as growing tomatoes or eggplant: start seeds while the weather is still cool, transplant once the soil has warmed, and pick fruit from mid-summer onward. The details below assume about one plant per square foot of bed space, which gives roots room to expand and lets light reach the lower leaves.
If you have never grown pepper plants before, the good news is that they are forgiving once you understand their rhythm. They love heat, they want a long, frost-free growing season, and they respond to consistent watering and feeding more than to constant fussing. This guide walks through every stage of growing red chili at home, from choosing a variety to saving seeds for next year’s planting.
Growing a healthy crop at home is straightforward once you have the basics in place. The same calendar works whether you grow chilli peppers in a heated propagator, on a sunny windowsill, or in a heated greenhouse; only the dates shift with your climate.
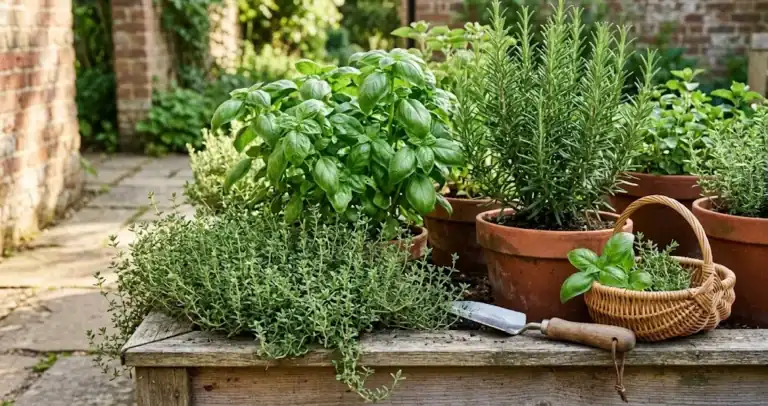
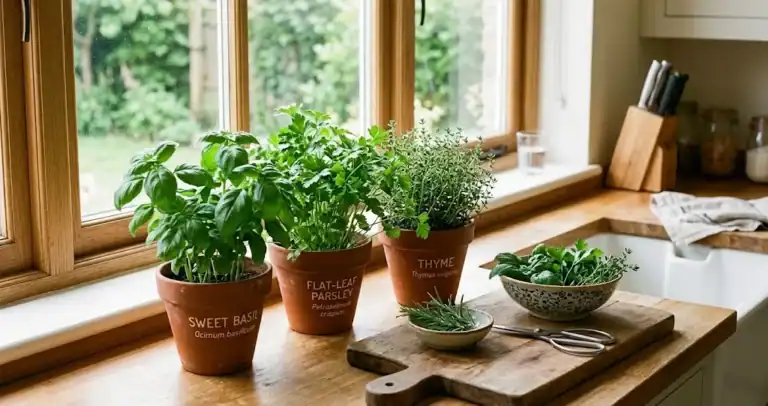
If you are planning a full herb garden rather than just one plant, our beginner’s guide to growing an herb garden walks through bed design, soil preparation, and how to mix peppers with herbs and other vegetables in a single planting plan.
Are red chili peppers easy to grow?
Yes, red chili peppers are easy to grow once you give them what they need: warmth, sunlight, and a long enough growing season. The two things that hold beginners back are cold soil and a late start. Seedlings sit and sulk when temperatures drop below 60 degrees Fahrenheit, and most varieties need between 75 and 120 days from transplant to produce fully ripe pods. Start seeds inside eight to ten weeks before your last expected spring frost, and you will have sturdy young plants ready to move outside as soon as the danger of frost has passed.
Peppers are not fussy about soil type, but they do insist on good drainage. Heavy clay that holds water around the roots is the most common reason seedlings fail to thrive. If your garden bed has dense clay, plant in raised beds or containers filled with a gritty, free-draining potting mix instead.
How long from seed to harvest?
From sowing the seed to picking ripe red pods, most varieties need roughly 150 to 215 days. The timeline breaks down into three stages: roughly 14 to 21 days for the seed to germinate, 60 to 75 days inside for the seedling to grow into a sturdy transplant, and 75 to 120 days from transplant to first ripe red fruit. Faster-maturing types like cayenne and serrano land toward the shorter end, finishing in around 150 to 180 days total, while thicker-walled bell pepper relatives and super-hot varieties often need the full 175 to 215 days.
Starting seeds inside gives plants a head start in any climate with a short growing season. Indoor sowing six to eight weeks before the last frost date is the standard recommendation, but if your season is genuinely short, push that to ten weeks and use a heat mat to keep the seed-starting mix at a steady 80 to 85 degrees. Faster germination means stronger seedlings when transplant time arrives.
How long does it take for chili to turn red?
Most pods start out green and ripen to red over four to six weeks after they reach full size. Once a fruit has reached its mature size, the plant shifts its energy from growing the fruit to coloring it, producing carotenoid pigments that turn the skin from green through brown or purple and finally to a deep, even red. Picking fruit while it is green gives you a milder, more vegetal flavor; leaving it on the plant until it is fully red delivers the sweet, smoky heat that home cooks and chili-heads look for.
Temperature plays a quiet role in ripening speed. Cool nights below 60 degrees slow the red color development, while steady warm days in the 75 to 85 degree range speed it up. A sudden change in conditions, especially a cold snap near the end of the season, can stall ripening or cause pods to drop before they color up. If a frost threatens at the end of the season, pull up the whole plant and hang it upside down in a warm garage or shed; remaining green fruit will continue to ripen on the plant.
Do these plants grow back every year?
Pepper plants are tender perennials in their native range, meaning the plant itself can live for several years in frost-free conditions, but in most home gardens they are grown as annuals because cold winters kill the roots. Gardeners in zones 9 to 11 can leave pepper plants in the ground year-round and expect them to come back the following spring, often producing an even heavier crop in their second year.
If you live somewhere colder, you can overwinter a favorite plant inside. Before your first frost, prune the plant back by one-third, dig it up with as much of the root ball as possible, and pot it into fresh container mix. Place it near a sunny south-facing window, water sparingly through the winter, and move it back outside once spring temperatures stay above 55 degrees at night. This works especially well for open-pollinated varieties whose traits you want to preserve from year to year.
What conditions do red peppers need to grow?
Red chili needs three things in generous supply: direct sunlight, warm soil, and steady moisture. Six to eight hours of direct sun each day is the minimum; in cool climates, full all-day sun is better. Soil temperature matters more than air temperature in the early season. Pepper roots refuse to grow in soil below 60 degrees, so wait until soil temperatures consistently reach 65 degrees before transplanting seedlings outside. Raised beds warm up earlier in spring than in-ground plots, which is one reason containers and raised beds tend to produce better crops in short-season climates.
Soil quality should be loose, fertile, and well-drained. Work two to three inches of mature compost into the top six inches of bed before planting. Compost feeds the soil, improves draining in clay, and helps sandy soil hold moisture. Aim for a slightly acidic to neutral pH between 6.2 and 7.0. A soil test every two to three years tells you whether your plot needs lime to raise the pH or sulfur to lower it.
Choosing the best red varieties for your garden
Picking the right variety makes the difference between a triumphant harvest and a frustrating one. Choose based on your climate, your taste for heat, and what you want to do with the pods. Hot peppers belong to the capsicum genus and vary wildly in pungency, days to maturity, and how they perform in cool versus hot summers.
- Cayenne is the dependable workhorse. Long, thin red pods, medium-hot heat, and one of the shortest growing seasons of any hot pepper, usually ripening in 75 to 85 days from transplant.
- Jalapeños are the everyday favorite. Thick walls, mild to medium heat, and reliable yields. They ripen green or red depending on how long you leave them on the plant.
- Serranos run hotter than jalapeños with thinner walls and a brighter, sharper flavor. A good choice for fresh salsas.
- Habanero rewards patient gardeners in long, hot seasons. It needs 100 to 120 days from transplant and refuses to ripen in cool summers.
- Shishito and other thin-walled frying types are technically sweet peppers but worth growing for their fast maturity and heavy yields.
- Open-pollinated heirloom varieties like Fish, Aji, and Aleppo let you save seeds year to year and develop strains adapted to your own microclimate.
Growers in the UK often spell the crop as “chilli”, and many seed catalogs use that spelling interchangeably with “chili”. Whichever spelling you prefer, the growing calendar for a single chili pepper plant is the same: start seeds indoors eight to ten weeks before the last frost, transplant out after warm weather settles in, and pick ripe pods from mid-summer onward.
Look at the seed packet for the days-to-maturity figure and pick a variety that has time to finish in your growing season. When in doubt, plant at least two varieties with different maturity dates so a poor year for one does not wipe out your entire harvest.
Starting chili seeds inside for a head start
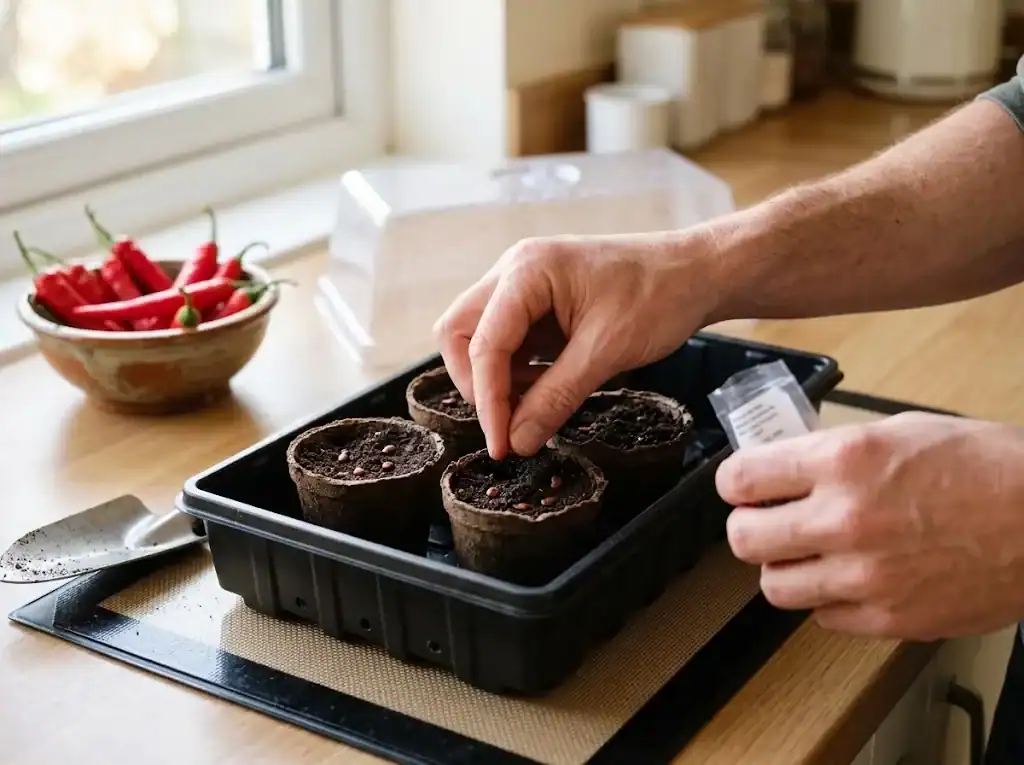
Starting seeds inside is the single biggest contributor to a strong harvest in any climate where summers are short or cool. Sow in a sterile seed-starting mix about eight weeks before your last expected frost. Press each seed about a quarter inch deep into moistened mix, cover the tray with a humidity dome, and keep it at a steady 80 to 85 degrees. Bottom heat from a propagation mat is the most reliable way to maintain that warmth.
Seedlings emerge in 14 to 21 days. Once they sprout, move the tray off the heat mat and place it under a strong grow light or in the sunniest south-facing window you have. Young plants need 14 to 16 hours of bright light each day to stay compact and stocky. Water from the bottom by setting the tray in a shallow pan of water and letting the mix soak upward; this keeps the soil surface dry and discourages fungal disease. When the seedlings have two sets of true leaves, transplant each one into its own three-inch pot.
Pinch the growing tip when plants are about six inches tall to encourage branching. A stocky, well-branched transplant with a stem the thickness of a pencil handles outdoor conditions far better than a tall, leggy one.
Transplanting seedlings outside after the last frost
Harden off seedlings before planting them outside. Over seven to ten days, gradually expose them to outdoor conditions: an hour in a protected spot on day one, longer stretches in sun and wind each day after, until they are spending full days outdoors. Bring them inside if a cold night threatens. Hardening off reduces transplant shock and prevents sunscald on leaves that have never seen direct sun.
Choose your planting site with care. Pepper plants need full sun and well-drained soil, and they grow best where tomatoes, eggplants, or other solanaceous crops have not grown in the past two years. This rotation prevents soil-borne diseases from building up. Space plants 18 to 24 inches apart in rows 24 to 36 inches apart. If you are planting in containers, choose pots at least 12 inches in diameter and 10 inches deep so the root system has room to expand.
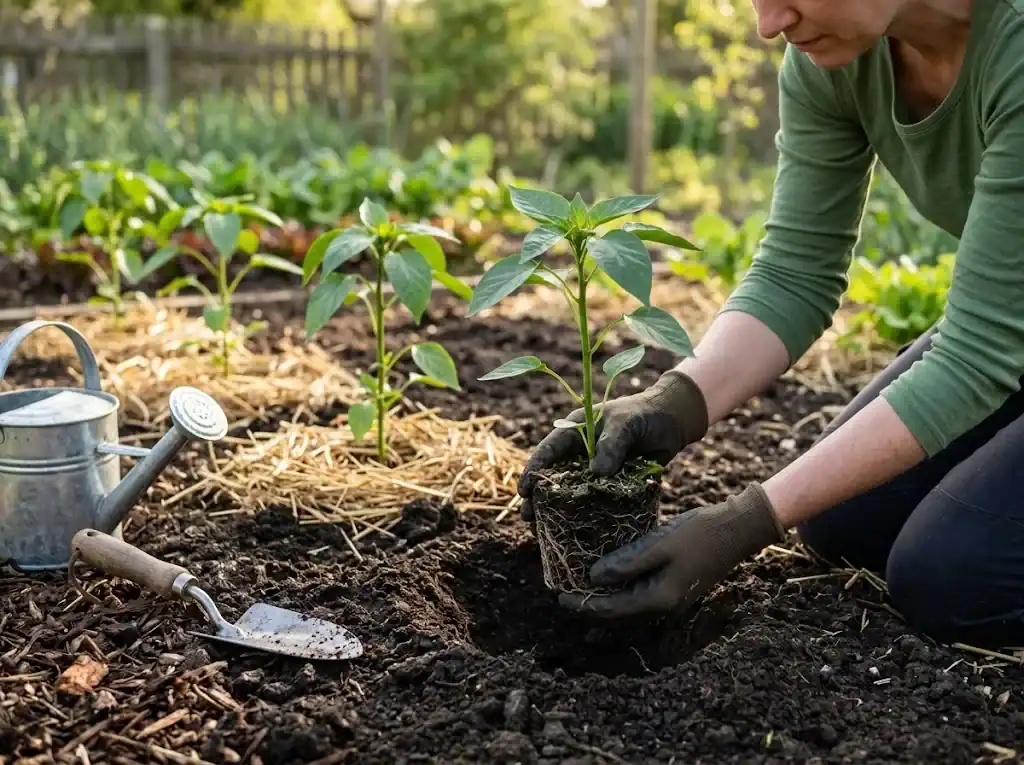
Dig a planting hole slightly larger than the root ball, set the seedling so the soil line matches its original pot depth, backfill, and water thoroughly to settle the soil. Add a two-inch layer of organic mulch, such as straw or chopped leaves, around each plant to keep the root zone cool, conserve moisture, and suppress weeds. Leave an inch of bare soil around the stem so the mulch does not press against it.
Watering, feeding, and mulching red pepper plants
Red pepper plants need consistent watering to produce a heavy crop. Irregular moisture causes blossom drop, sunscald on ripening pods, and bitter flavor. Aim for one to two inches of water per week from rainfall or irrigation, applied in one or two deep soakings rather than daily shallow sprinkles. Water at the base of the plant in the morning so leaves dry quickly and roots get a long drink before the heat of the day.
Use a soil moisture probe or push your finger into the soil near the root zone. If the top two inches feel dry, water. If the soil still feels cool and moist at knuckle depth, wait another day. Overwatering is just as harmful as underwatering; constantly saturated soil suffocates roots and invites rot. Allow the soil to dry slightly between waterings rather than keeping it wet all the time.
Feed pepper plants with a balanced organic fertilizer at transplant time and again when the first flowers appear. A 5-10-10 formula emphasizes fruit production over leafy growth. Container-grown peppers benefit from a dilute liquid feed of kelp or fish emulsion every two to three weeks during the active growing season. Stop feeding about a month before your expected first frost so plants shift energy from new growth to ripening existing pods.
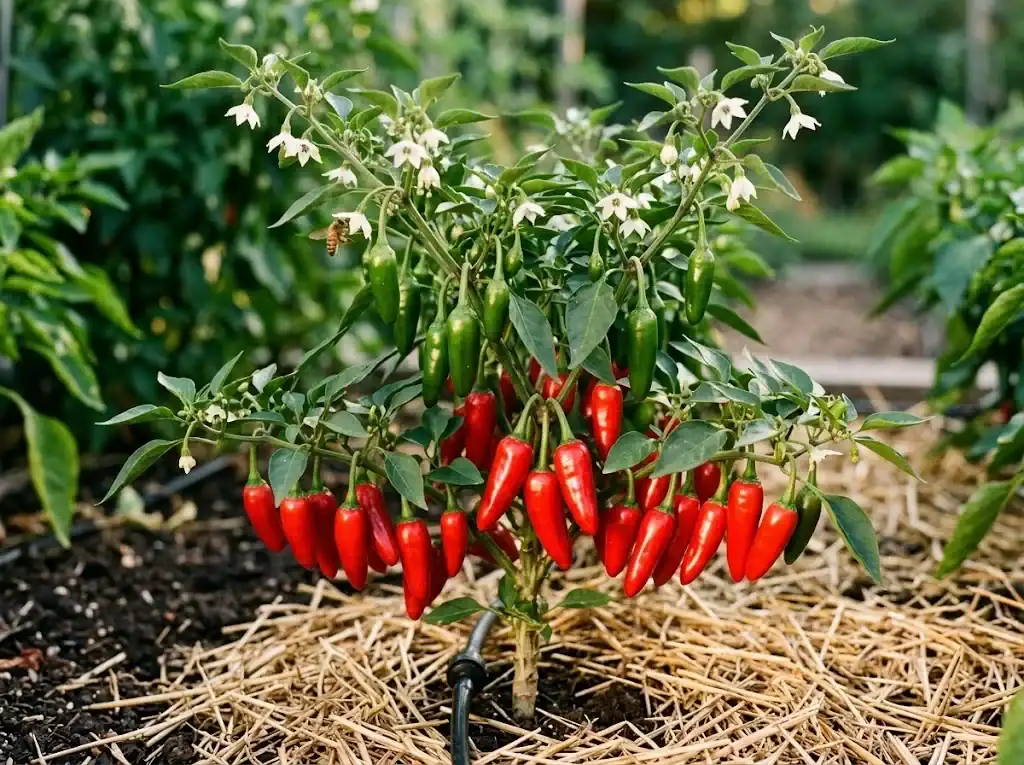
Mulch is the plant’s quiet ally. A two-inch layer of straw, chopped leaves, or grass clippings keeps soil temperature steady, holds moisture in the root zone, and prevents soil splash onto lower leaves during rain. Mulch also feeds the soil as it breaks down, improving structure and draining over the season.
Common pests and problems
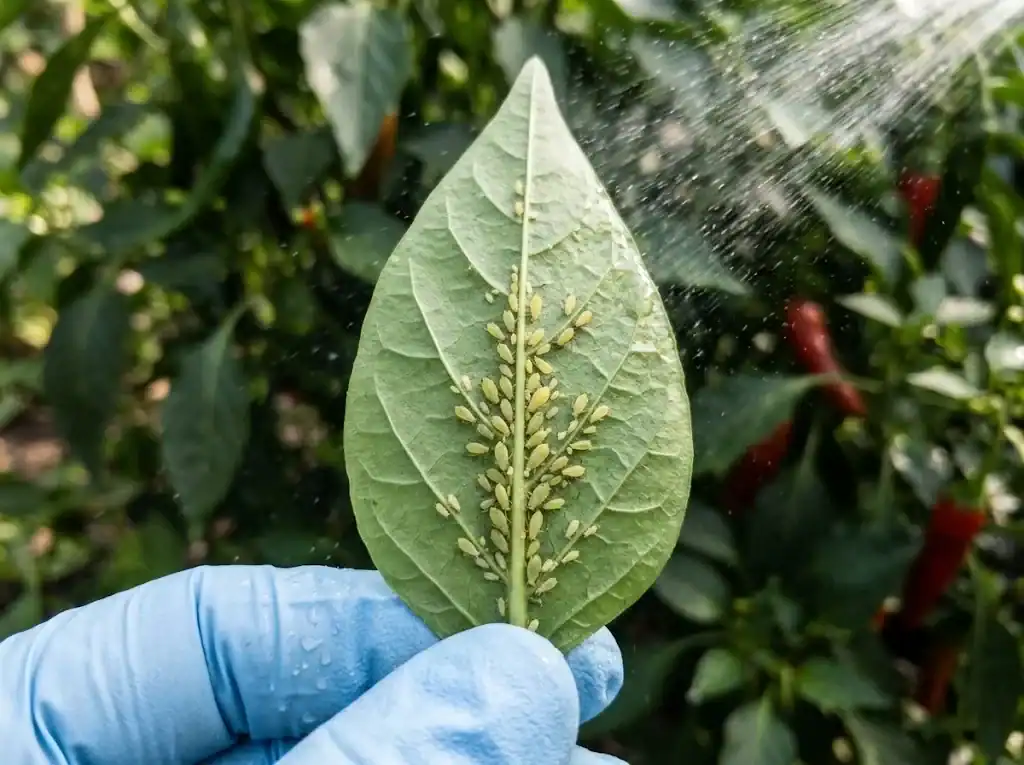
Pepper plants face the usual lineup of garden pests, but their capsaicin content deters most large herbivores. Aphids, spider mites, and whiteflies are the three insect pests most likely to show up. Inspect the undersides of leaves regularly and act at the first sign of damage.
Aphids cluster along stems and the undersides of leaves, sucking sap and leaving sticky honeydew behind. A strong jet of water from a hose knocks them off and usually solves the problem. Repeat every few days until they are gone. Spider mites thrive in hot, dry conditions and cause fine stippling on leaves. Increase humidity around the plant with regular misting and apply insecticidal soap for heavy aphid infestations. Cutworms attack young seedlings at the soil line; a cardboard collar around the stem at planting time stops them.
Diseases are less common in home gardens but worth knowing. Bacterial leaf spot shows up as small, water-soaked spots that turn brown; remove and destroy affected leaves and avoid overhead watering. Powdery mildew creates a white dusty coating on leaves in humid weather; improve air circulation by pruning and spacing plants properly. If a plant suddenly wilts despite adequate moisture, root rot from waterlogged soil is the likely cause.
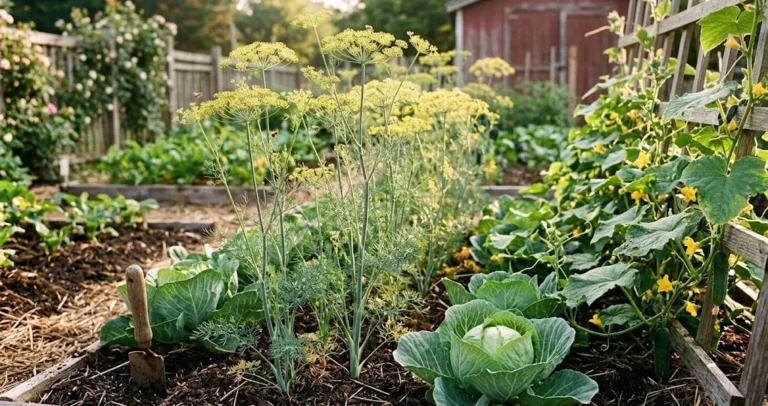
Companion planting helps. Basil, dill, and cilantro attract beneficial insects that prey on aphids. Marigolds planted nearby deter nematodes from the soil. Avoid planting peppers next to beans or brassicas, which compete for nutrients.
How to make your peppers hotter
Three factors influence how hot a pod becomes: variety, stress, and ripeness. Variety sets the ceiling. A jalapeño will never match the heat of the hottest peppers no matter what you do. Within a variety, mild stress during fruit development nudges the plant to produce more capsaicin, the compound that creates the sensation of heat. Slightly reducing water once pods have set, holding back on nitrogen fertilizer, and exposing roots to bright sun all push the plant toward more pungent fruit.
Leaving pods on the plant until they are fully red also increases perceived heat, because capsaicin concentrates as the fruit ripens. A green jalapeño is noticeably milder than the same pod left to ripen to red. For maximum heat, pick ripe red pods late in the season after a stretch of warm days and cool nights; the temperature swing triggers the plant to produce more capsaicin as a defense mechanism.
When and how to pick red peppers
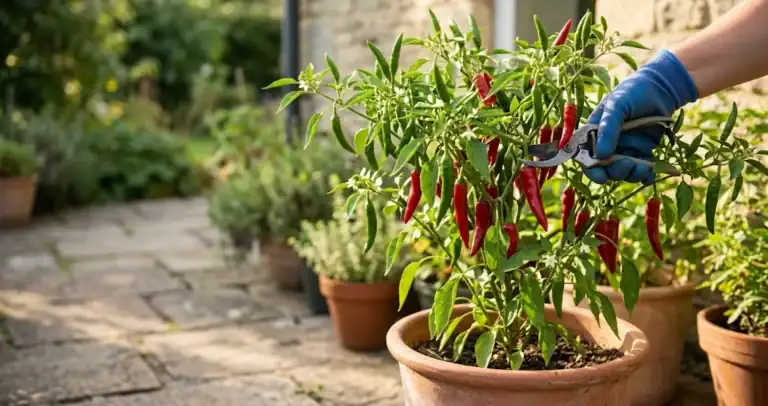
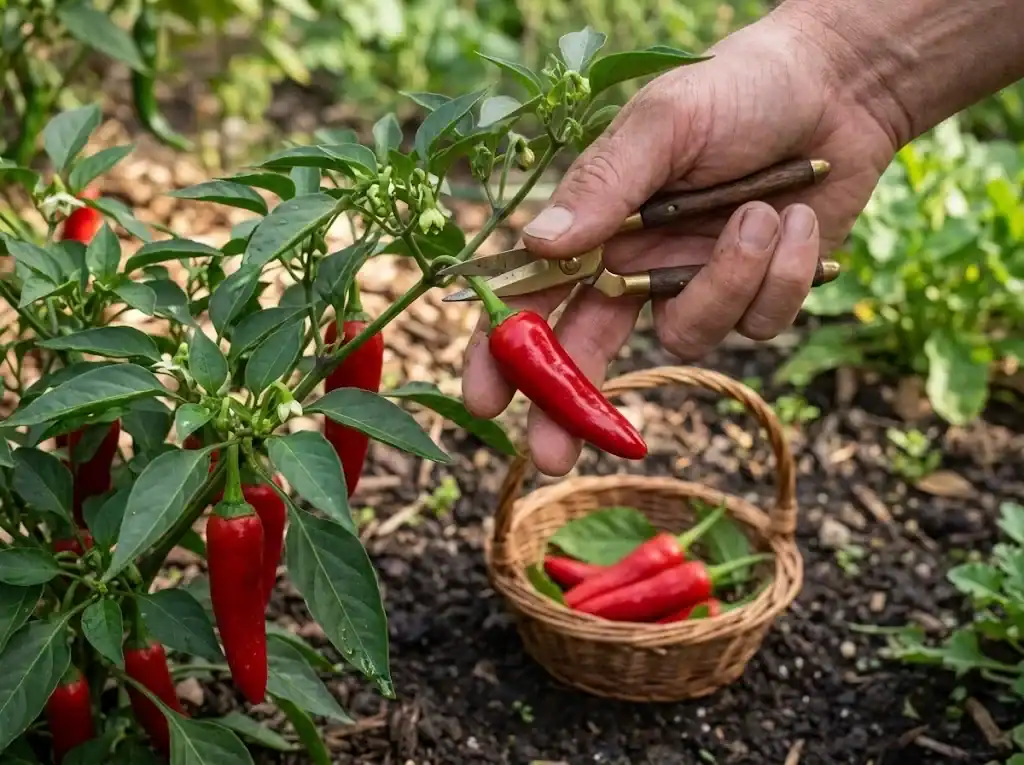
Pick peppers when they reach full size and the wanted color. Most varieties turn from green to red over a four to six week window once the fruit has sized up, with some pods still green on the plant even after their neighbors have ripened fully. Picking pods at peak color gives you the best flavor, the highest capsaicin content, and the longest storage life. Use clean, sharp snips to cut the stem about a half inch above the pod rather than pulling pods off by hand, which can break branches.
Regular picking encourages the plant to keep producing. Once you start picking ripe red pods, the plant shifts its energy from seed development to setting new flowers and fruit. Plan to pick every five to seven days during peak production. If a frost threatens and many pods remain unripe, pull the entire plant and hang it upside down in a warm, dry, well-ventilated space. Green pods will continue to ripen on the vine over the next two to three weeks.
For the best flavor and aroma, pick in the morning after the dew has dried but before midday heat sets in. Pods picked at this time have the highest concentration of essential oils and the firmest texture.
Once you have ripe red pods in hand, knowing the right moment to pick is half the work. For a deeper look at picking technique, pod-by-pod readiness signs, and how to avoid damaging the plant during heavy picking sessions, see our guide to harvesting red chili peppers at peak ripeness.
Saving seeds from open-pollinated varieties
Saving seeds from open-pollinated varieties lets you grow the same plant next year without buying new seed and gradually develops a strain adapted to your own soil and climate. Hybrid varieties do not breed true, so save seeds only from open-pollinated types.
Pick a fully ripe red pod from your strongest, most productive plant. Cut it open and scrape the seeds onto a paper towel. Spread the seeds in a single layer on the towel and let them dry in a warm, well-ventilated spot out of direct sun for one to two weeks. Properly dried seeds snap rather than bend when folded. Keep the dried seeds in a labeled paper envelope in a cool, dark, dry place. Properly kept seeds remain viable for three to five years.
Can I grow red chili in pots?
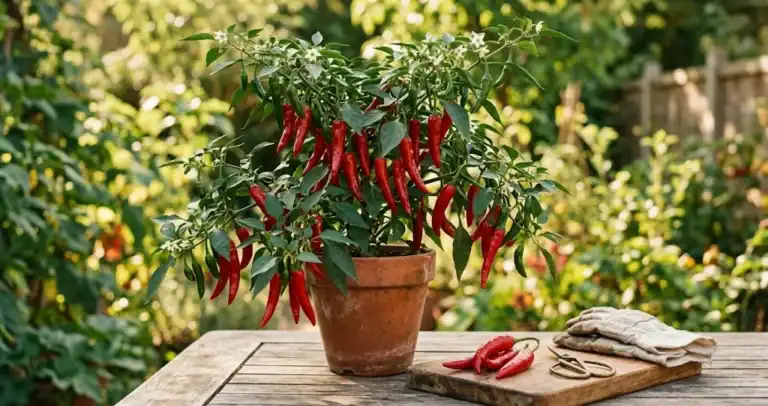
Yes, red chili peppers grow very well in pots. Container growing gives you more control over soil texture and sun exposure, which is especially valuable in cool climates or on small patios. Choose a pot at least 12 inches in diameter and 10 inches deep for a single plant. Larger pots hold moisture more steadily and give roots more room to expand, which means a healthier specimen and a heavier crop.
Use a quality potting mix that drains well. Garden soil is too dense for containers and compacts over time, suffocating roots. A mix designed for vegetables, amended with perlite for extra porosity, works well. Unglazed terracotta pots breathe better than plastic but dry out faster; check moisture daily during hot weather. Place pots in the sunniest spot you have, ideally against a south-facing wall that reflects heat back onto the plants at night.
Container-grown peppers need more frequent watering than plants in the ground because pots dry out faster. In midsummer you may need to water daily. Feed every two weeks with a dilute liquid fertilizer since nutrients leach out of pots with each watering.
Putting your harvest to work
A healthy red chili plant rewards you with far more pods than one kitchen can use at once. Preserve the surplus so you can cook with home-grown heat all winter. The simplest method is to string pods on a length of cotton twine and hang the ristra in a dry, airy room; the pods air-dry over four to six weeks and keep for a full year. For longer storage, freeze whole pods in freezer bags; they crumble straight from frozen into cooked dishes. Pickling sliced pods in vinegar with a little salt and sugar makes a condiment that lasts months in the refrigerator.
Once you have grown a successful crop, the cycle is easy to repeat. Save seeds from your best plants, start them inside next spring, and you have a self-sustaining supply of a variety that is already adapted to your soil and climate. A small investment in a few seed packets and a heat mat in late winter pays off in a pantry full of home-grown red chili from late summer through the following spring.
After the picking is in, the next decision is how to keep it. Drying, freezing, pickling, and storing fresh in the refrigerator each suit different uses and timeframes, and our guide to keeping fresh pods after harvesting walks through each method so your red pods keep their flavor and heat all winter.