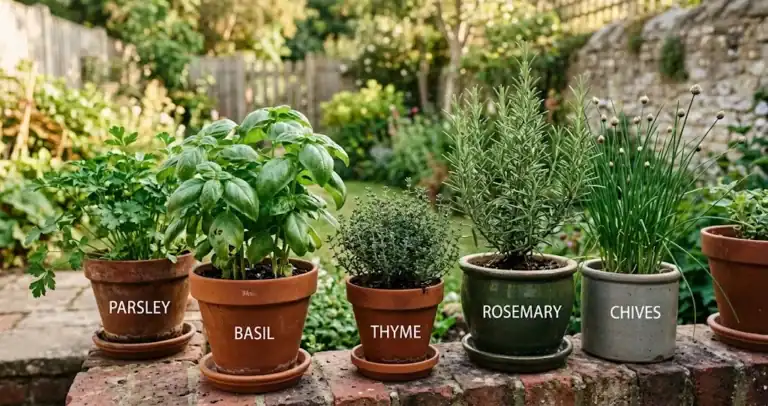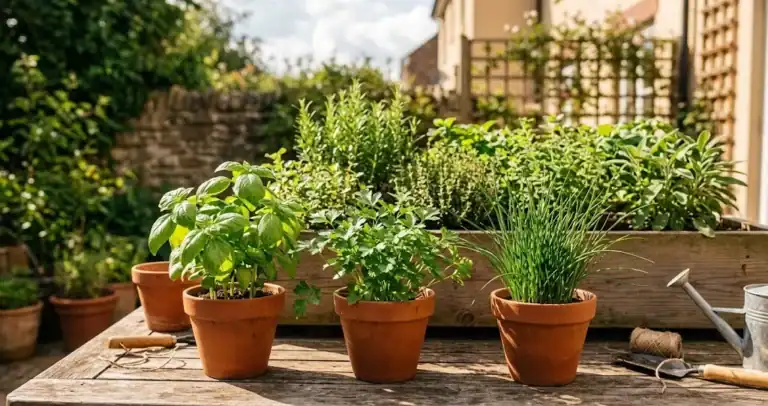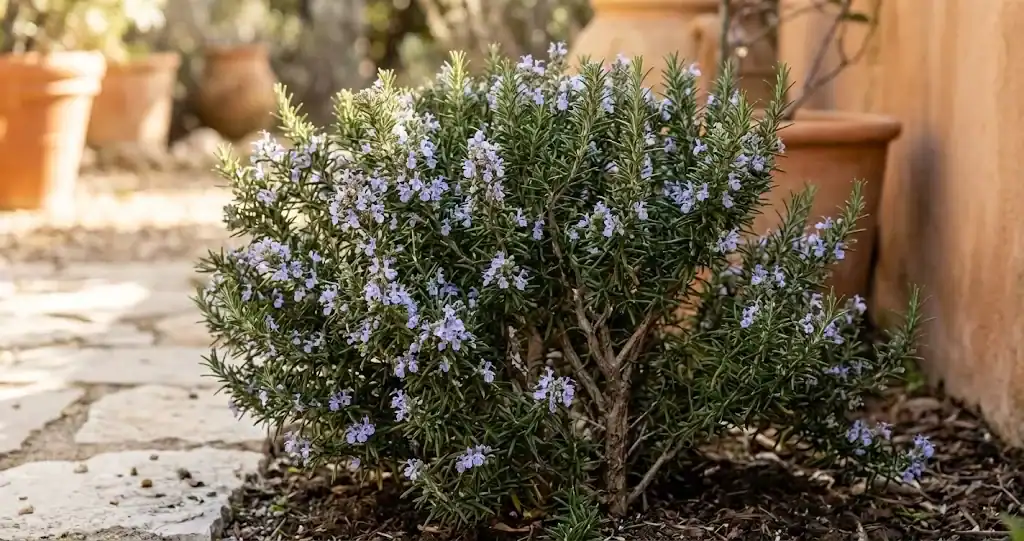
Rosemary asks for almost nothing once it is settled in, and gives back more than most herbs in the garden. This aromatic herb, a perennial evergreen shrub with needle-like leaves, perfumes a patio when the sun is on it, lifts roasted potatoes and bread, and keeps its foliage through mild winters. It is easy to grow, drought tolerant, and forgiving for new gardeners because most problems have one of three causes: too much water, not enough sun, or a container that stays wet.
This guide walks through the steps, from choosing a plant through harvest, so you can keep one going for years instead of months. For a wider view of fitting this shrub into a full herb bed, the beginner’s guide to growing an herb garden covers the layout and starting-from-scratch planning that go alongside what is below.
Pick the right plant for your climate
The culinary herb (Salvia rosmarinus) is a woody shrub native to dry Mediterranean hillsides. Two habits matter when you choose:
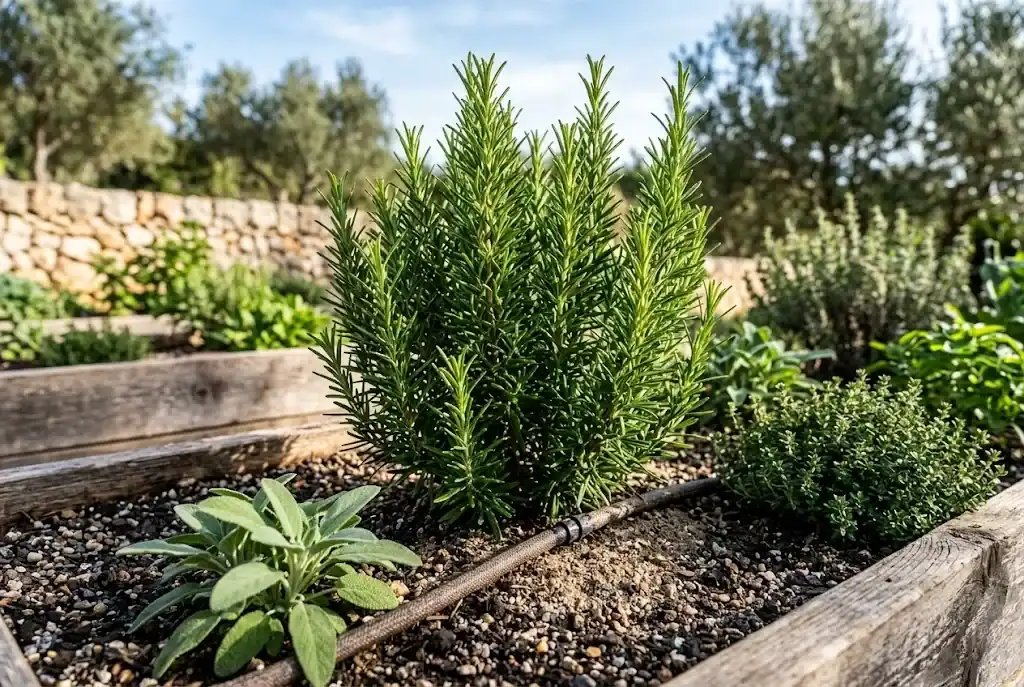
- Upright forms grow into a 2 to 4 foot shrub with straight stems. Tuscan Blue and Arp are popular upright cultivars.
- Trailing forms stay low and spill over a wall or container. Prostratus is a common one.
Where winters drop below about 20 degrees F (USDA zone 7 and colder), look for a cold-hardy cultivar like Arp or Madeline Hill. Standard plants will not survive a hard freeze in zone 6 or below, with temperatures as low as minus 10 degrees F, so plan to use a container that comes inside or treat the plant as an annual. If you live in zone 7 or warmer, established plants in the ground are reliably hardy and can stay outside year-round.
Plant in sun and fast-draining soil
Sun is the biggest ingredient. Rosemary needs full sun to thrive, with full sun to partial shade as the practical floor. Aim for at least six hours of direct light, and eight is better. A south- or west-facing spot in well-drained ground is the classic setup. In deeper shade, the plant survives but grows leggy with softer stems and less flavor. When you plant in full sun and well-drained soil, rosemary grows into a rounded shrub that takes very little from you after the first year, and rosemary can grow into a substantial bush given a few seasons to settle in.
Rosemary wants gritty, well-drained soil and good drainage around its roots, and it sulks in clay that holds water. If your garden soil is heavy, work several inches of compost into the planting area and plant on a raised mound, in a raised bed, or in a container so the roots stay above the wet clay. The shrub grows equally well in containers and in the ground, so a small-space gardener can keep one on a sunny patio without compromise.
Aim for a soil pH near neutral to slightly alkaline, around 6.0 to 7.5. The plant tolerates a wide range but does not love acid soil.
Space upright plants about 2 to 3 feet apart and trailing forms about 1 to 2 feet apart. Good airflow around the stems is one of the cheapest disease preventions there is.
Start from a cutting, a nursery plant, or seed
Three ways to begin, in roughly increasing order of speed.
From a nursery plant
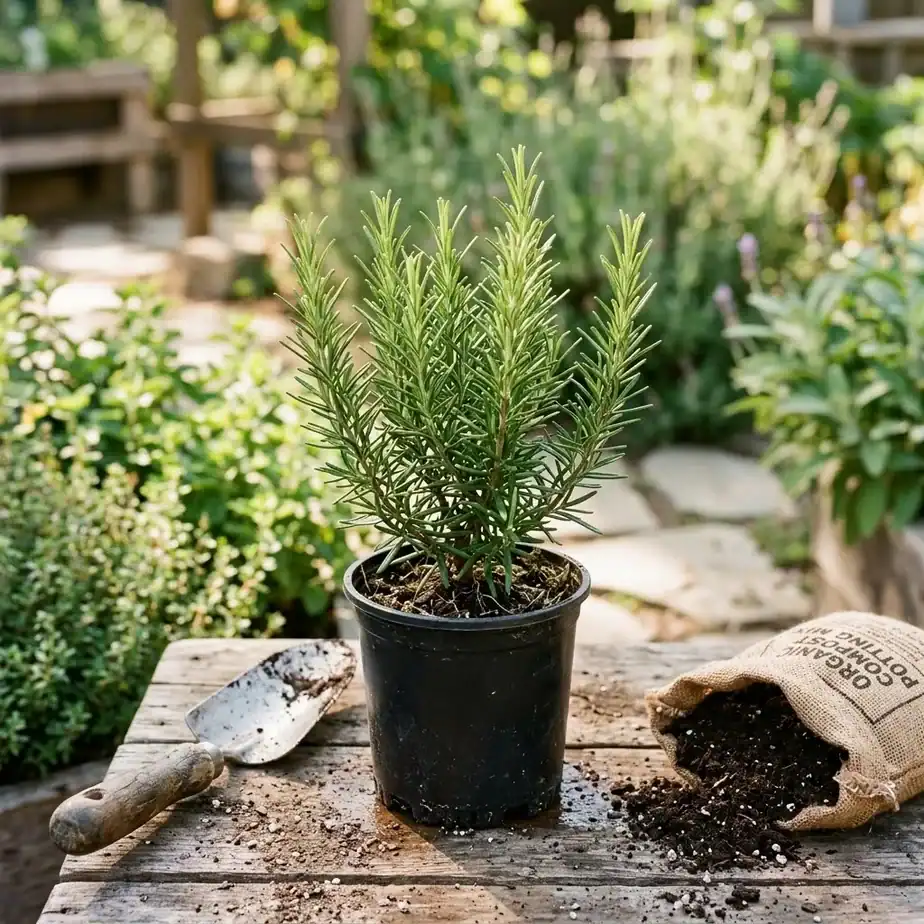
The fastest way to grow rosemary is to buy a healthy plant from a garden center in spring. Young plants at the garden center in 4 inch pots are usually the best value, since they establish quickly in the garden. Look for a compact, bushy shape with soft stems at the tips, and avoid plants whose roots are circling the pot. Set the rosemary plant out on a mild day, disturb the root ball as little as possible, and water it in well.
From a cutting
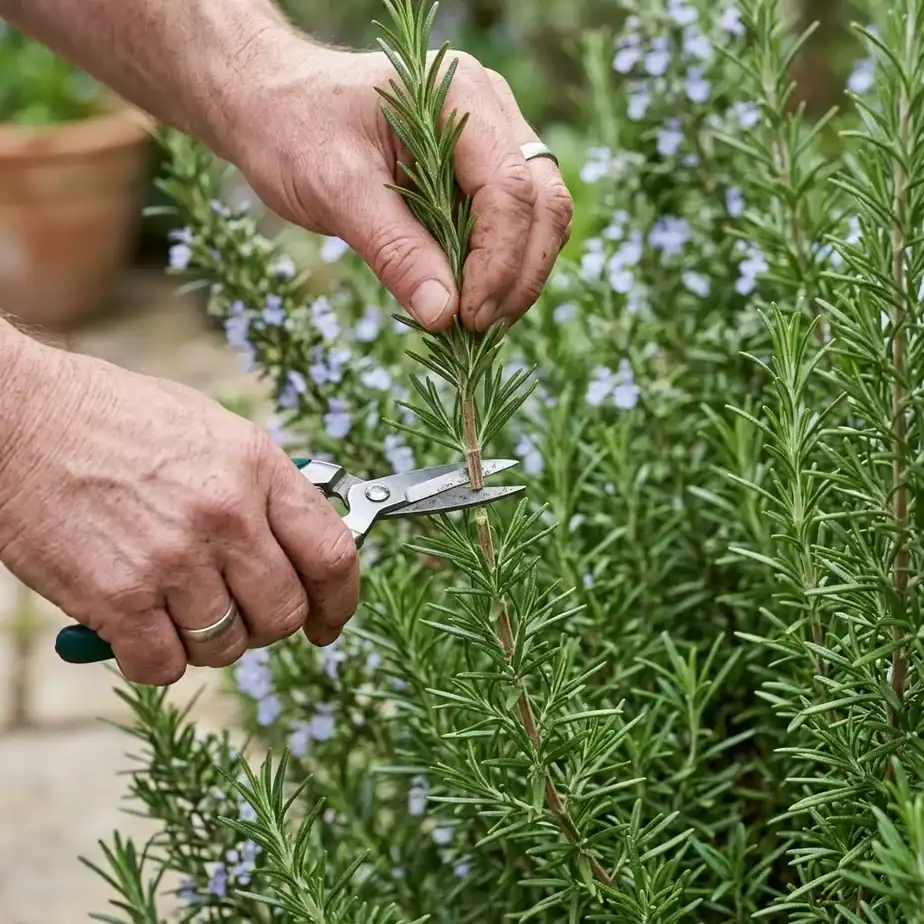
The plant roots readily from cuttings, and this is how most home gardeners multiply one they already like. Rosemary grown from cuttings keeps the parent’s flavor exactly, which matters more for rosemary than for most herbs, since named cultivars do not come true from seed. In late spring or early summer, take cuttings from a healthy plant as follows:
- Cut a 4 to 6 inch softwood piece from a healthy stem, just below a leaf node.
- Strip the leaves from the bottom half.
- Dip the cut end in rooting hormone if you have it (optional but helpful).
- Stick the cutting into a small pot of damp seed-starting mix or a 50/50 blend of perlite and peat.
- Keep the medium lightly moist and the pot in bright, indirect light.
- Roots usually form in 3 to 4 weeks. Tug gently; if the cutting resists, it has rooted.
Once the roots are an inch or two long, pot the cutting into a 4 to 6 inch container of regular mix and grow it on until it is large enough to set out.
From seed
Rosemary grown from seed is slow and a little unpredictable. Germination takes 2 to 4 weeks, and rates are often below 50 percent. To start from seed, sow seeds indoors 10 to 12 weeks before the last frost. If you are planting rosemary in spring, a cutting started indoors in late winter will be ready to set out at the same time as a nursery plant:
- Surface-sow the seeds on moist seed-starting mix as a growing medium; the seeds need light to germinate.
- Cover the tray with a clear dome to hold humidity.
- Keep the soil moist and the temperature around 70 degrees F.
- Once seedlings have a few true leaves, move them to small pots and grow on in bright light until they are sturdy enough to harden off and set outside.
For most home gardeners, starting from a cutting or a nursery plant is much easier and gives a usable plant in a single season. If you wish to start from seed and only have a small packet, sow a few extras to make up for the uneven germination. If you are moving a young nursery plant into the garden, transplant on a cool morning and water it in well, since the root ball is still small.
Water, feed, and prune
Rosemary is drought tolerant once established, and overwatering is the most common way to kill it. Let the top inch or two of soil dry out between waterings, then water deeply. In a container, water until it runs out the drainage holes, then let the container dry. A soggy container develops root rot fast. The same advice applies when growing in the ground, since a heavy soil that stays wet can rot the roots just as quickly.
New plants need regular water for the first month or two while their roots spread. After that, cut back. Established plants in the ground often get enough from rain, with a soak during long dry spells.
The plant does not need much fertilizer in average garden soil. A light top-dressing of compost once a year in early spring is plenty. In containers, where nutrients leach out, feed every 4 to 6 weeks during the growing season with a diluted balanced fertilizer, or work a slow-release granular into the mix at the start of the season.
Prune regularly to keep the plant from becoming woody and bare at the base. As you pick, you are already pruning. Pinch and clip the soft stems throughout the growing season. Once a year, after the main flush of spring growth, cut it back by about a third to keep an attractive shape, never into bare wood with no green growth, because old wood often does not resprout.
Grow in containers and on a sunny windowsill
A container is the right answer for many gardeners, especially in cold climates or on a sunny patio.
- Choose one at least 10 to 12 inches across with several drainage holes. Terracotta breathes and helps the soil dry out between waterings.
- Use a coarse potting mix. Cactus or Mediterranean blends work well; regular potting soil on its own can stay too wet.
- Place the container where it gets full sun, ideally 6 or more hours a day.
- Water when the top inch of mix is dry. In the heat of summer, that may mean watering every 2 to 3 days.
- Rotate the container every week or two so the plant grows evenly rather than leaning toward the sun.
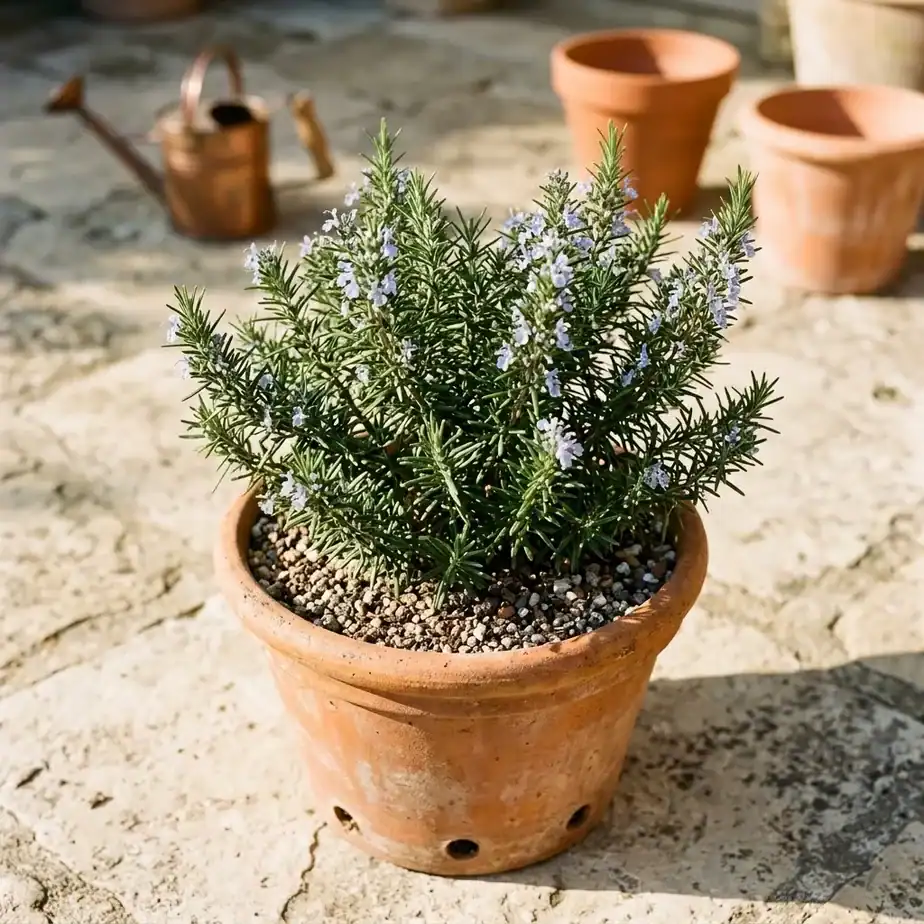
The plant can grow inside on a south-facing window, but it struggles in low light and dry indoor air. A bright window, occasional misting, and moving the container outside for the summer all help. If your plant looks thin and leggy on a windowsill, it is almost always asking for more sun, not more water.
Overwinter in cold climates
In USDA zones 7 and warmer, established plants in the ground usually overwinter without trouble. In zone 6 and colder, you have two choices.
- Bring the plant in. Before the first hard freeze, move potted plants into a cool, bright spot such as an unheated sunroom or a garage with a window. Water sparingly through winter, just enough to keep the soil from going bone dry. Do not be alarmed when the plant drops some needles; that is normal as it adjusts to lower light.
- Mulch and protect in-ground plants. In borderline zones, a deep layer of straw or shredded leaves around the base, plus a cover during hard freezes, can keep a hardy cultivar alive through a mild zone 6 winter. For best results, keep mulch away from the crown of the plant, since a wet crown under mulch is the fastest way to lose a rosemary to rot. A cold frame gives even more reliable winter protection, especially in zones where the plant is borderline hardy.
Do not fertilize over winter. Soft stems are tender and easily damaged by cold snaps.
Common pests and problems
The plant has few pest issues, but the problems that do show up usually have the same causes.
- Yellowing needles and soft stems. Usually overwatering or poor drainage. Let the soil dry, check that the container drains, and move the plant to a sunnier spot if you can.
- Powdery white film on the leaves. Powdery mildew, almost always a sign of crowded plants and stagnant air. Space plants farther apart, water at the base rather than over the foliage, and prune to open up the center.
- Spider mites on a windowsill. A dry indoor plant is a target. Rinse the foliage in the shower and raise humidity around the plant. A little neem oil works for heavier infestations.
- Few or no fresh stems. Either the plant needs more sun, the container is too small, or the soil is exhausted. Move it, repot, or top-dress with compost.
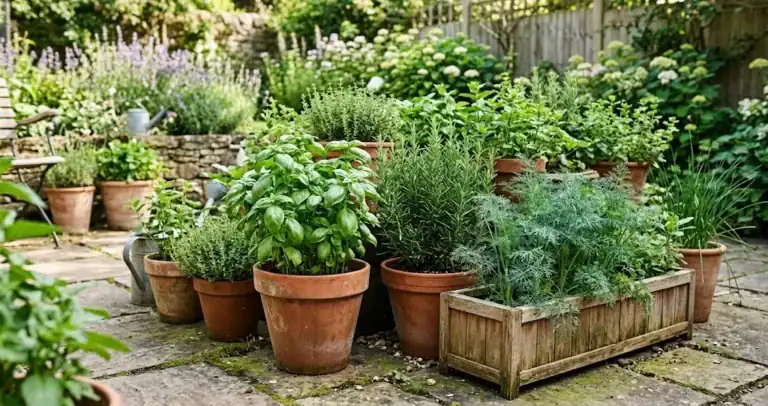
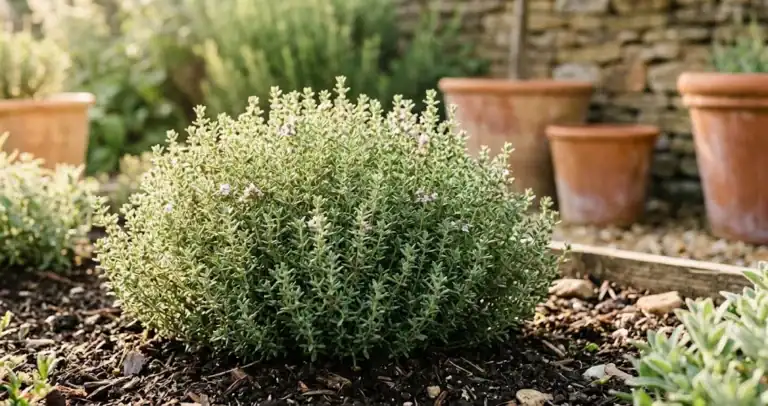
Rosemary is generally unbothered by deer and rabbits because of its strong aromatic oils, which is one more reason it earns a place in the garden. As part of a simple companion planting, tuck a few plants near sage, thyme, and other Mediterranean herbs in a vegetable bed or a pollinator border, and the shrub pulls double duty as a culinary and ornamental feature. Its flowers also attract bees when the plant is allowed to bloom in late spring.
Harvest without slowing growth
Regular picking keeps the plant productive. Cut 4 to 6 inch sprigs as you need them, always from the soft new growth rather than the older woody stems. Cut just above a leaf node so the plant branches from that point. Once a young plant is large enough to start harvesting, usually by its second year, you can take a steady handful of sprigs every few weeks through the growing season.
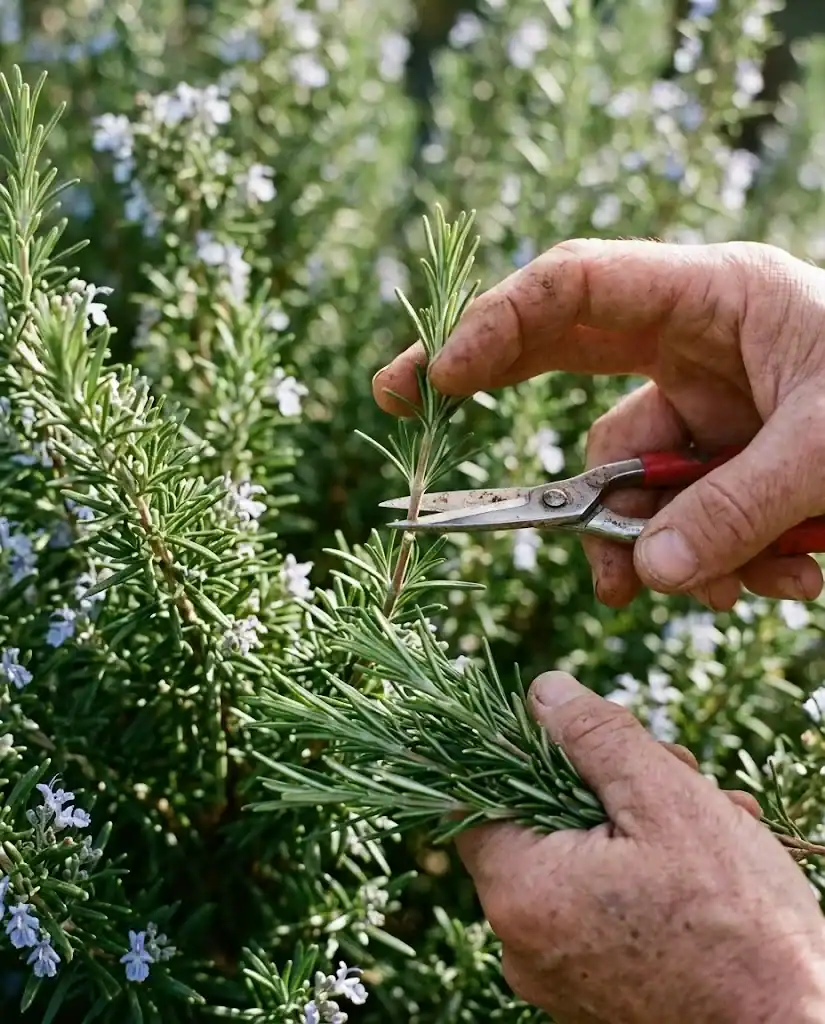
The best time to pick is in the morning, after the dew has dried and before the plant has spent the day’s oils on heat stress. You can take up to a third of the plant at a time without harming it; for a full main cut, do it once in late spring and once in early fall.
Rosemary dries well. To dry rosemary, hang it upside down in bunches in a warm, airy spot out of direct sun, or lay the stems on a screen. Once the leaves are brittle, strip them from the stems and store in an airtight jar away from light. The leaves keep their aroma for many months and can be used fresh or dried in cooking throughout the year.
For the full step-by-step on cutting at the right time, see our guide on how to harvest rosemary.
A good rule of thumb is to snip only what you will use that week, then dry or freeze the rest before the needles lose their aroma.
Once you have a basket of sprigs on the counter, the next question is keeping them usable through winter; our guide to storing rosemary covers drying, freezing, and short-term storage so nothing goes to waste.