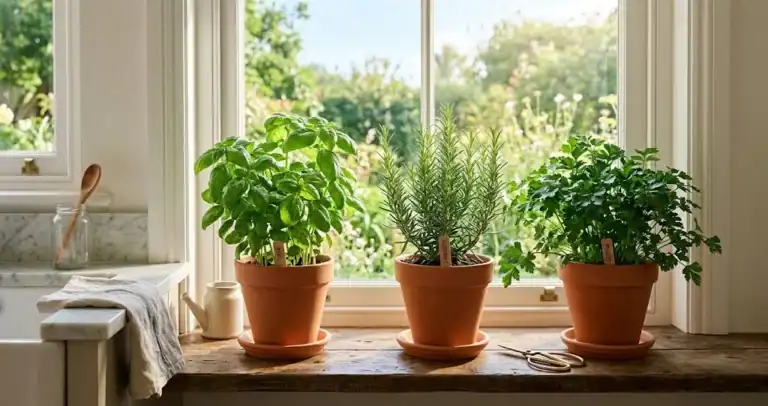
Most culinary herbs are forgiving plants, but the difference between a struggling pot of basil and a full harvest usually comes down to a handful of decisions made before and during the growing season. This guide collects the herb cultivation tips that matter most: which plants to choose, where to put them, how to start them, and how to keep them productive from spring through late fall. Whether you have room for a few containers on a patio or a full bed behind the kitchen, the same principles apply, and a little planning now saves a lot of replacement plants later. A useful first question is just how much room your herb plants will actually need once they are established.
Match each herb to your climate and your soil
Most kitchen herbs come from sunny Mediterranean hillsides. They want at least six hours of direct sun each day, soil that drains well, and a soil pH between about 6.0 and 7.5. The exceptions are the soft-leaved herbs that bolt in midsummer heat, like cilantro, parsley, and chervil, which prefer partial shade during the hottest part of the day.

Take a handful of moist soil and squeeze. If water beads up and the soil stays in a tight ball, the soil holds too much water for most herbs. If it crumbles when you open your hand, the bed is ready. To improve borderline soil, work a few inches of compost into the top of the bed. In heavy clay, plant on a slight mound or in a raised bed so the crowns never sit in water after a rain.
Climate decides which plants are worth your money. Annual herbs complete their life cycle in one season and die at the first hard frost. Tender perennial plants like rosemary and bay survive year-round in mild climates but need to come indoors in cold regions. Hardy perennials such as thyme, sage, chives, and mint die back in winter and return bigger every spring. Picking the right herb plant for your zone saves the trouble of replacing it every year. For a deeper dive into setup, our guide on herb growing basics walks through soil, light, and site selection in more detail.
Start herbs from seed, cuttings, or starter plants
You can start herbs using seed, by rooting cuttings, or by buying young plants from a local garden center. Each method has its place.
Starting plants from seed is the cheapest option and the only way to find unusual cultivars. Basil, cilantro, dill, and parsley germinate quickly and need little more than a warm spot. Rosemary is slow to germinate and benefits from bottom heat, and buying one packet of herb seeds covers a wide range of varieties for the whole growing season. Sow seeds indoors six to eight weeks before your last frost date to give plants a head start. Sowing seeds into the garden in spring works for fast growers like dill and cilantro once the soil warms.

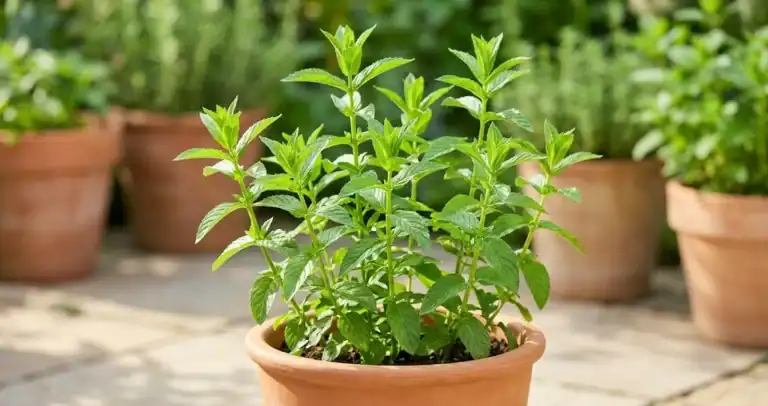
Cut stems to root new plants. Snip a four-inch softwood stem just below a leaf node, strip the lower leaves, and set it in water in indirect light. Mint and basil root in about a week. Once roots are an inch long, pot the cutting in fresh potting mix, then transplant it into a larger container or the bed once new leaf growth appears. Buying starter plants from a local garden center is the simplest option for the first season. The plants are already established, and the staff usually know which herb performs well in your area.
Pick the herbs you actually cook with
Before choosing plants, decide what you cook with most. A cook who reaches for basil and parsley every week needs different plants than someone who mainly wants rosemary for roasted potatoes and thyme for slow beans.
A reliable starter lineup covers basil, sage, rosemary, mint, thyme, oregano, and chives. Add dill if you pickle or cook fish, cilantro if you make salsa, and tarragon if you cook chicken the French way. If you are picking just one plant to start with, basil is forgiving and fast, and a single specimen gives you more than many beginners expect. If you want a leaf that keeps producing from the first month through frost, parsley earns its place in the home herb bed.
Think about how you plan to use the harvest too. Perennials like thyme and sage are easy to dry for winter storage, while annuals like basil are usually used fresh or turned into pesto at peak season.
Choose the right spot: pots, beds, or a sunny window
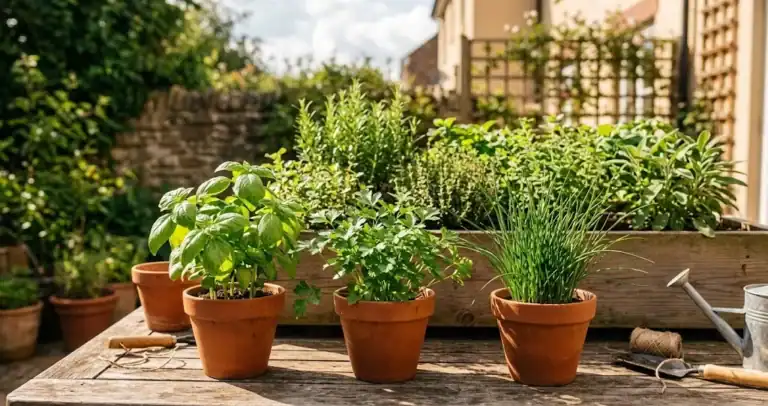
Growing in containers is the simplest option for beginners. A 10-inch pot will hold one large herb, while smaller containers work for chives. Use a quality potting mix instead of garden soil, since garden soil does not drain well in a container. Each container needs drainage holes, and the saucer underneath should be emptied after watering.
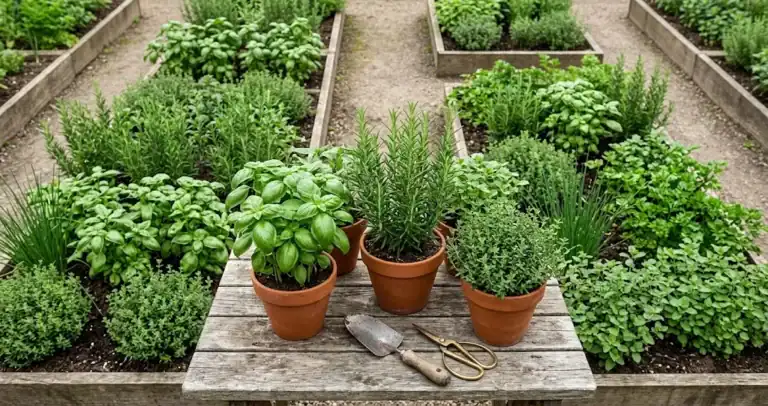
A raised bed is the right answer if you want a serious harvest. A four-by-eight-foot bed in full sun will produce more than most cooks use, and you can grow annual and perennial herbs side by side. The exception is mint, which spreads by underground runners and will take over the bed if you let it.
An indoor herb garden in a sunny window works well for a few containers of cool-tolerant plants. South-facing windows provide enough light for basil in winter. If your window is north-facing, set up grow lights a few inches above the leaves for 14 to 16 hours a day. Without enough light, indoor herbs grow leggy and stop producing useful harvests. A rotation where containers spend summer outdoors and winter indoors lets the gardener stretch the season well past the first frost.

No matter which setup you choose, our herb care guide walks through the seasonal routine of watering, pinching, and feeding that keeps the rest of the season on track.
Water, light, and pinching: the three daily habits
Watering is the single most common cause of problems with herbs. Stick a finger an inch into the soil before watering. If it feels dry, water deeply. If it still feels cool, wait another day. Mediterranean herbs tolerate brief dry spells once their roots are established, but a young plant still needs steady moisture until it settles in.
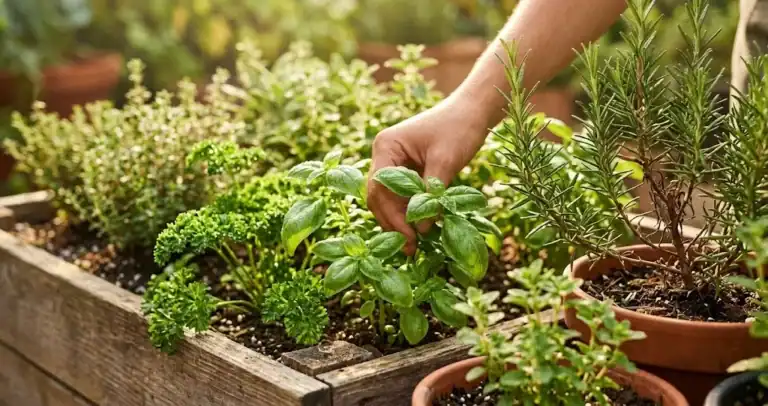
Most herbs prefer direct sun for at least six hours a day. Pinching is the secret to bushy, productive plants. Every time you use fresh leaves in the kitchen, pinch or snip just above a pair of leaves. The plant then sends out two new shoots from where you cut, producing more leaves per cut. For flowering species, pinch off flower buds as they form, since bolting cuts leaf production and changes flavor.

Feeding is rarely necessary if your soil was prepared with compost. Excess fertilizer produces lush leaves with reduced flavor, which is the opposite of what you want from a culinary plant. A single light feeding of a balanced fertilizer in early spring is plenty for perennials.
Watch for common herb pests and diseases
Most herbs shrug off pests, but a few problems show up often. Aphids cluster on new growth and the undersides of leaves. A strong spray of water knocks them off, and insecticidal soap handles persistent infestations. Spider mites show up in hot, dry conditions and leave fine webbing on the leaves. Keep plants well watered and check the undersides of leaves often.
Fungal diseases hit crowded plants with poor air circulation, especially in humid weather. Give plants their space, water at the base rather than over the leaves, and remove any leaves that show spots. Diseases carried in the soil build up in the same spot year after year, so rotate an herb’s location each season if problems appear. A healthy herb patch attracts plenty of pollinators and beneficial insects, which keeps most pest problems in check on their own.
Cut for best flavor without weakening the plant
The right way to harvest depends on whether the plant is an annual or a perennial. For annuals, take from the top down and the outside in, cutting the older stems first and leaving the smaller inner growth to keep producing. For perennials, you can remove up to a third of the plant at a time without harming it.
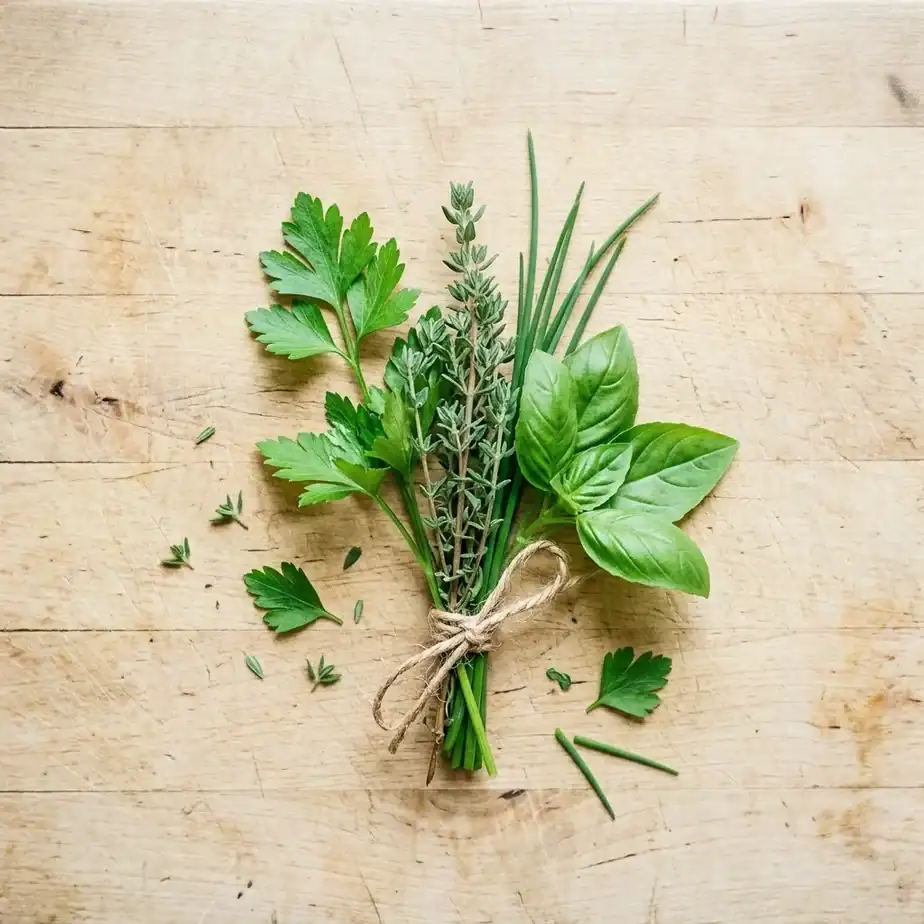
The best time to cut is in the morning after the dew has dried but before the heat of the day. The essential oils that give herbs their best flavor are at their peak then, and the leaves stay firm rather than wilting in the basket. Use fresh herbs in cooking the same day for the brightest flavor, or dry them by hanging small bundles in a warm, airy place out of direct sun. To bring an outdoor plant indoors for winter, take cuttings in late summer, root them in water, and pot them up to grow on a sunny window. Watch for flower buds forming late in the season and pinch them off to keep leaves producing.
Try these growing tips before you buy more plants
If you are starting an herb bed this season, pick three herbs you actually cook with, give them the conditions they prefer, and resist the urge to grow everything on the nursery bench. The first season is for learning how the plants behave in your specific spot. Once you have grown basil and parsley successfully, you have the skills to add sage or thyme the next year.
Good soil with reasonable drainage, full sun for most herbs, water only when the soil asks for it, and a habit of pinching back growth are the four habits that carry the entire bed. Most herb gardeners find that within two or three years they have a small collection of reliable favorites that produce more than enough for daily cooking, plus a few jars of dry herbs for winter. Each plant in the patch is one more stitch in the long-running habit of growing what you cook with.
For a broader primer that covers every stage from seed to kitchen, our beginner’s guide to growing an herb garden is a useful next read.